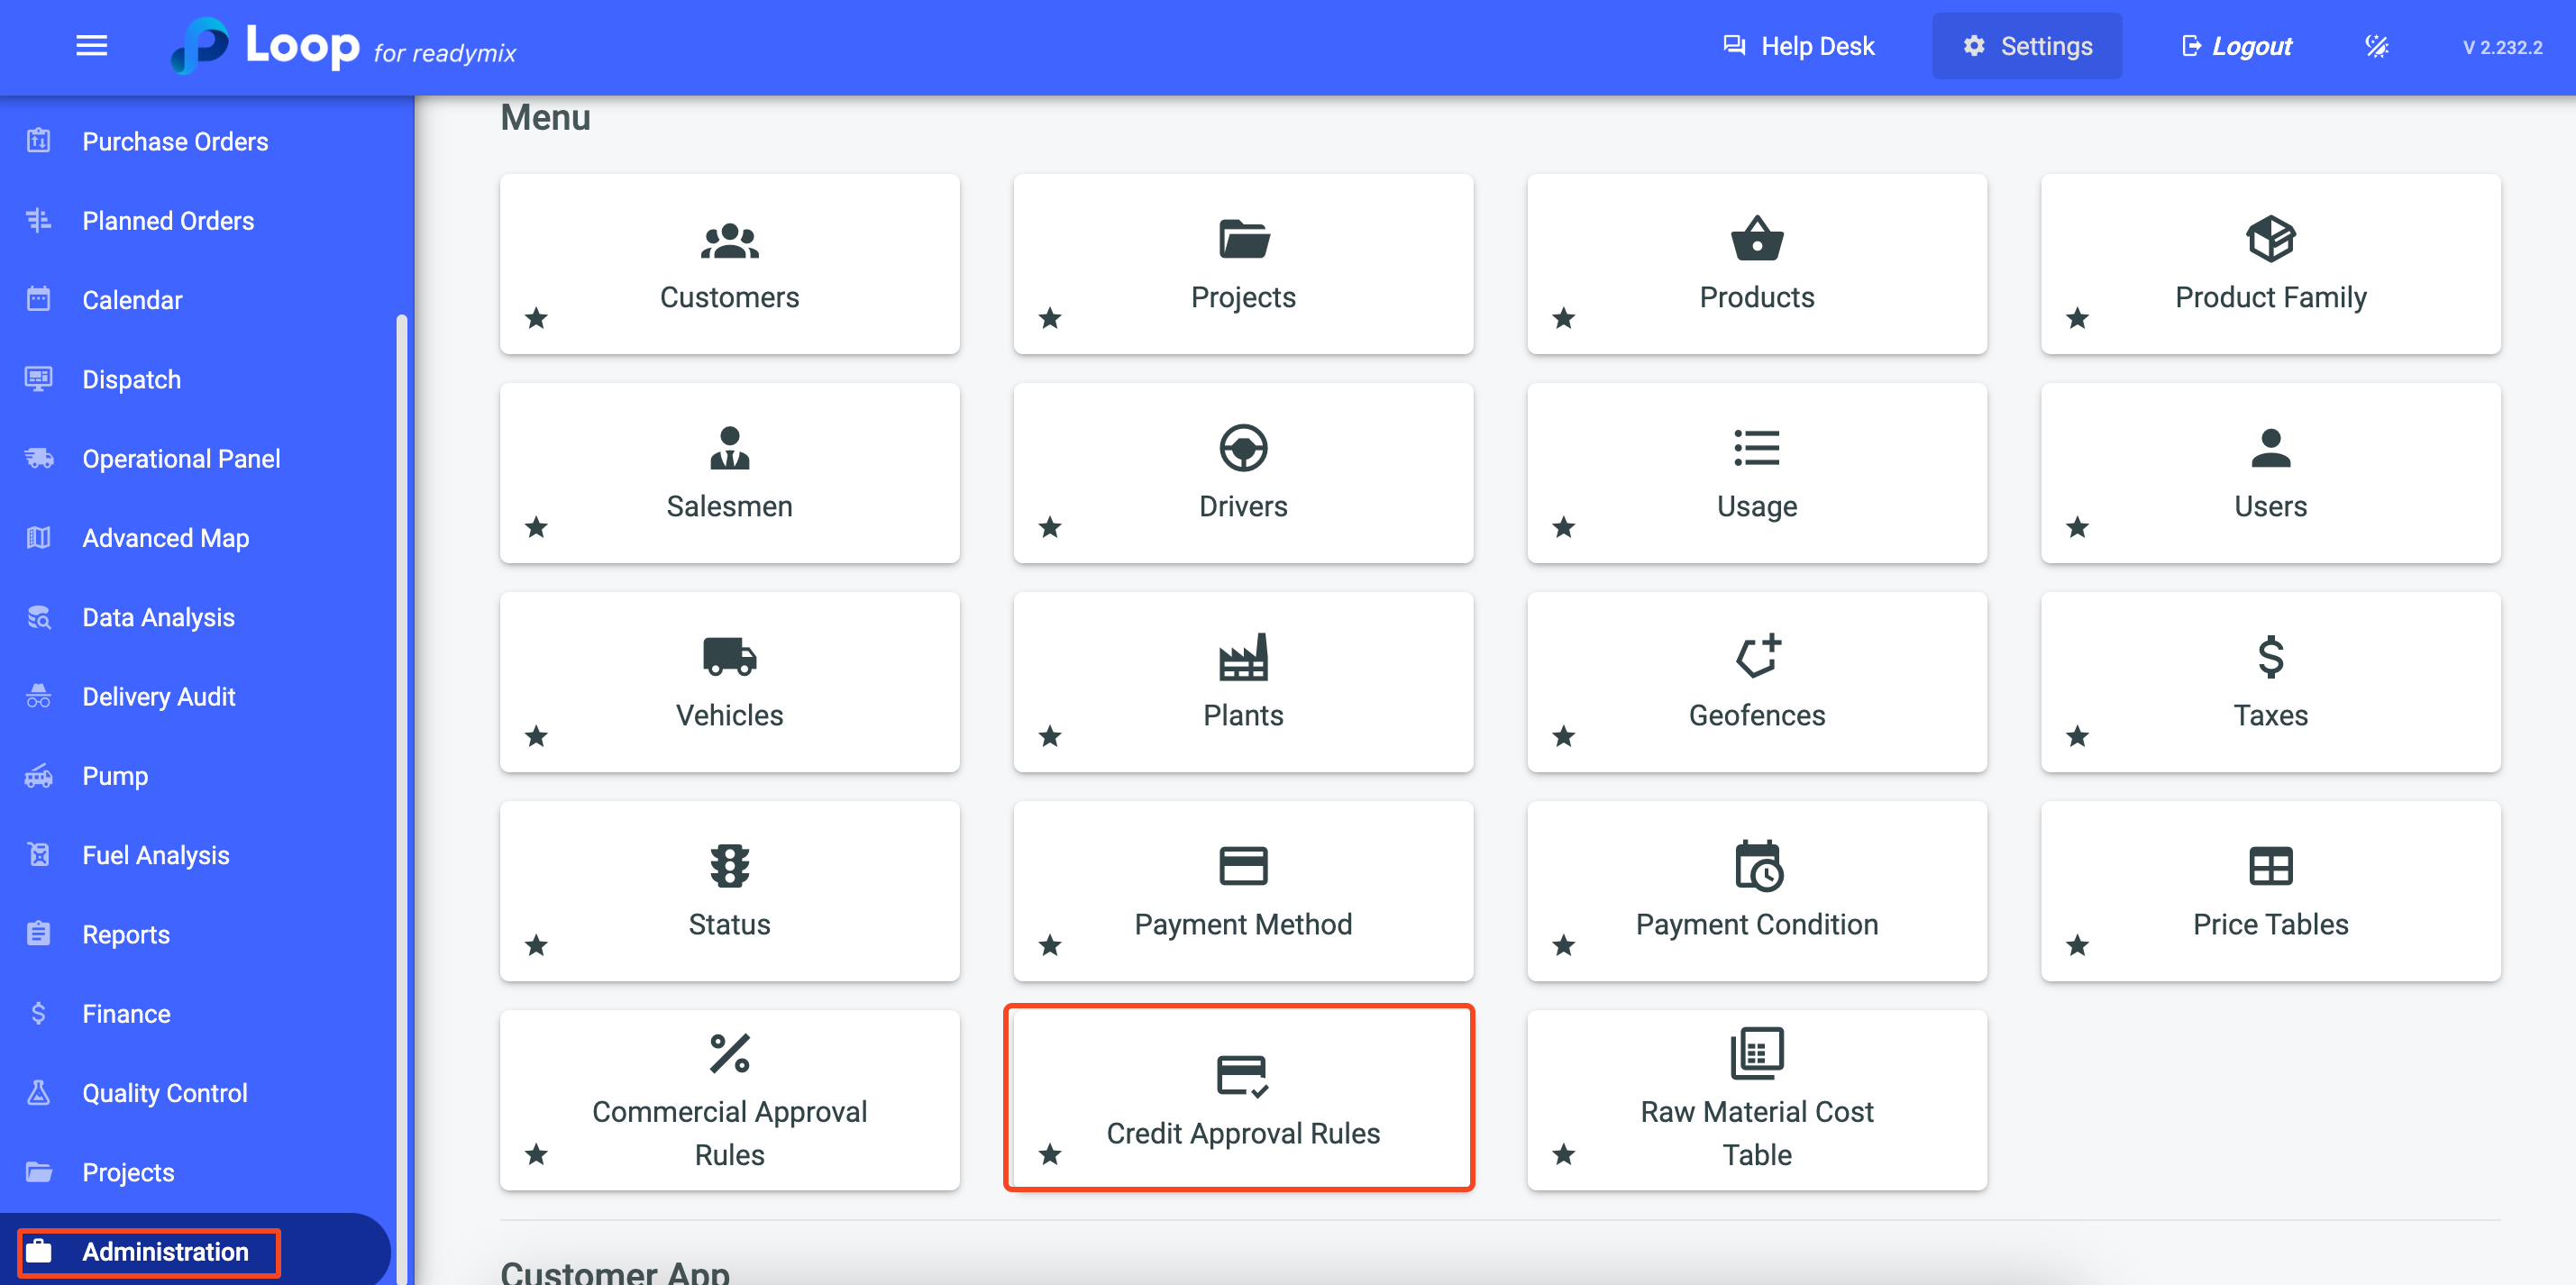
In the menu on the left of the screen, select "Administration" and then click on "Credit Approval Rules".
Click on "Add Credit Approval Rule" and fill in the required fields:
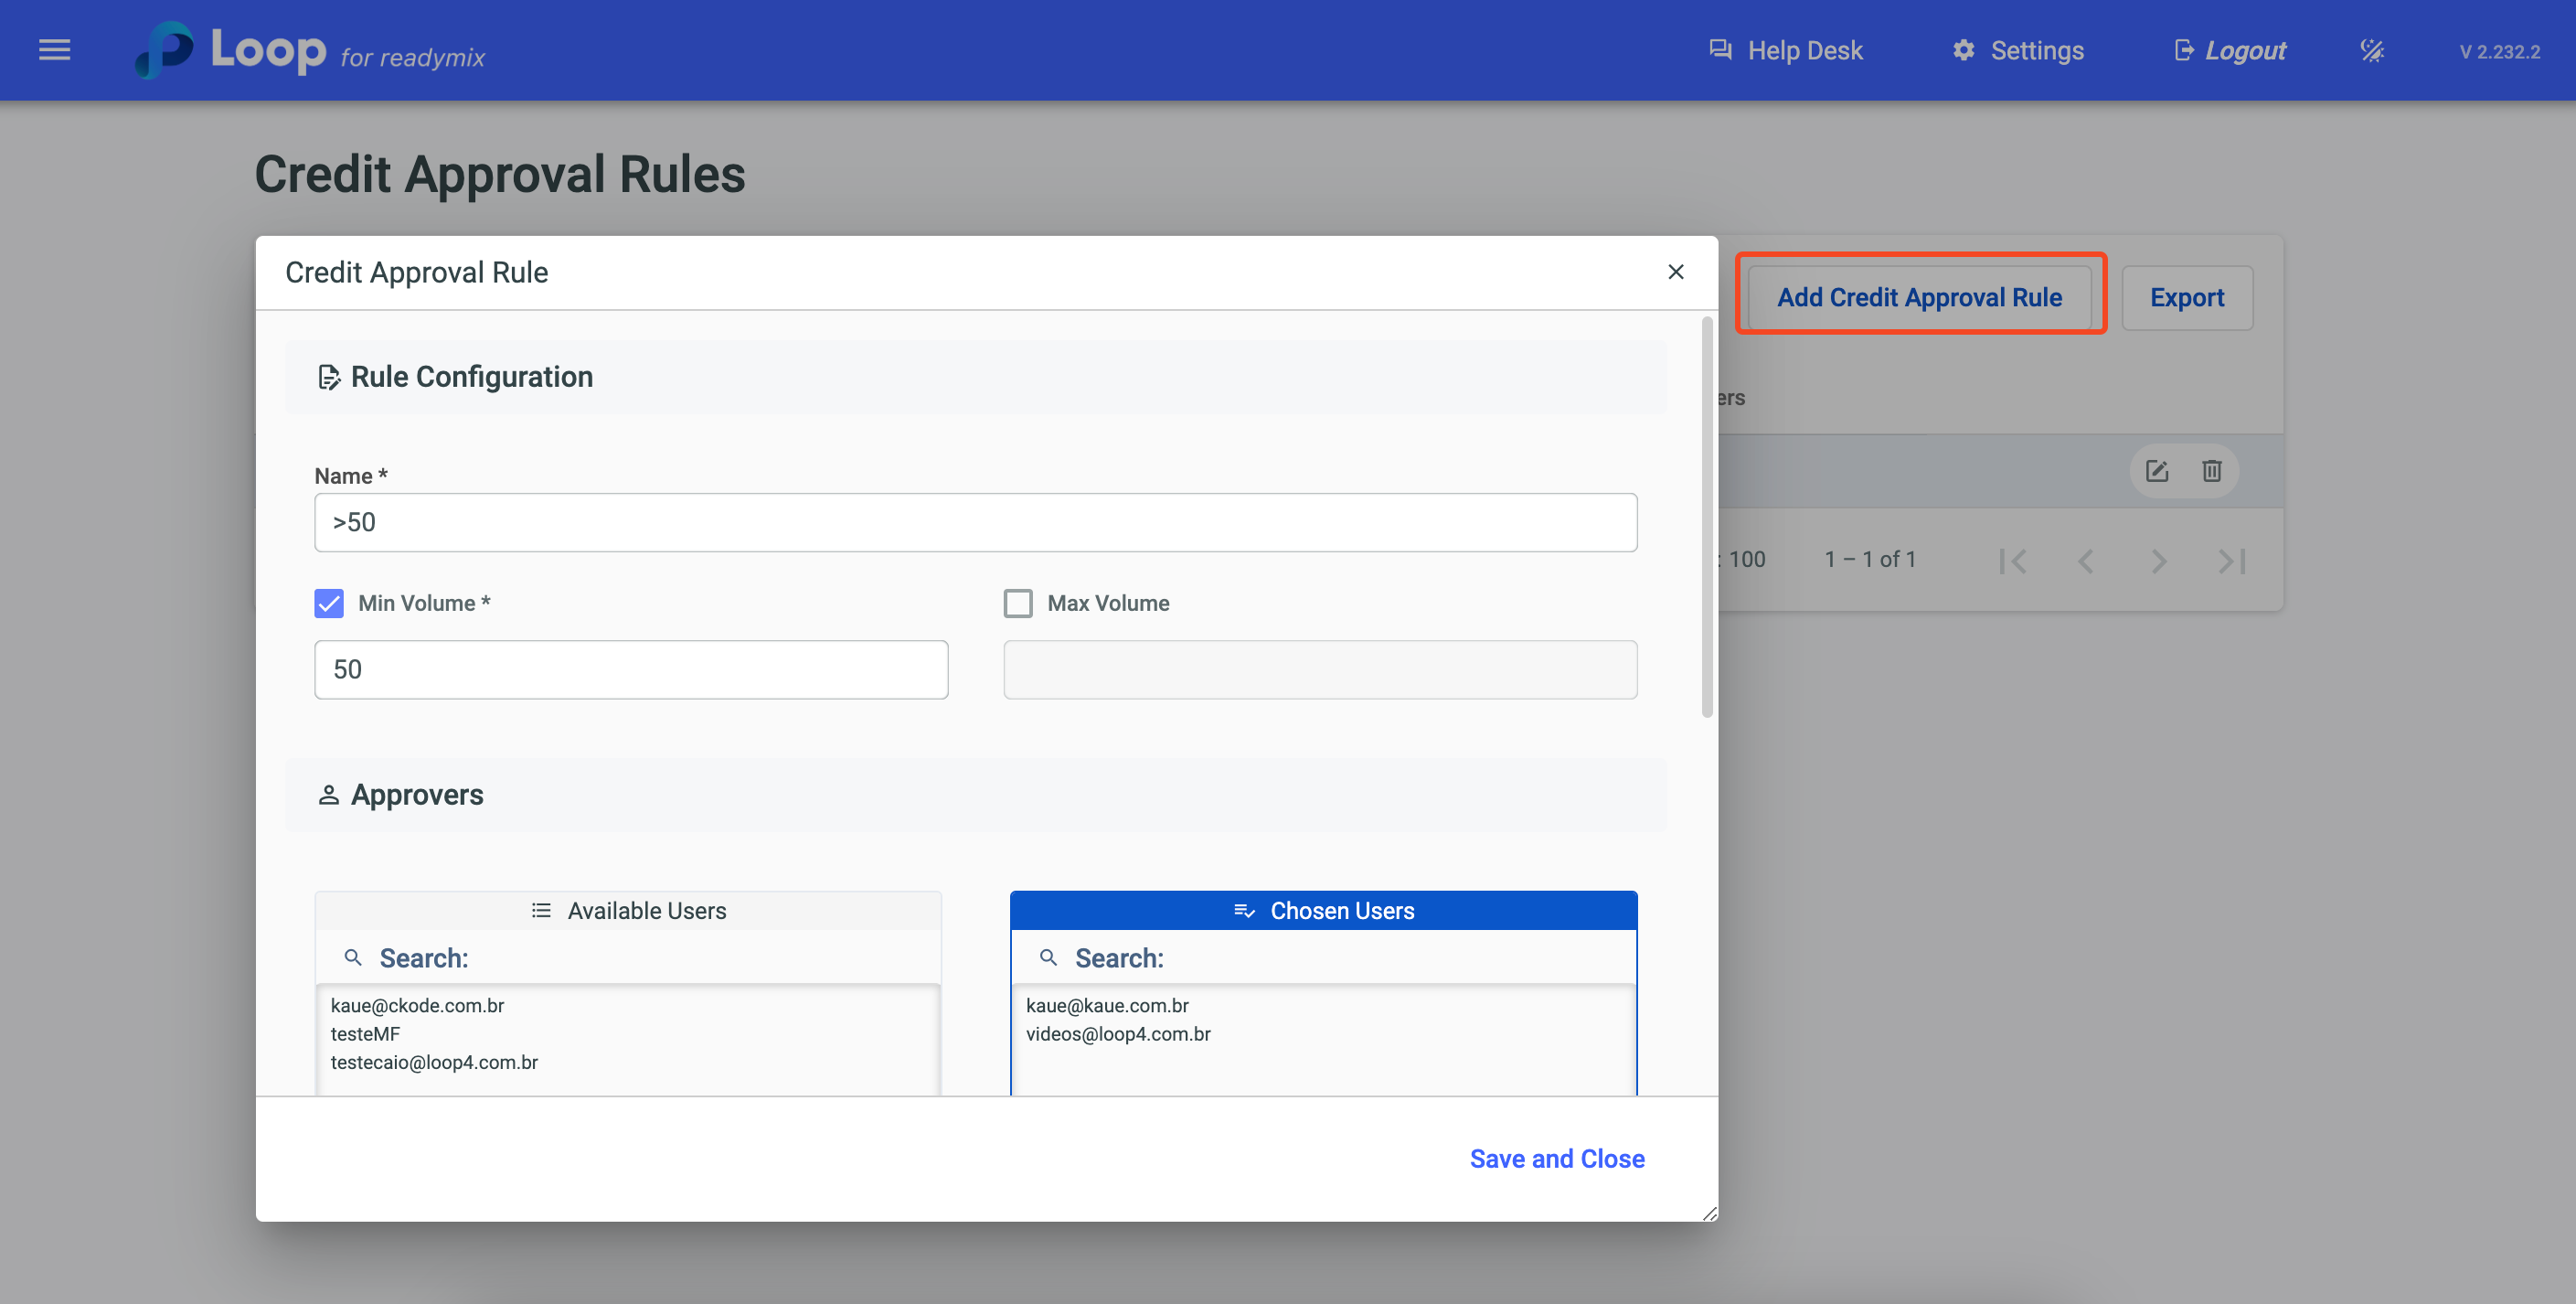
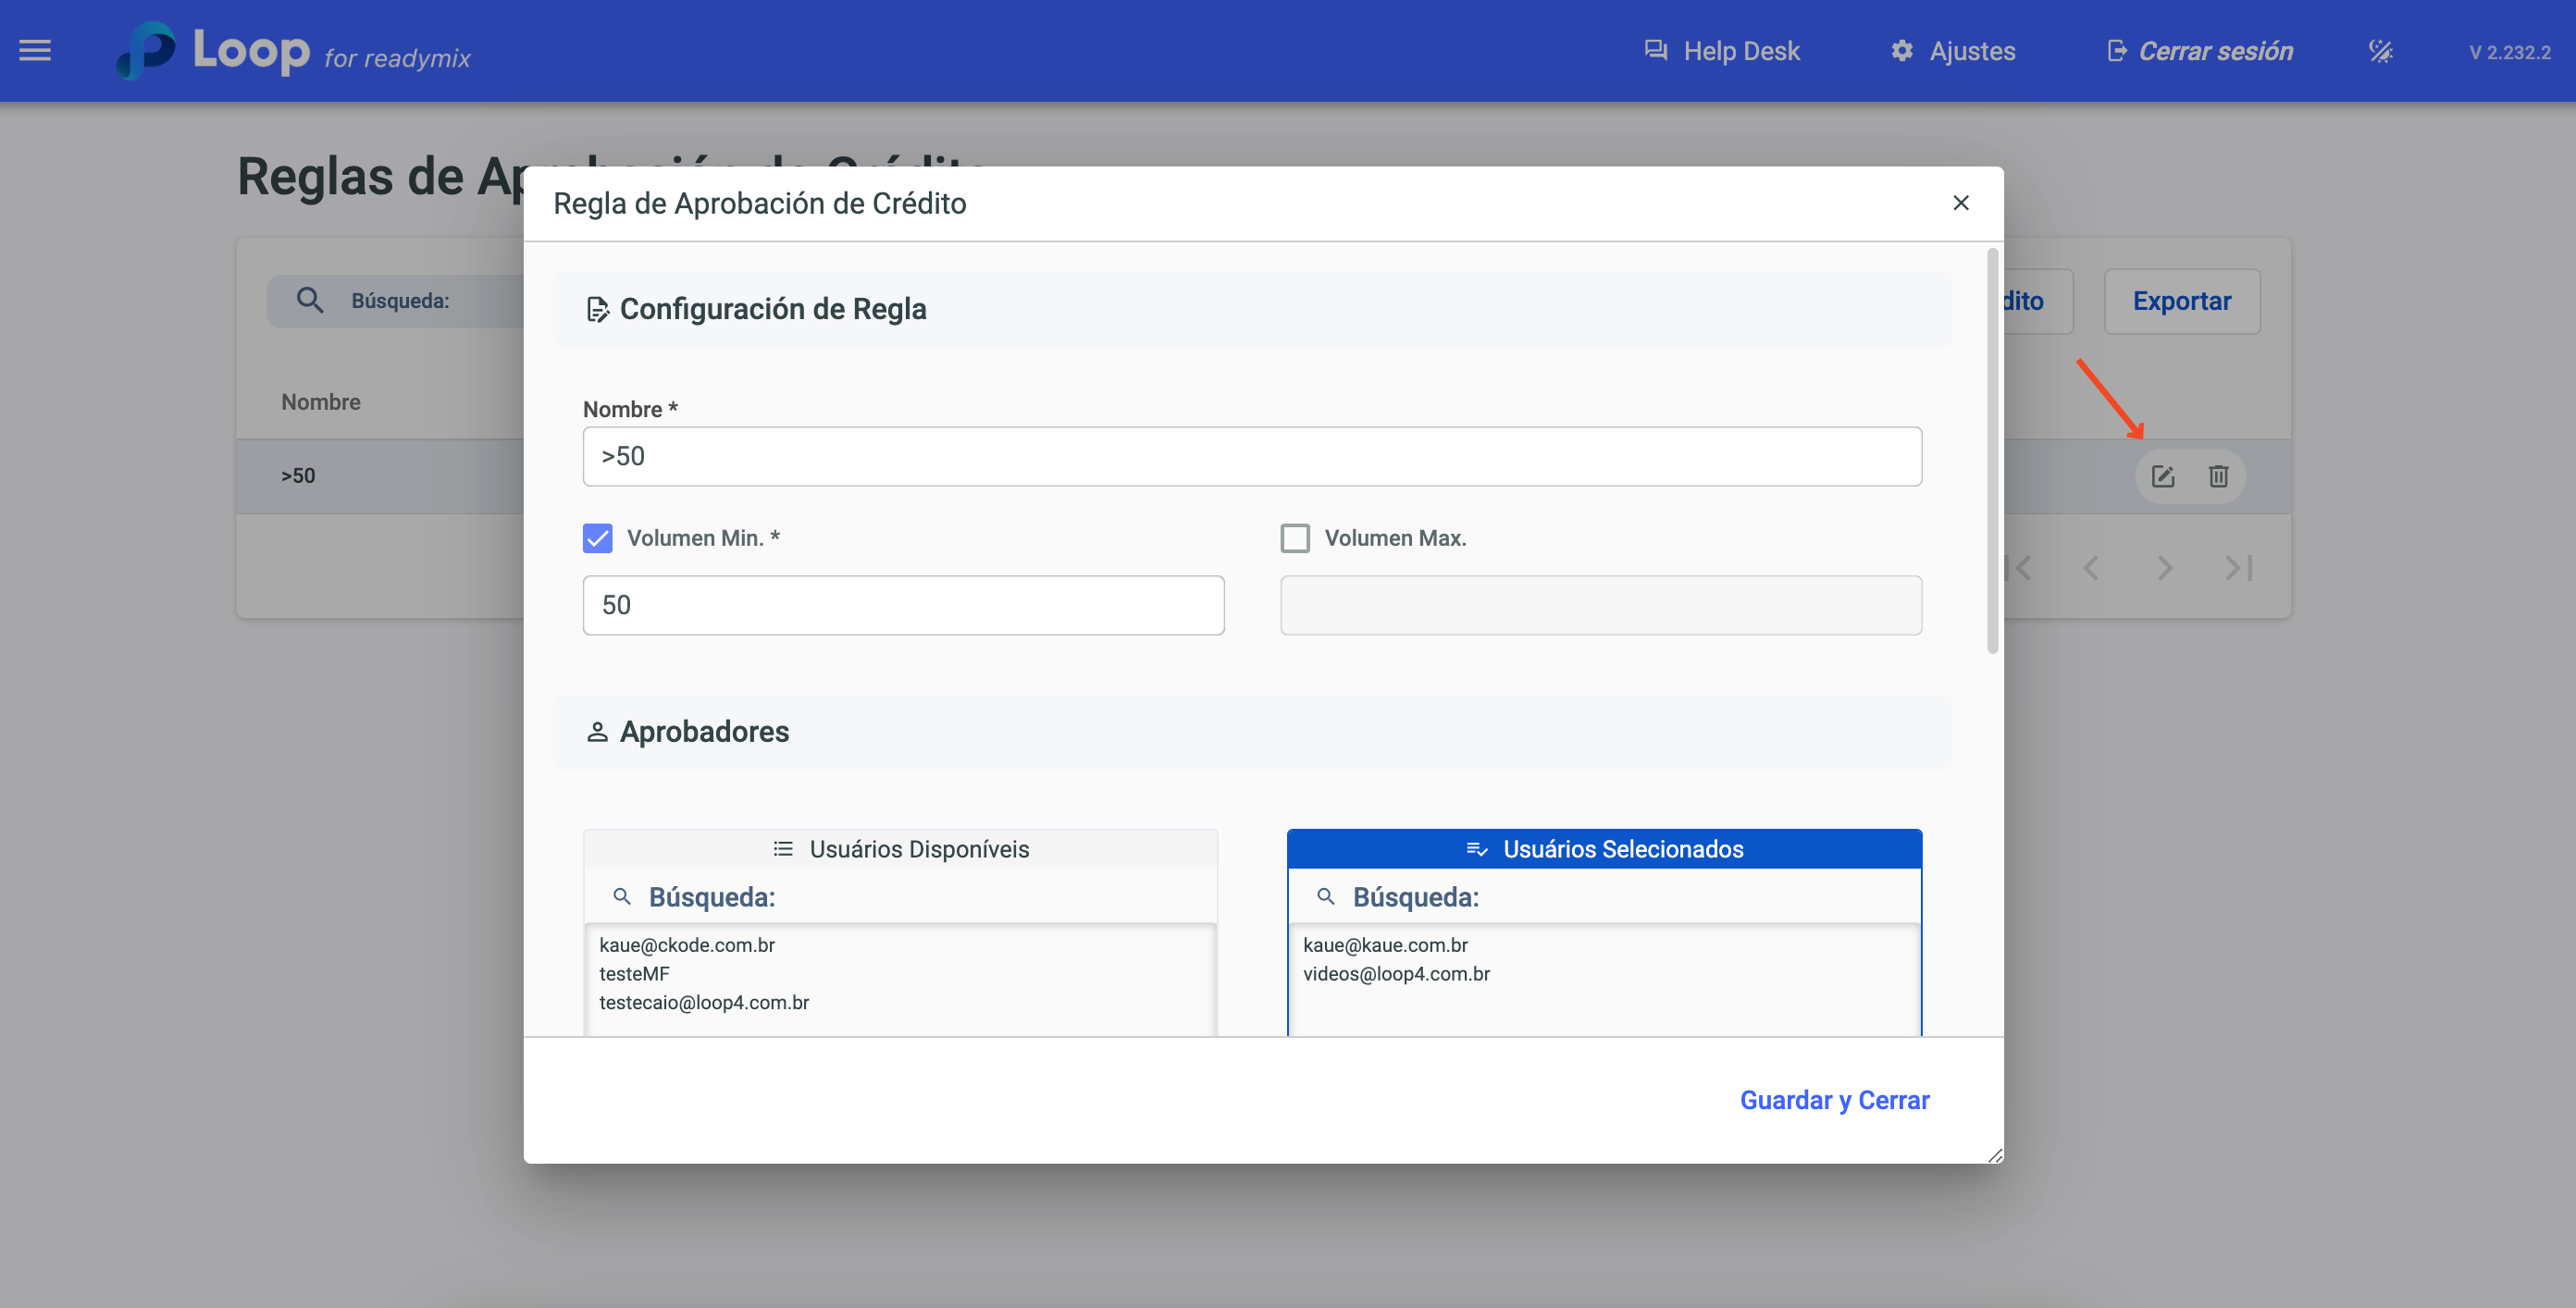
Minimum Volume: Minimum amount of programmed Readymix that triggers the credit analysis in order to evaluate the customer's ability to pay.
Maximum Volume: The maximum amount of programmed Readymix that, when exceeded, requires a more detailed credit analysis to ensure the customer's ability to pay the requested volume.
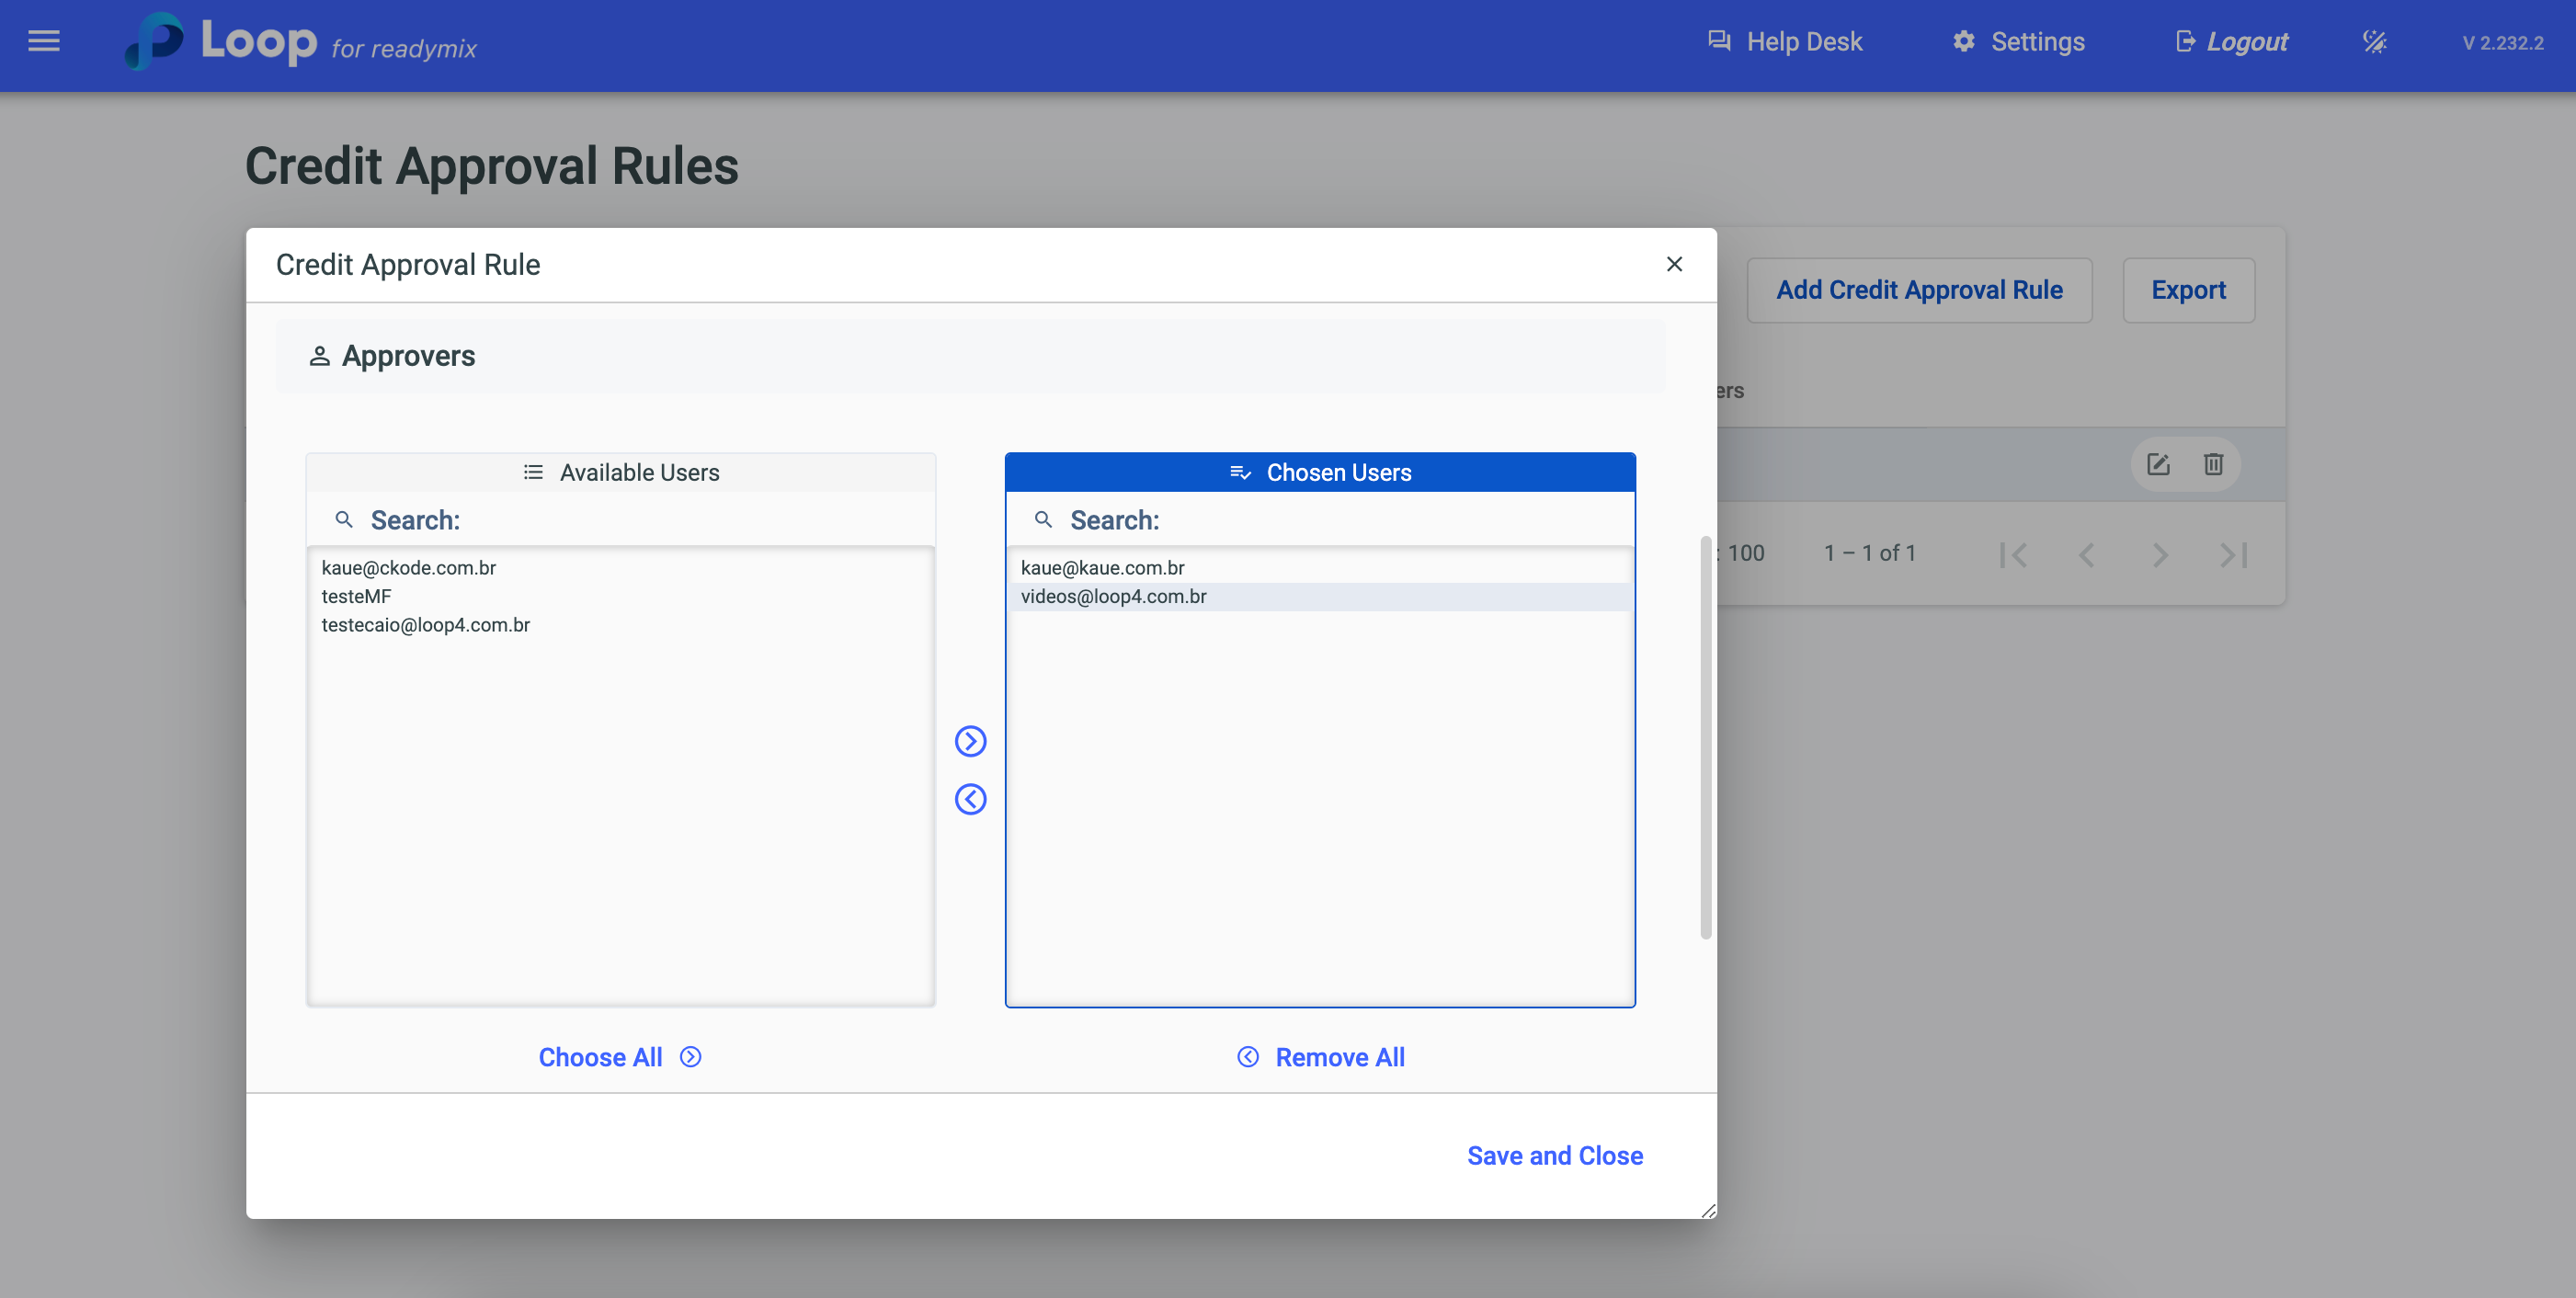
Approvers: Select the users responsible for reviewing and authorizing business transactions according to the established rules.
Plans: Select the plans where the Credit Approval Rules will apply.
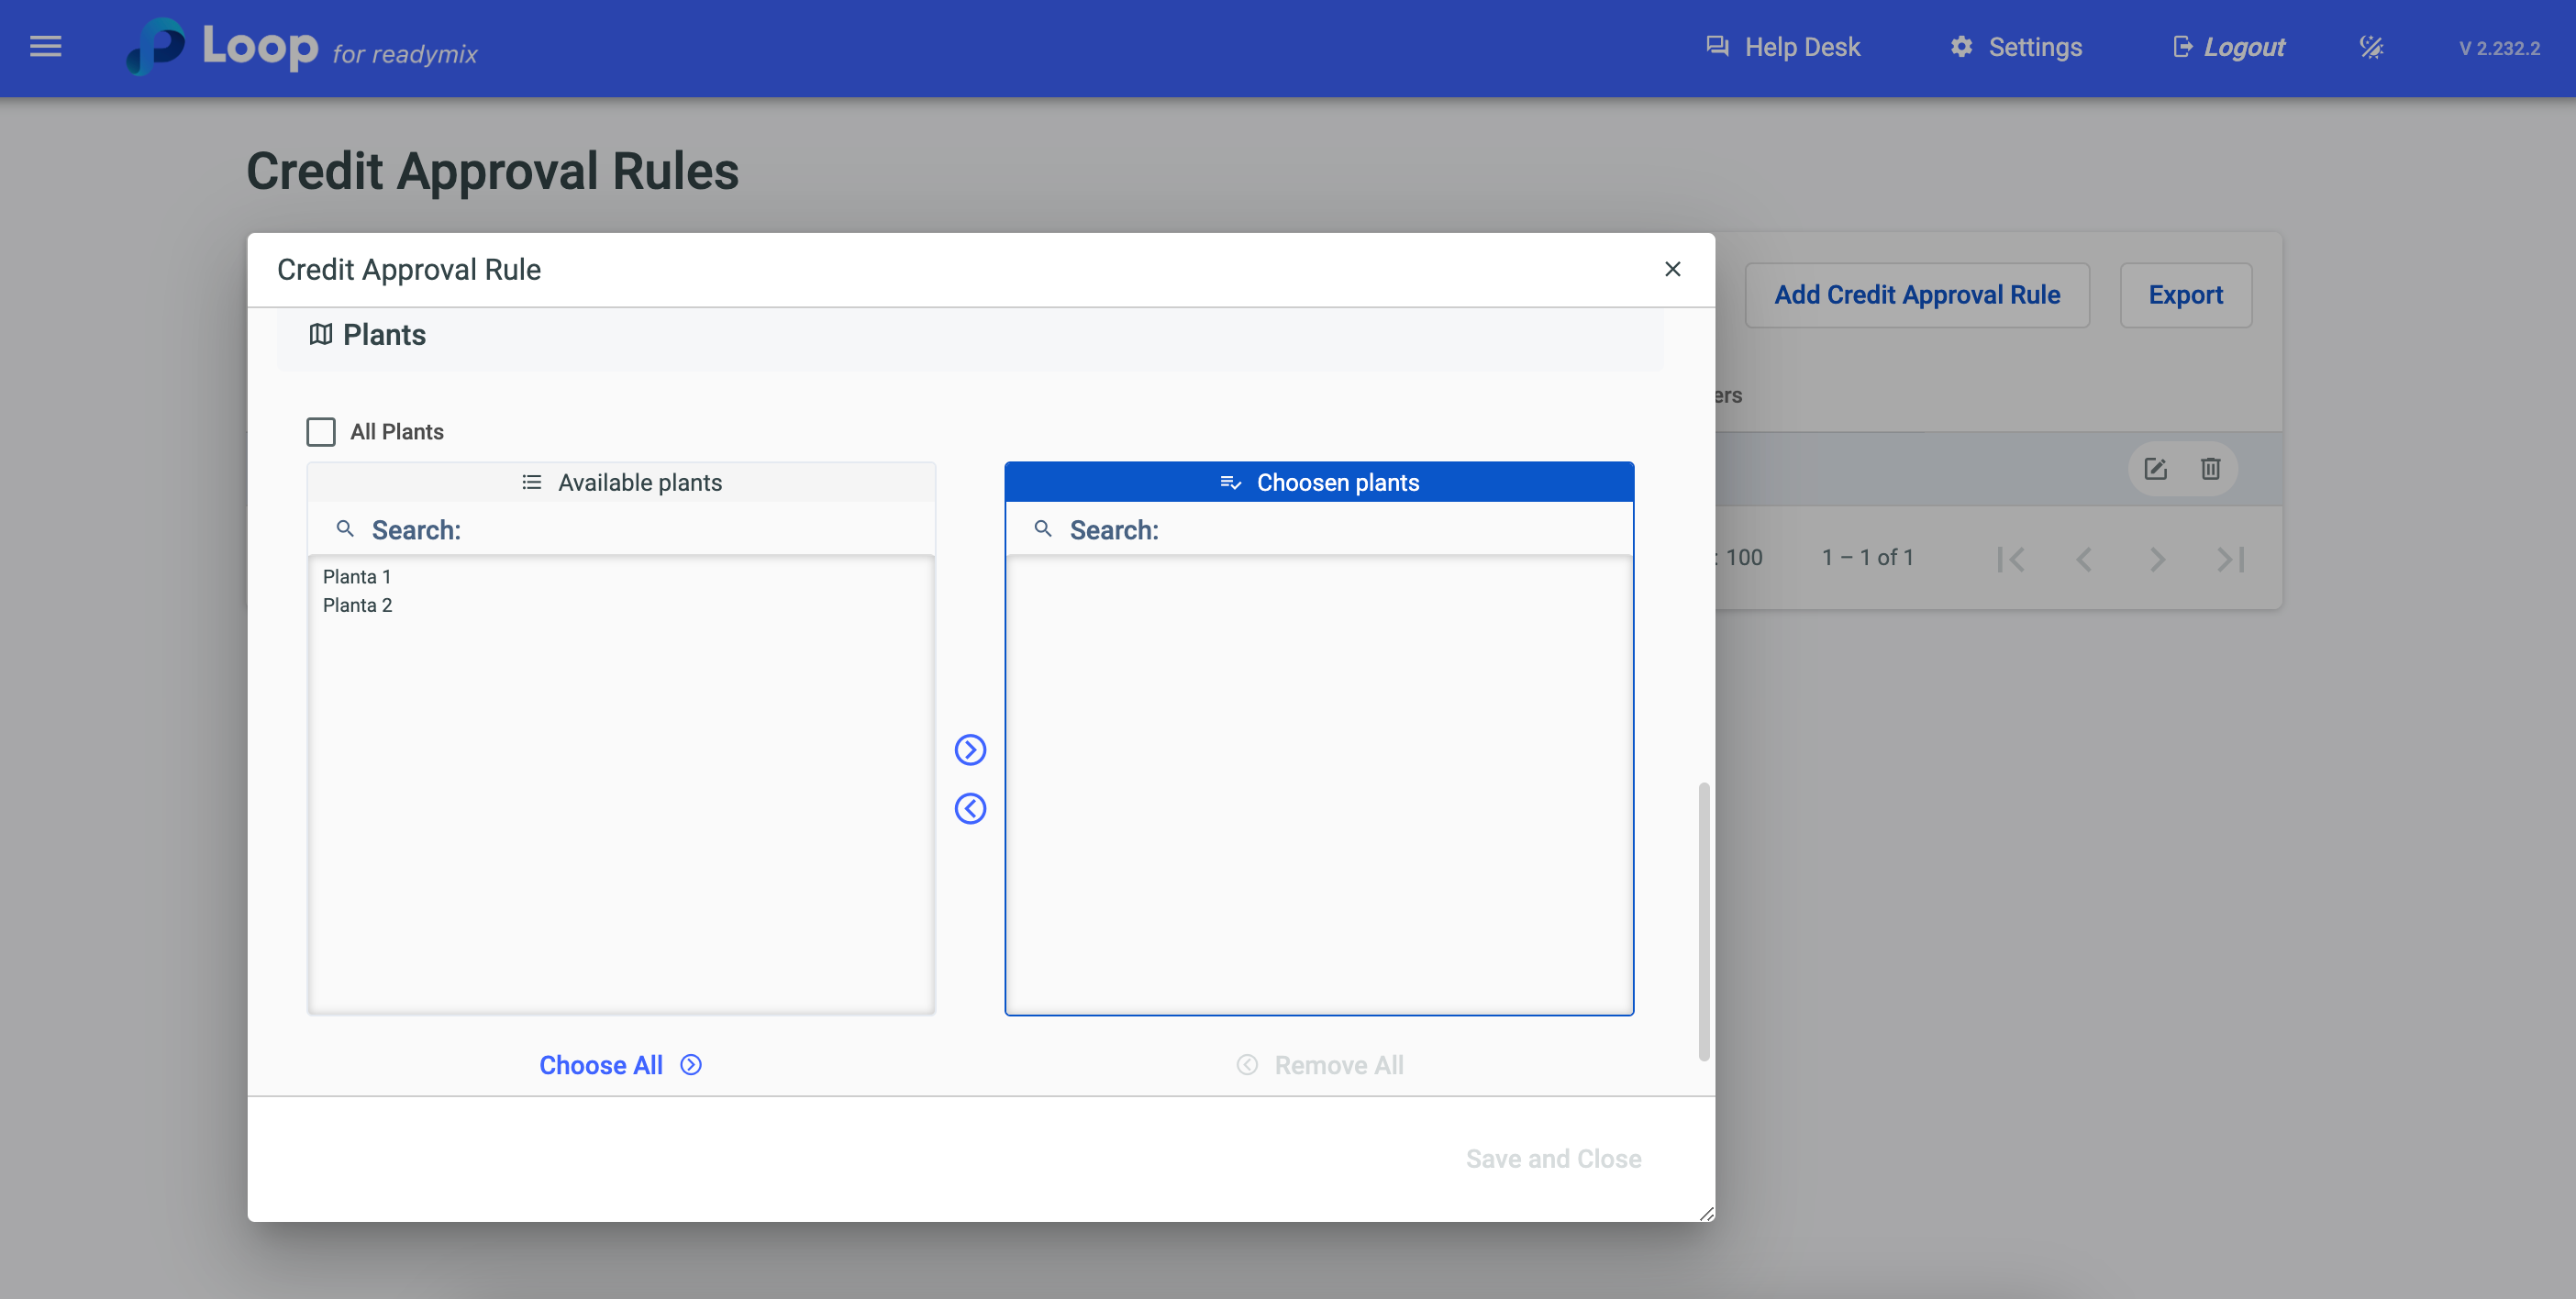
After filling in all the necessary data, click "Save and Close".
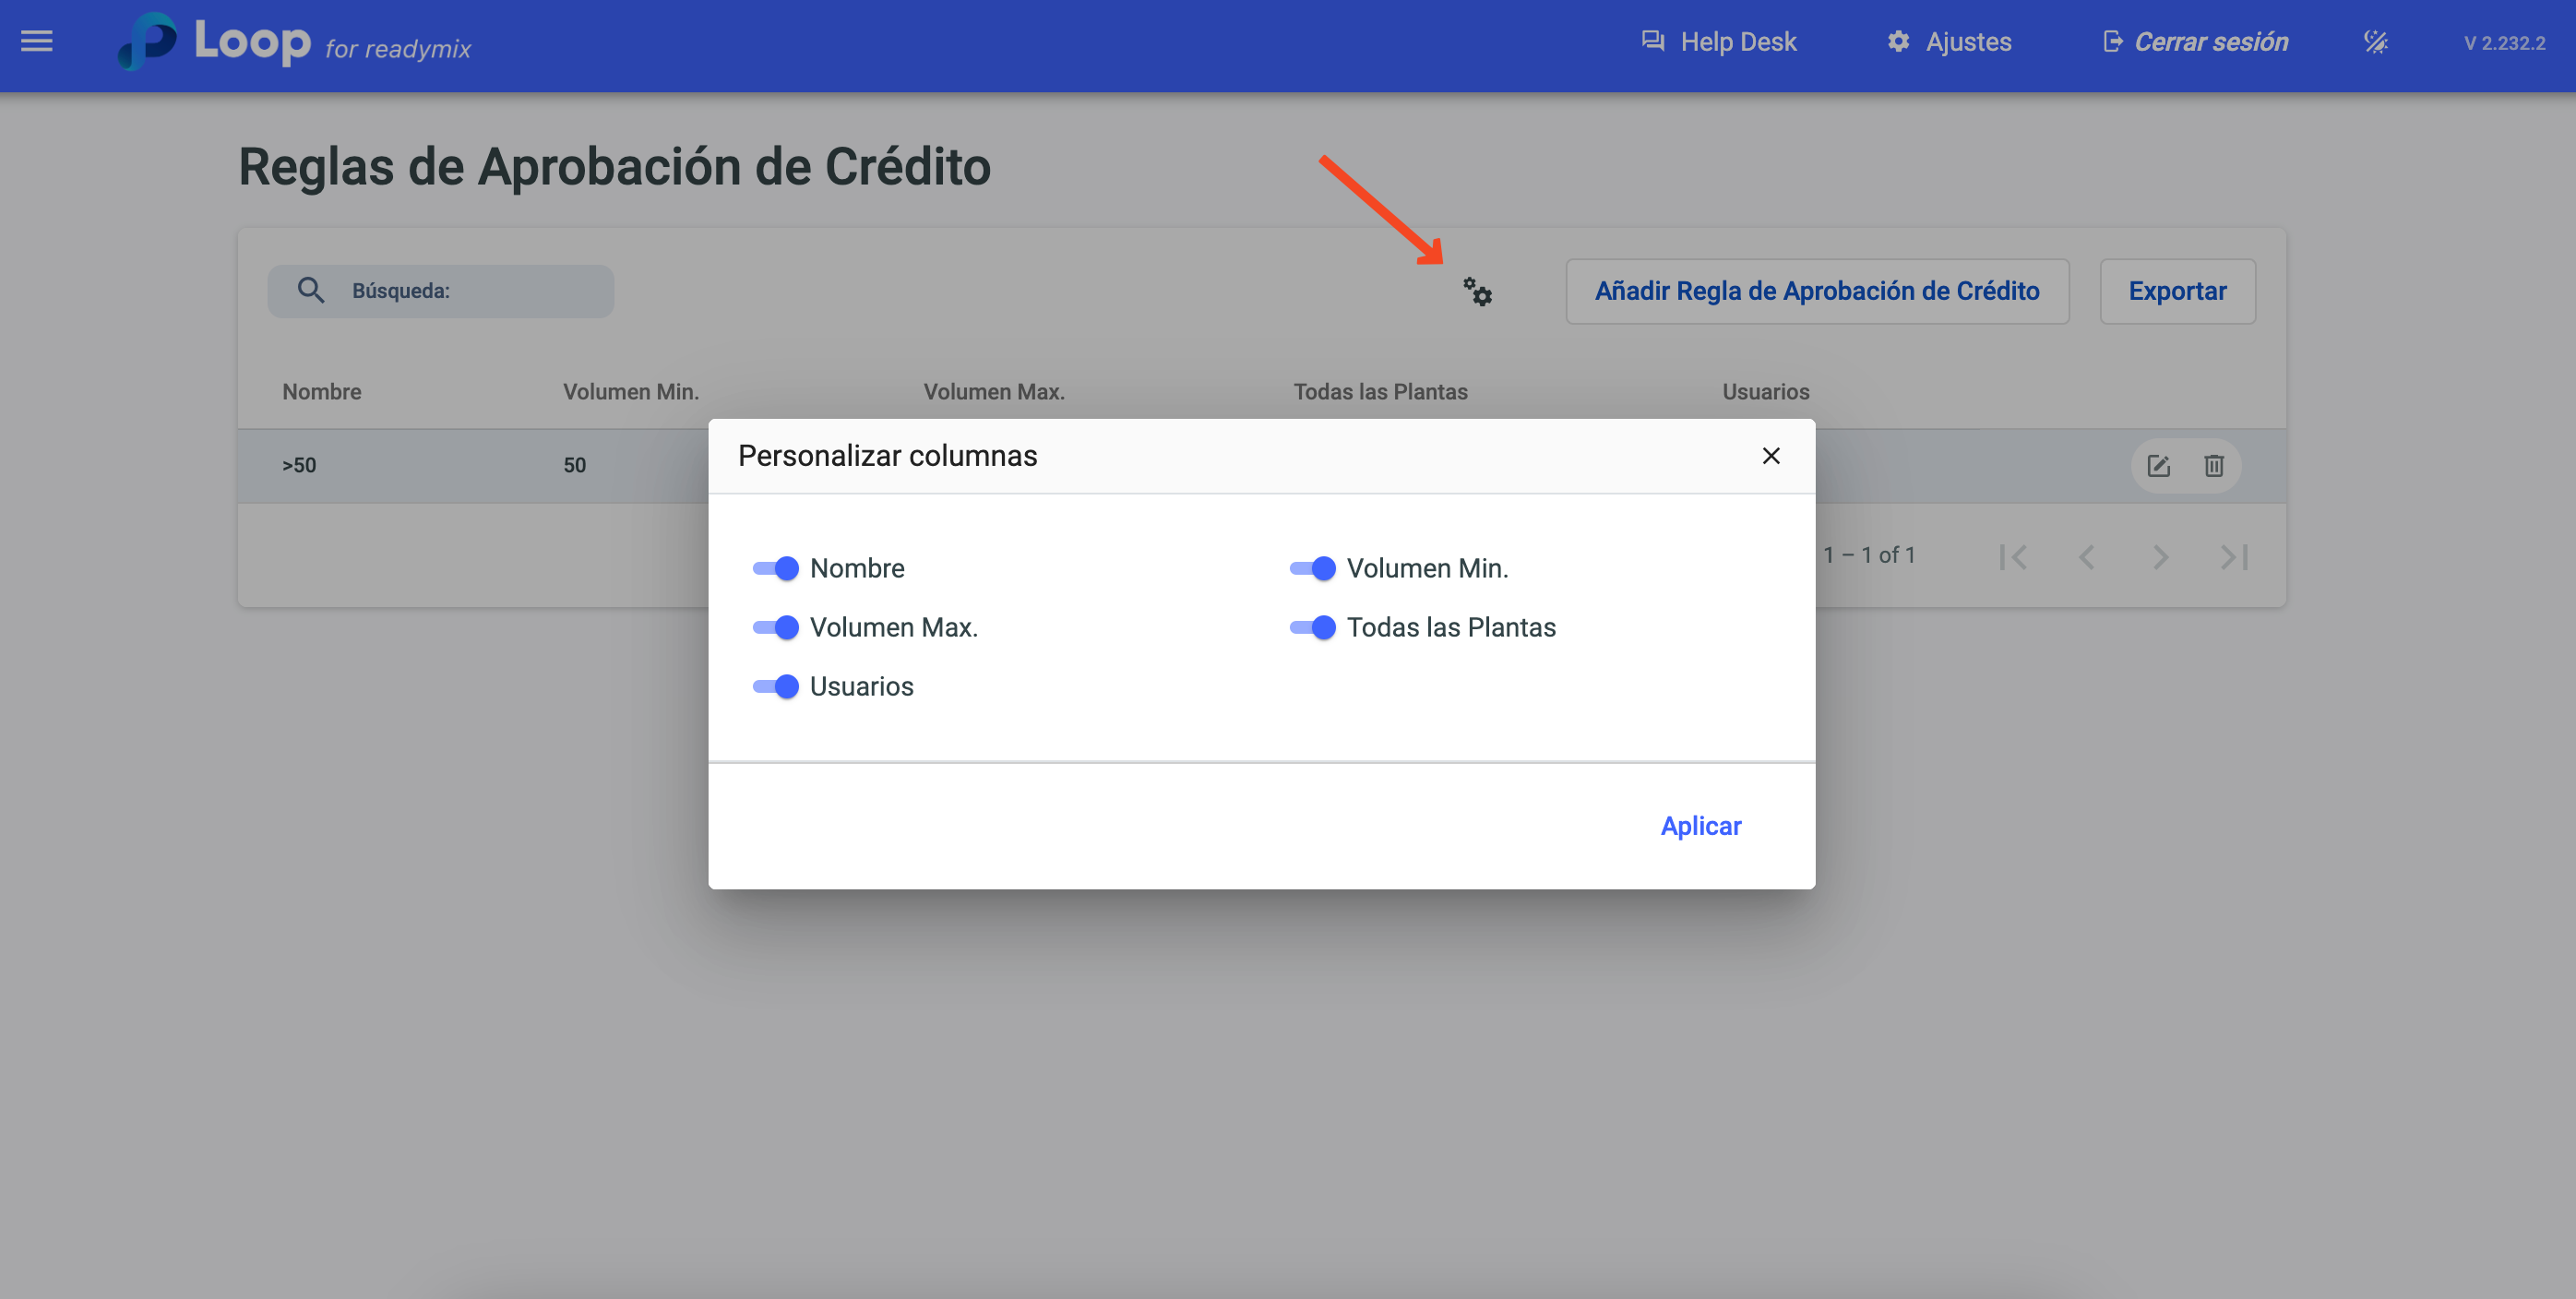
It is possible to customize the columns that will be presented on the screen, just click on the gear icon and select the necessary columns.
If you want to edit a Credit Approval Rule, just click on the details icon.
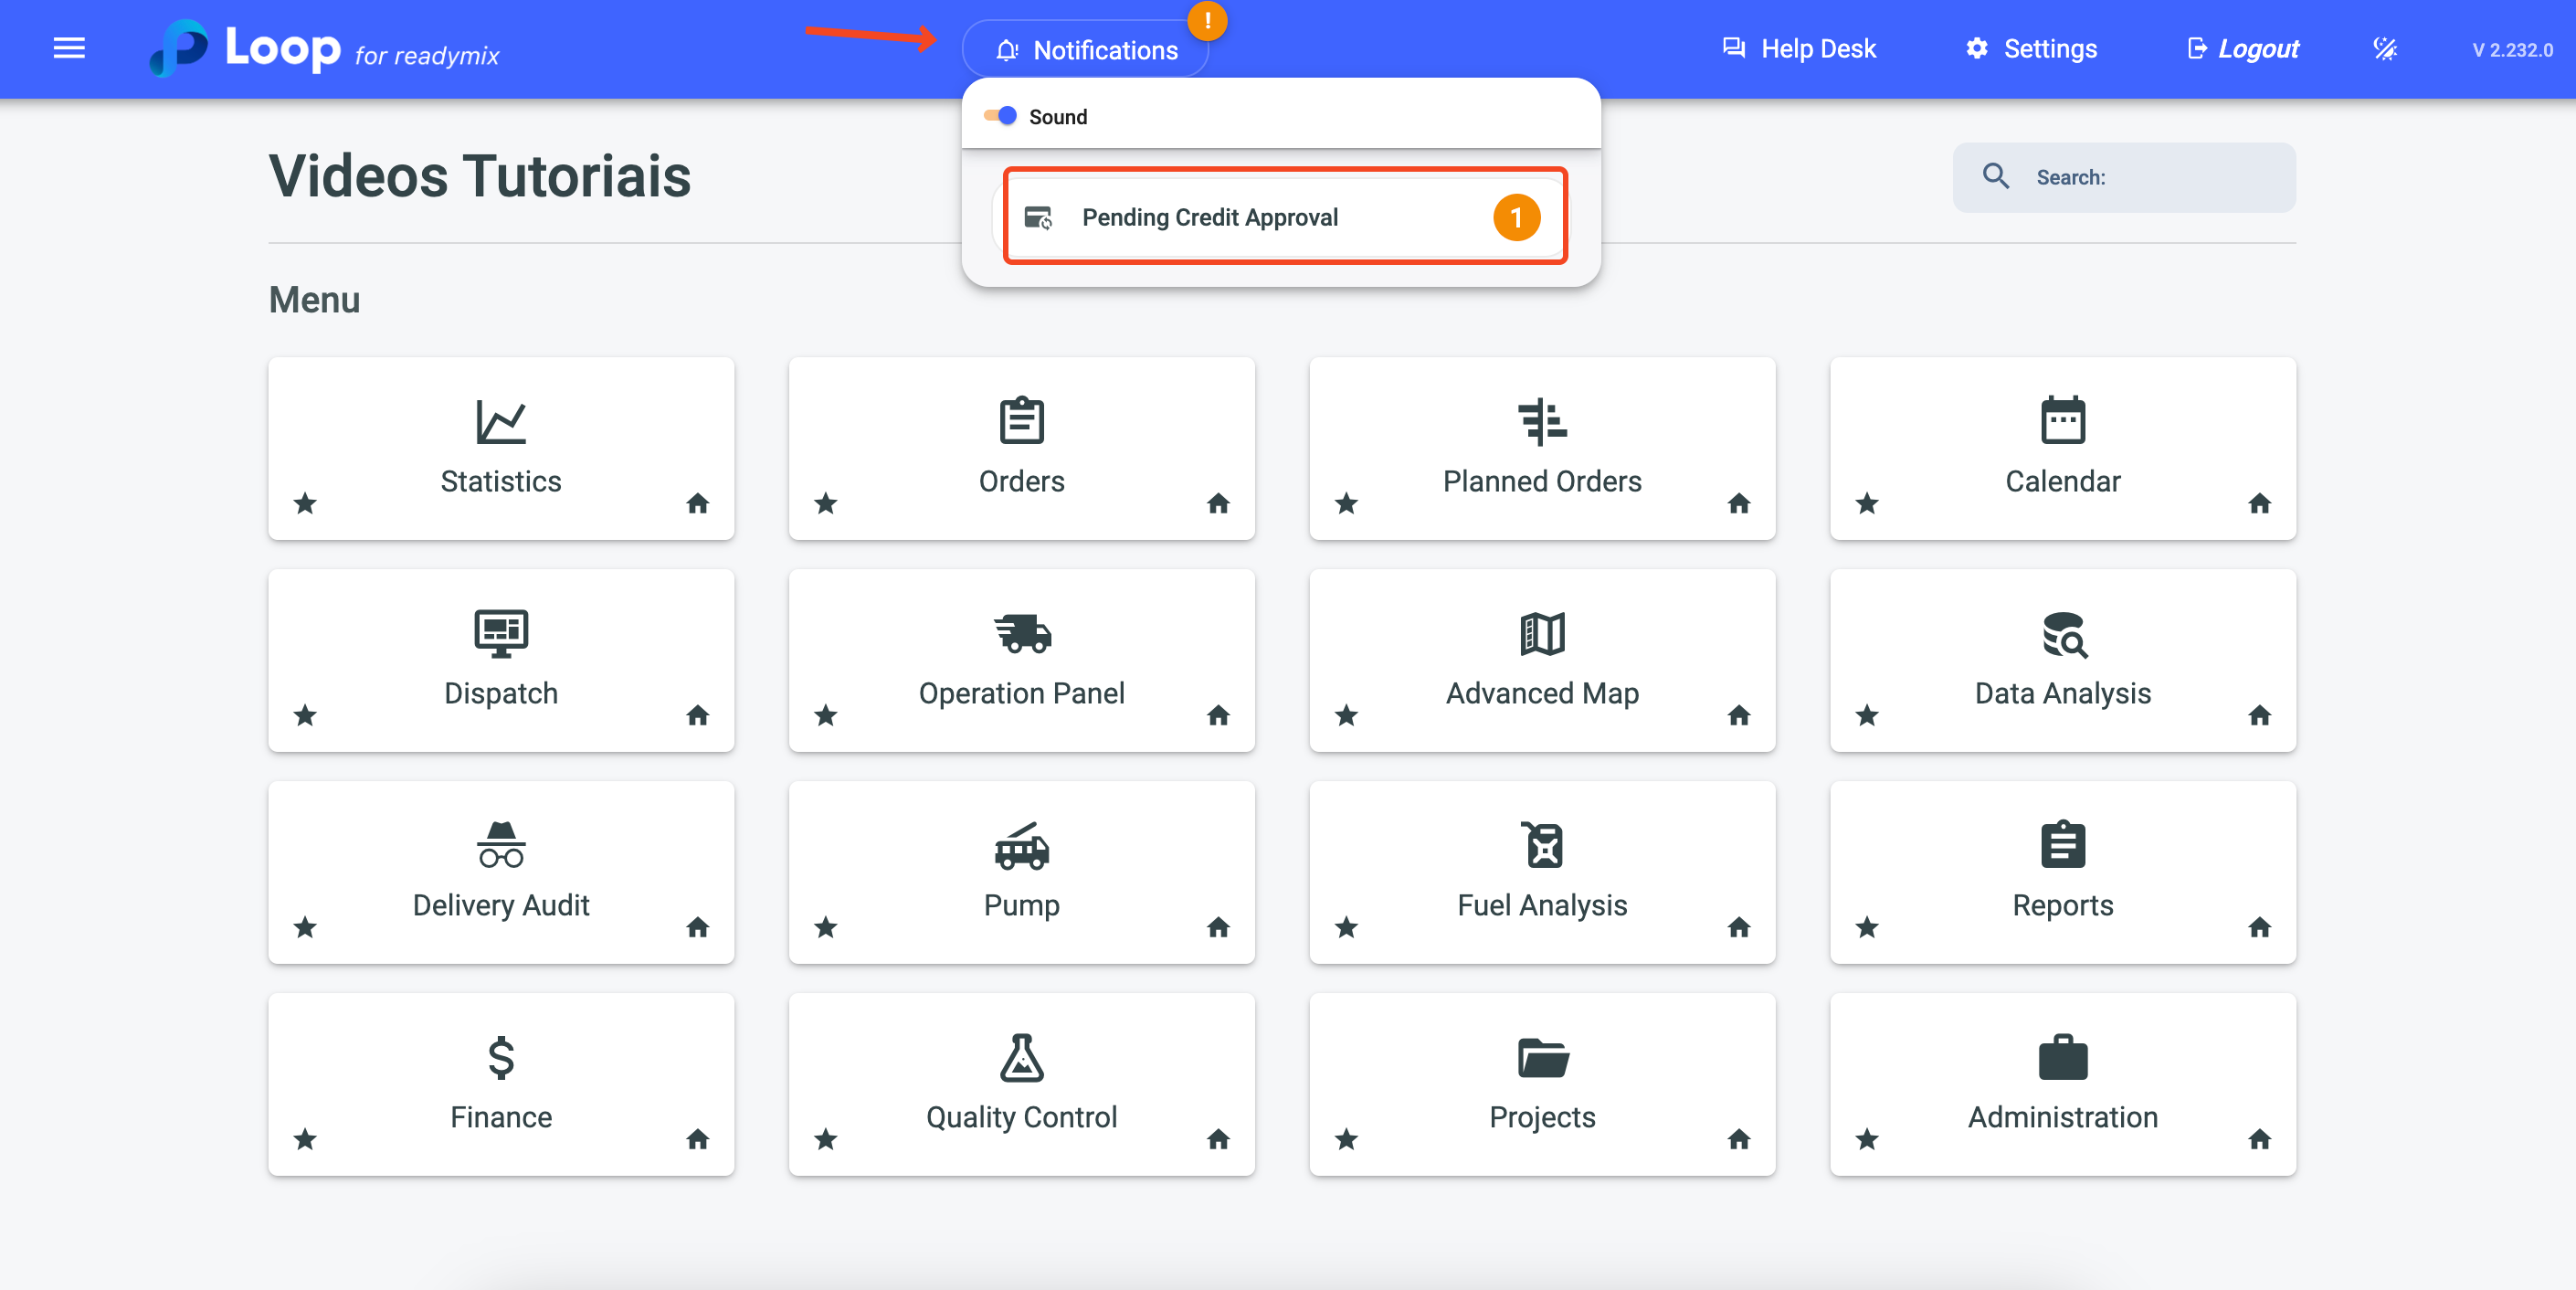
A request for Credit Approval will occur when the amount in m³ of Readymix exceeds the minimum or maximum quantity stipulated in the rule. When this situation occurs, a Visual and Sound notification will be issued to approving users.
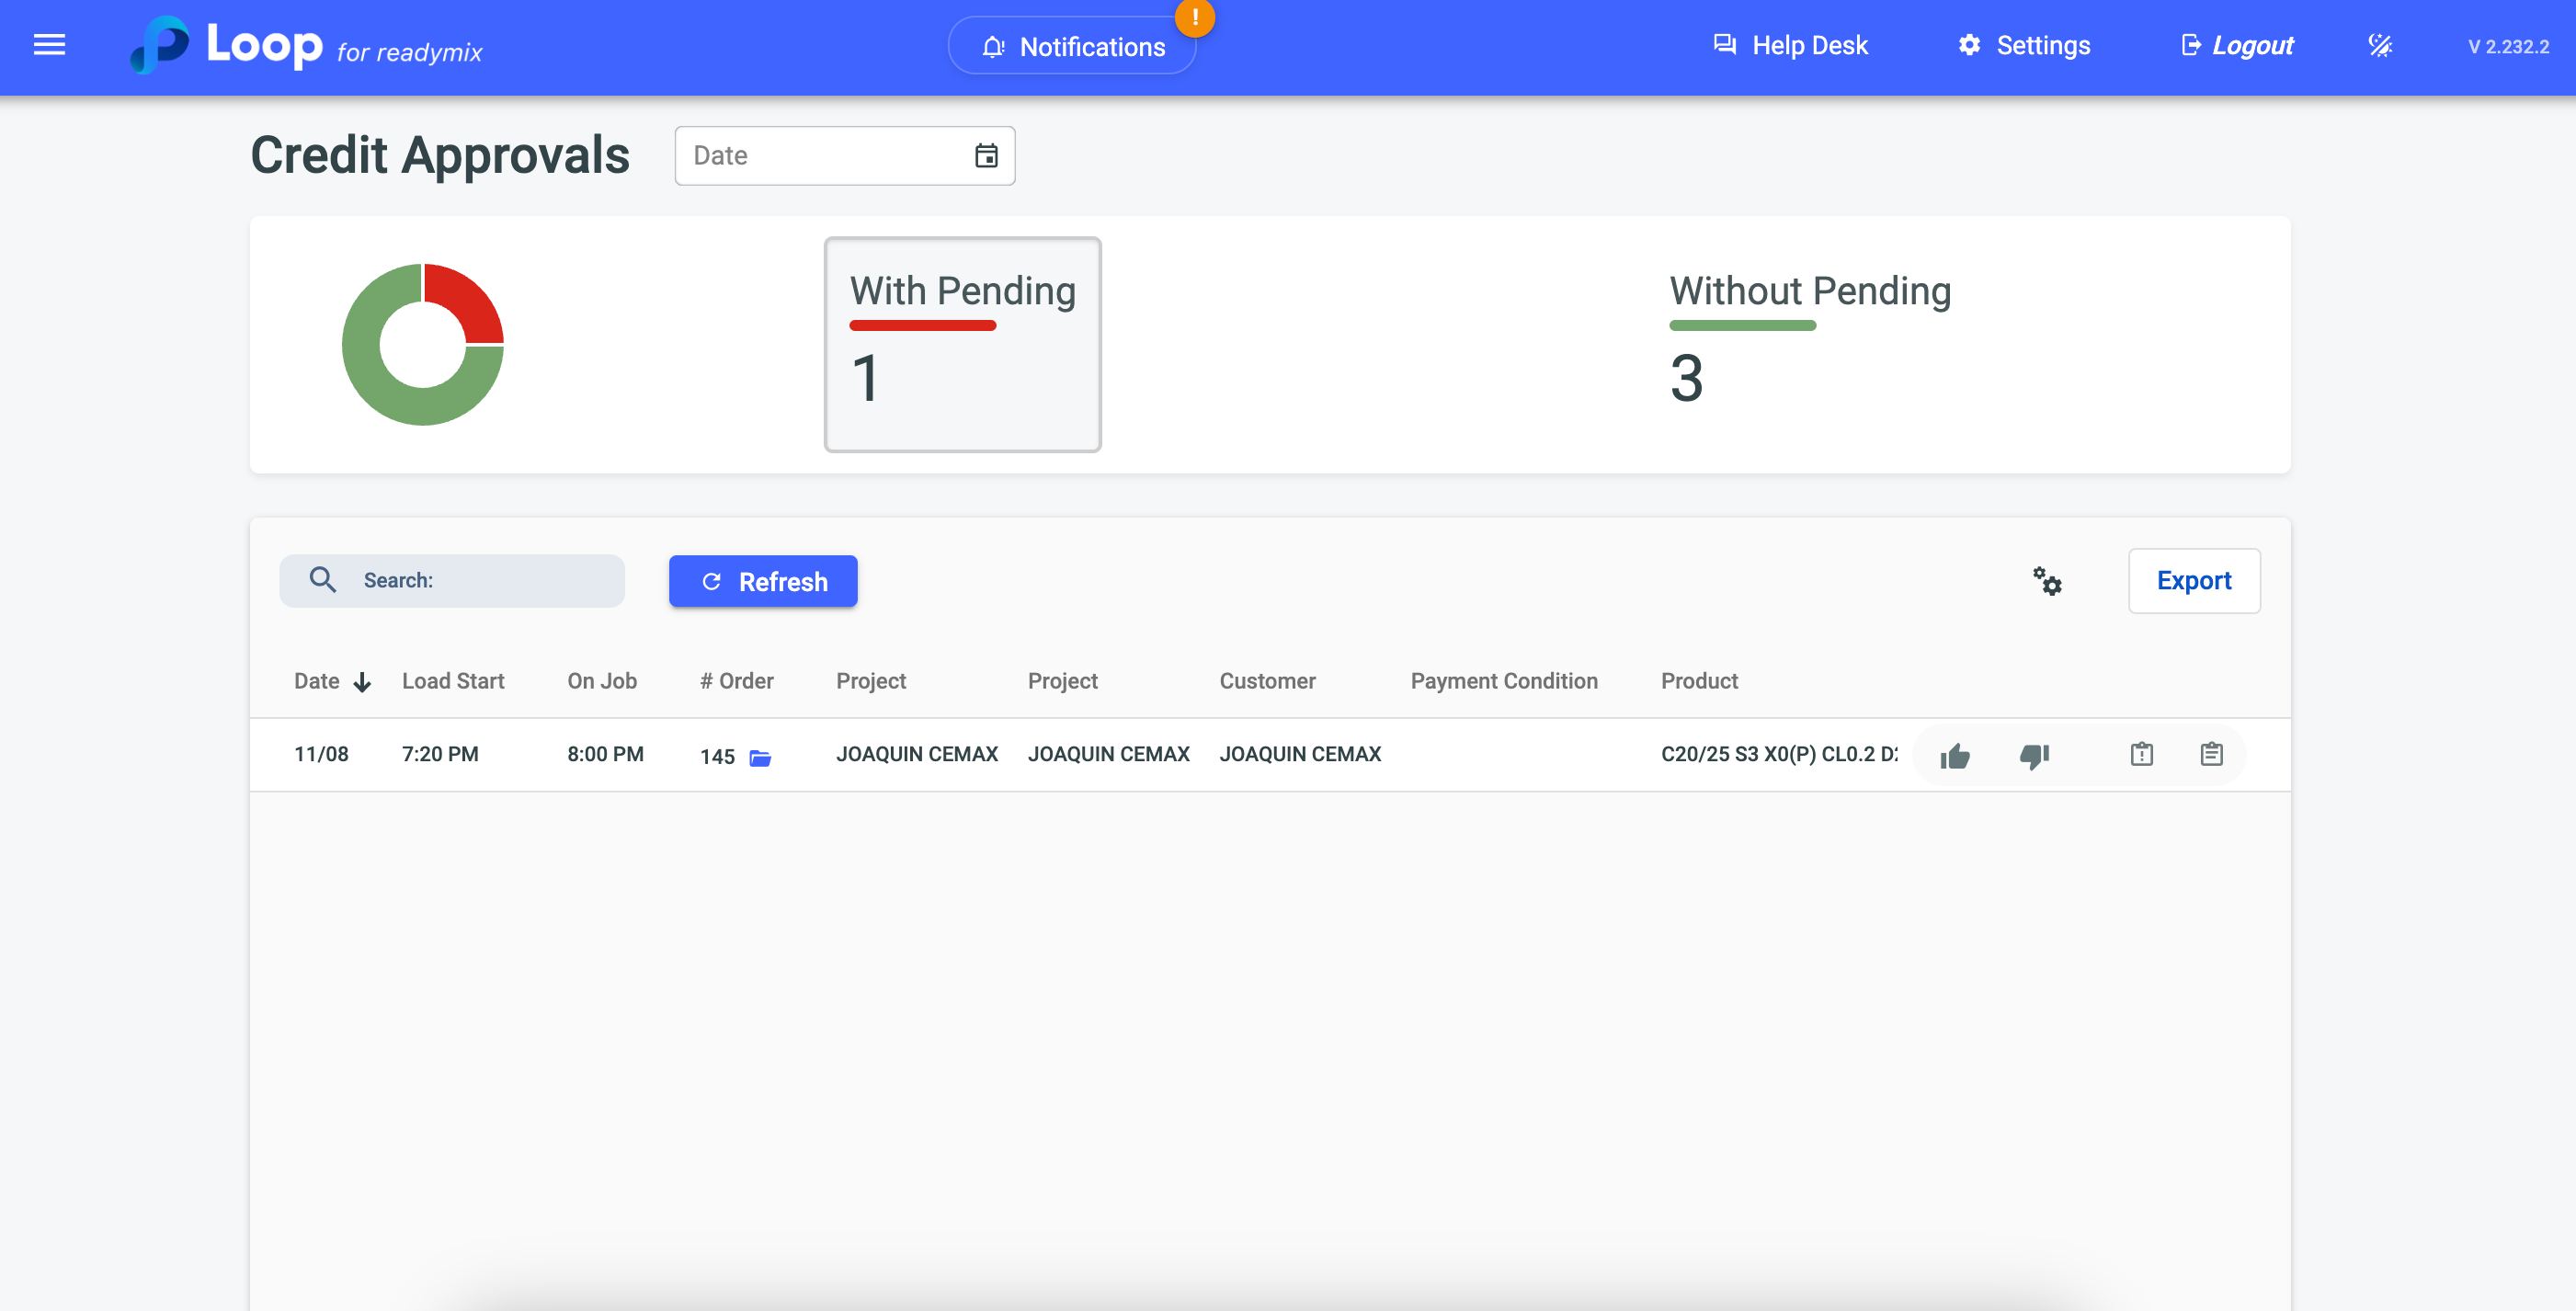
After clicking on the notification you will be redirected to the "Credit Approvals" panel
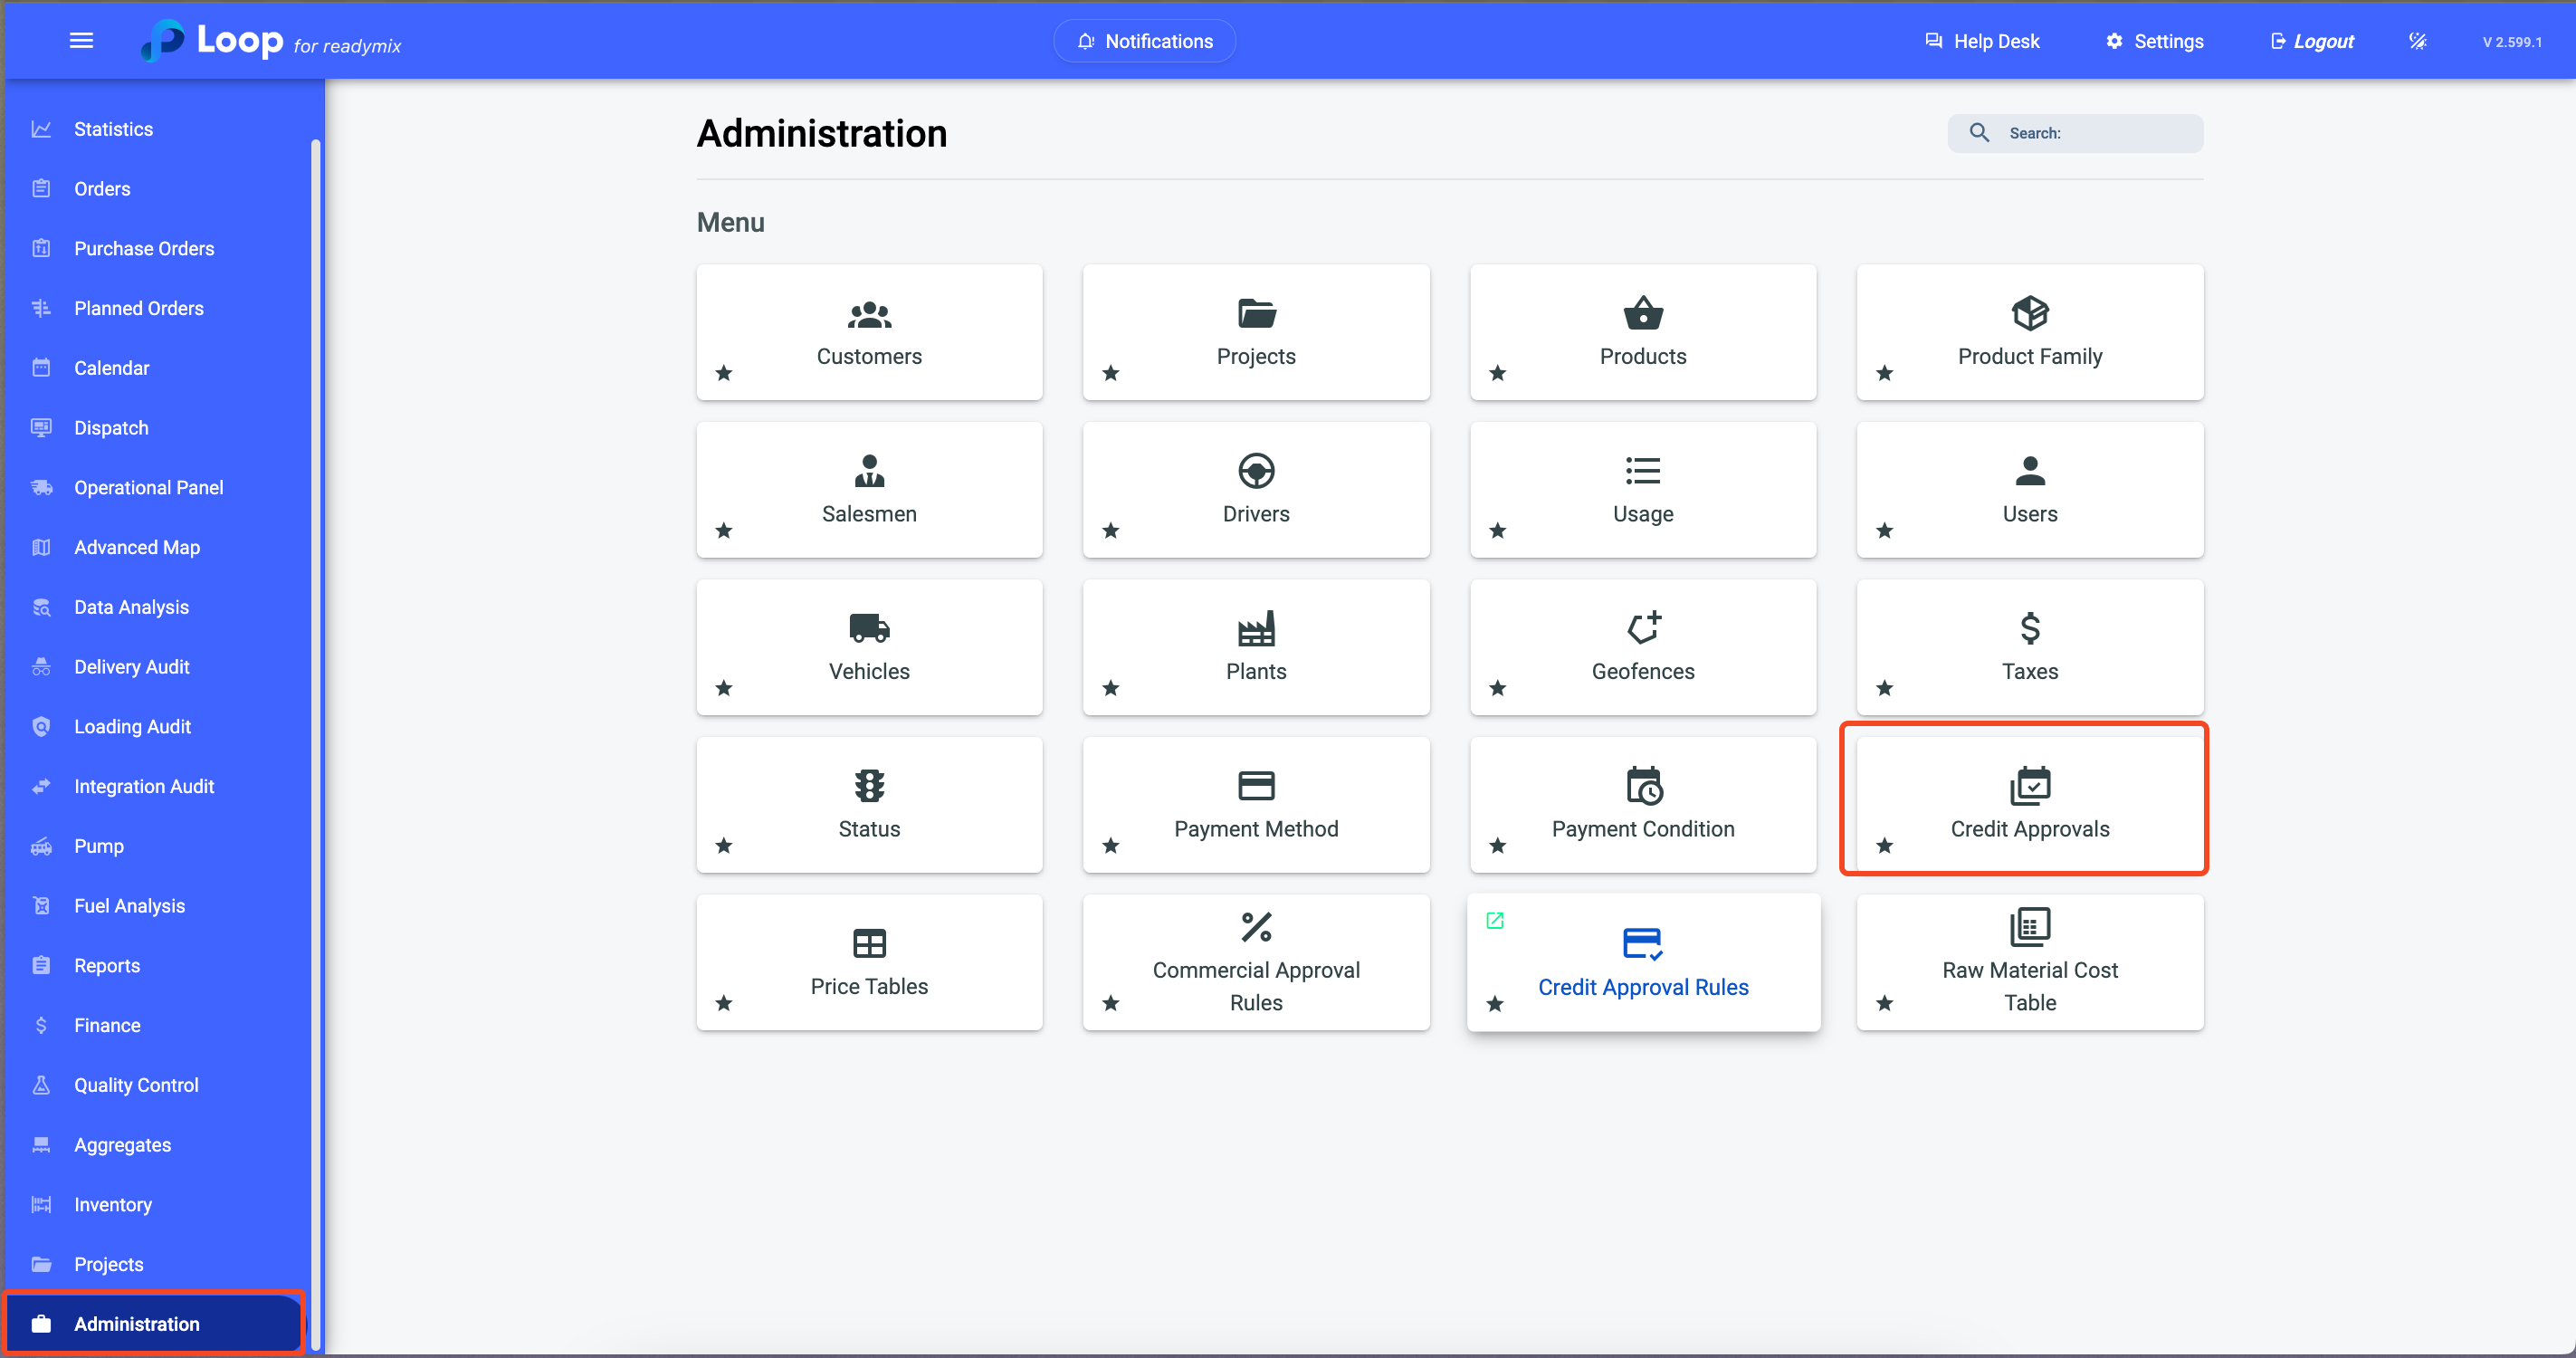
If necessary, you can access this panel by going to the side menu: "Administration" > "Credit Approvals"
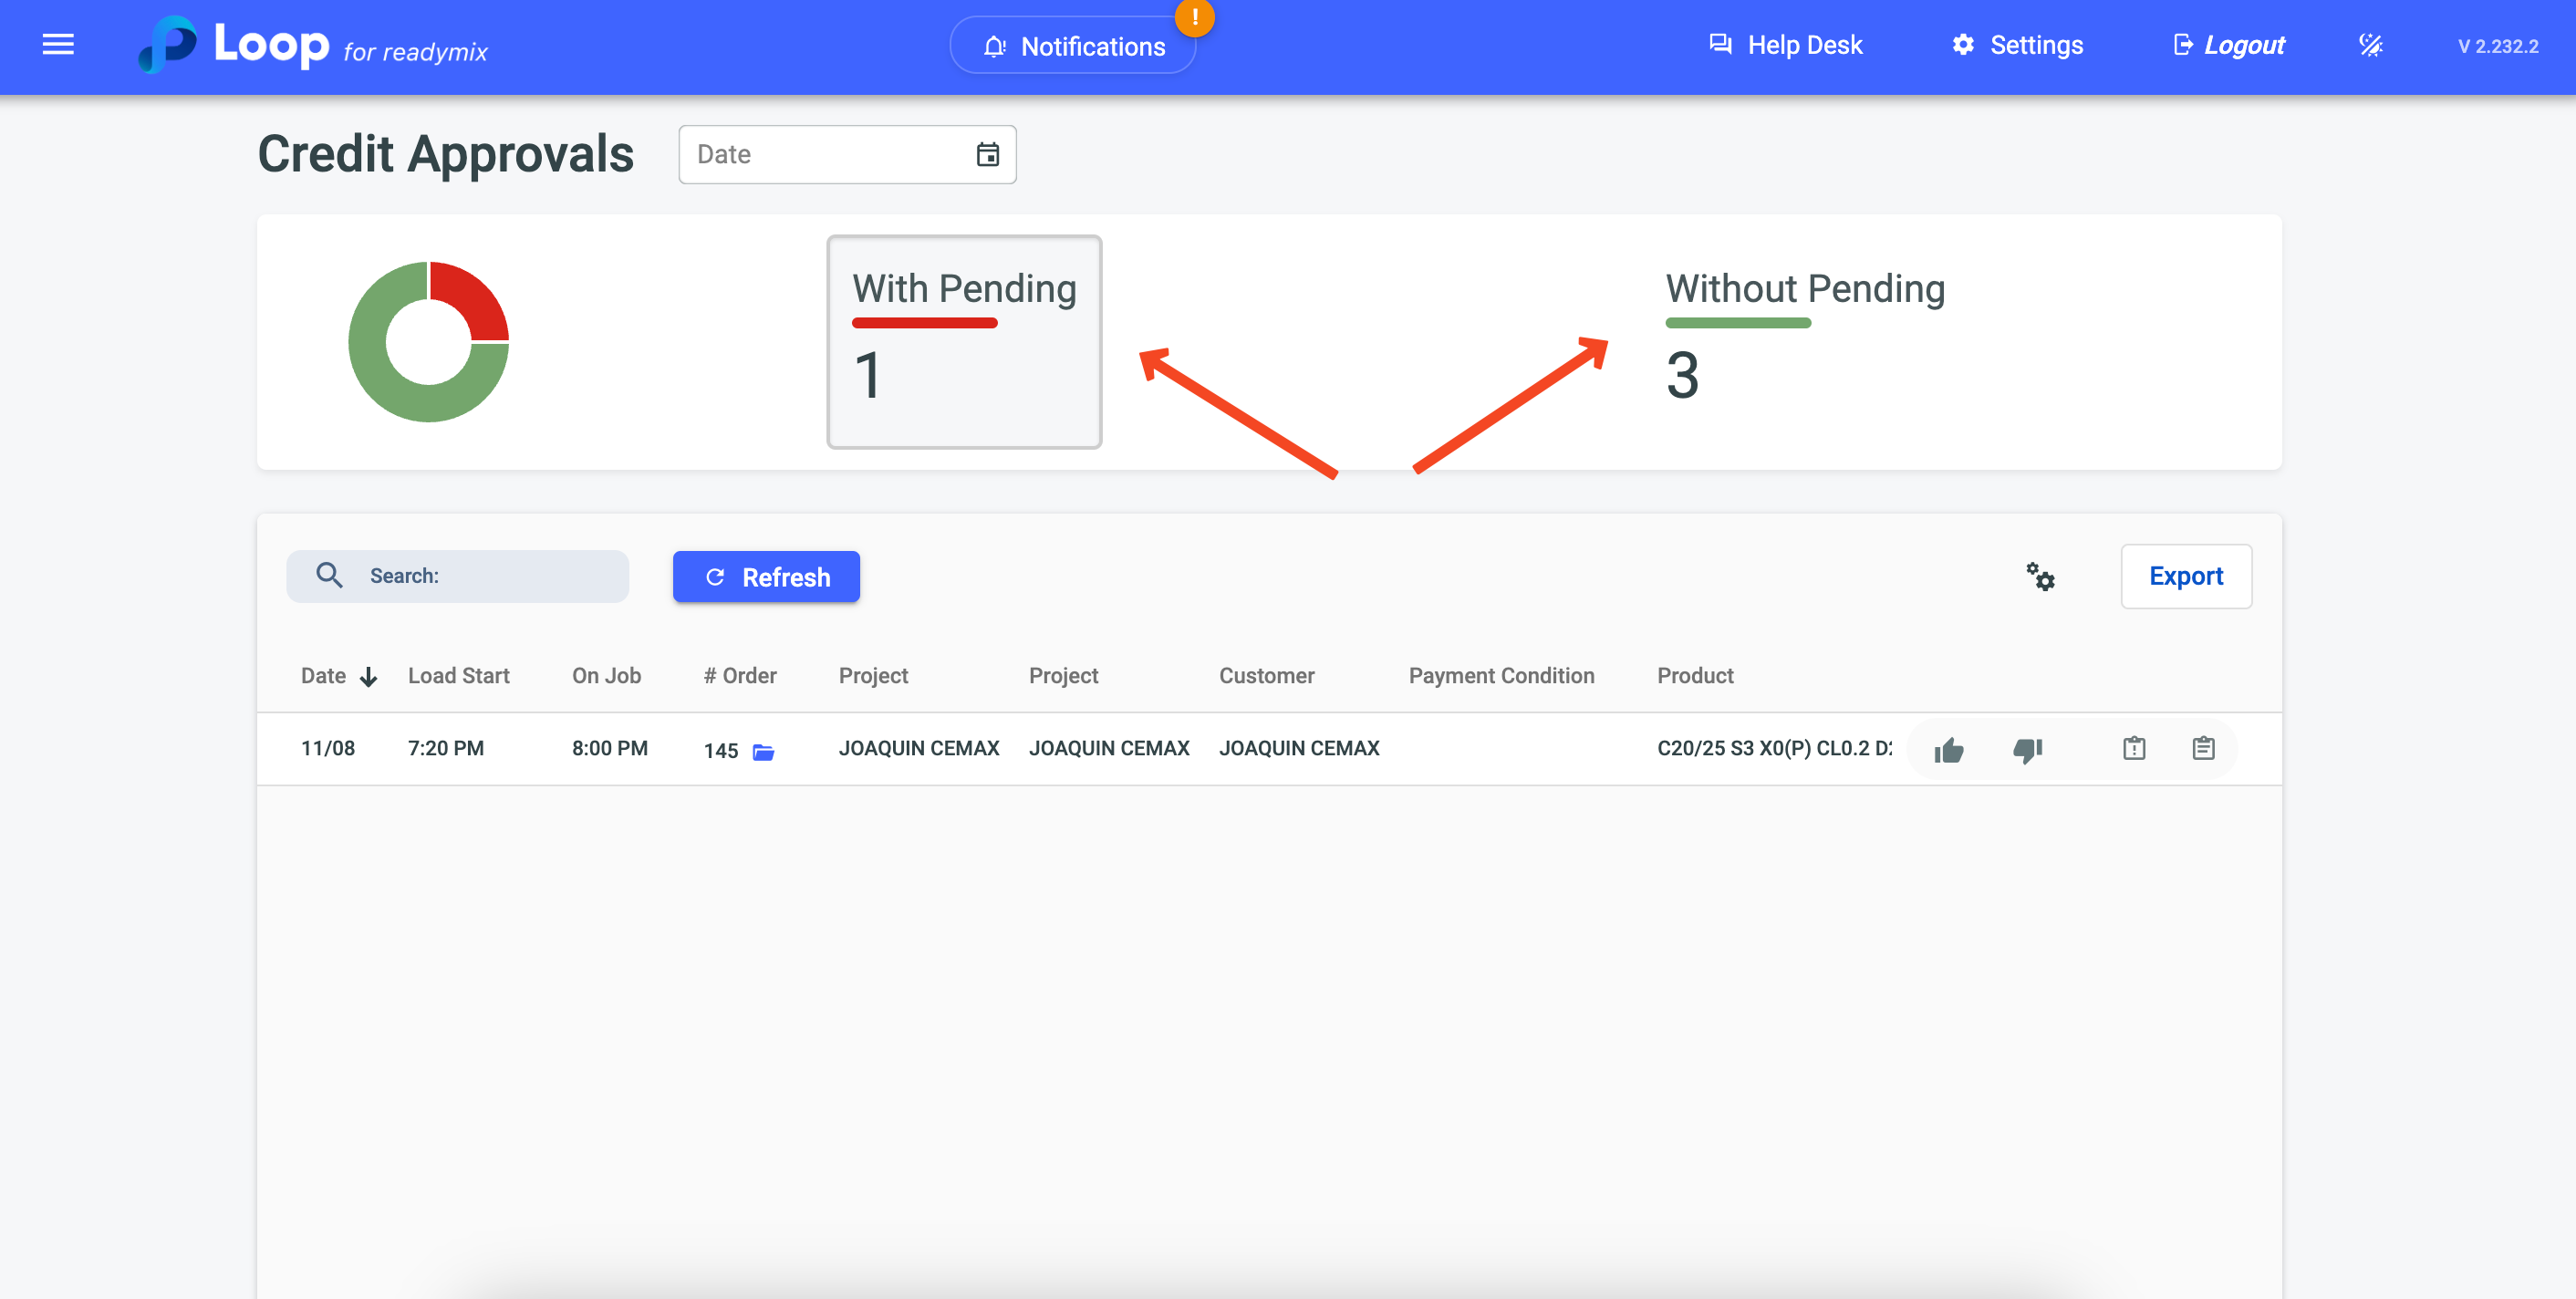
Filters:
You can filter approvals by clicking on "With Pending" or "Without pending".
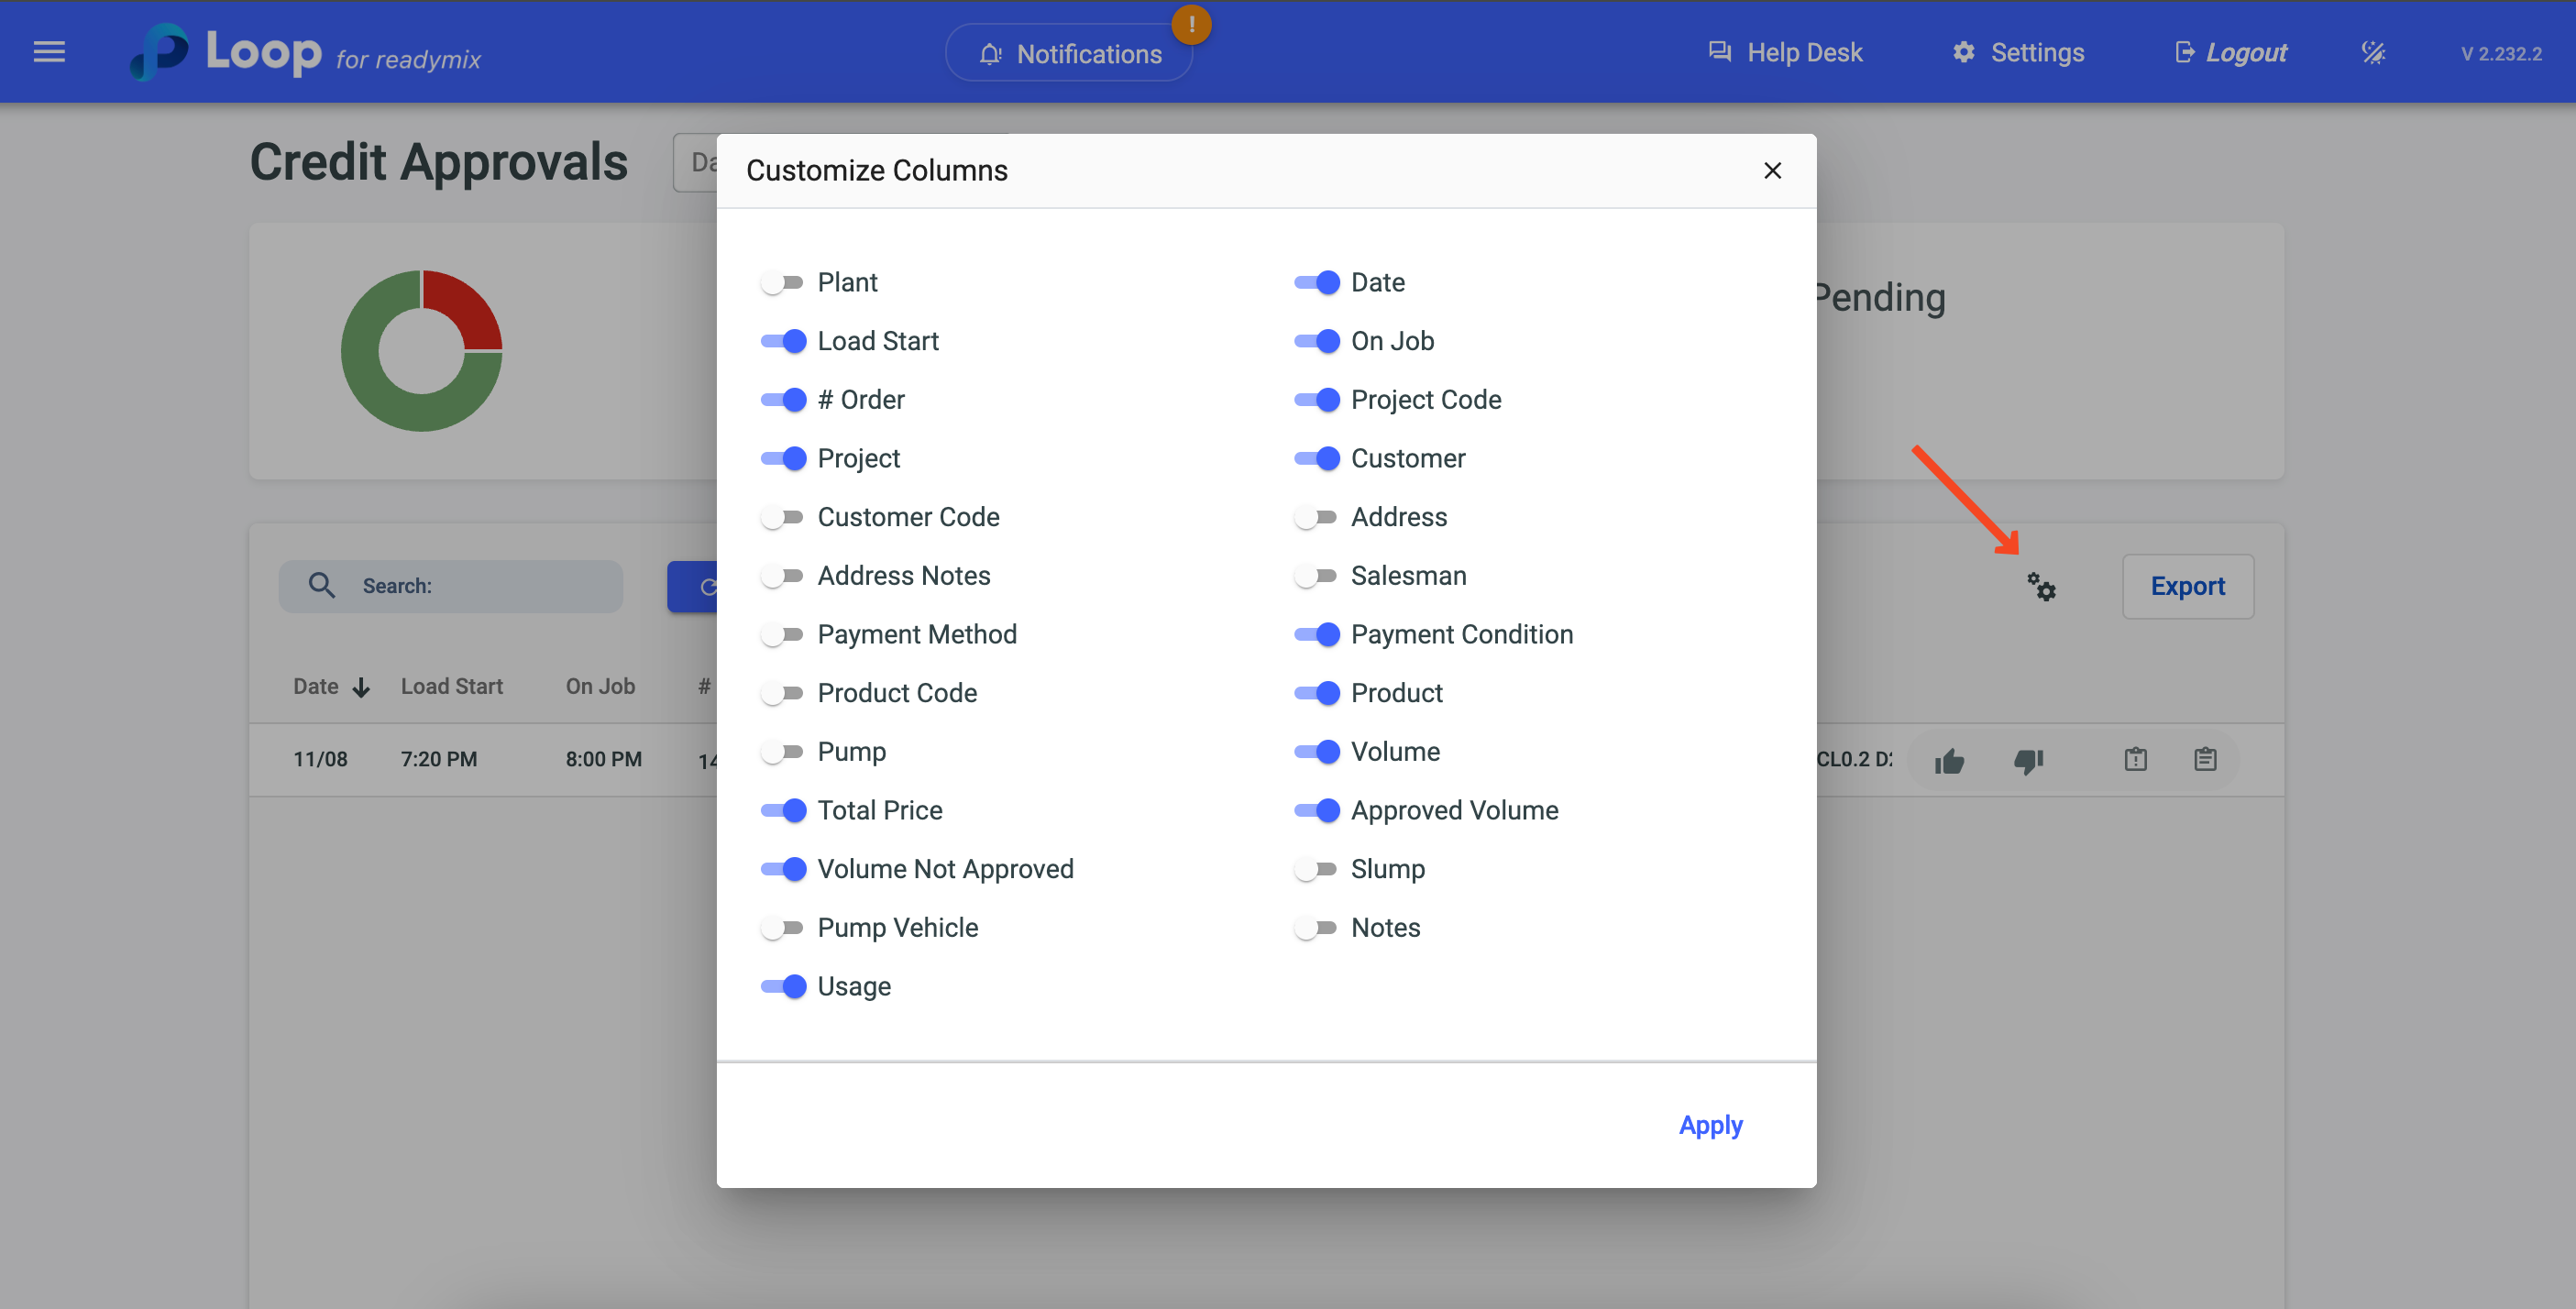
Column Customization:
It is also possible to customize the columns presented on the screen by clicking on the gear icon:
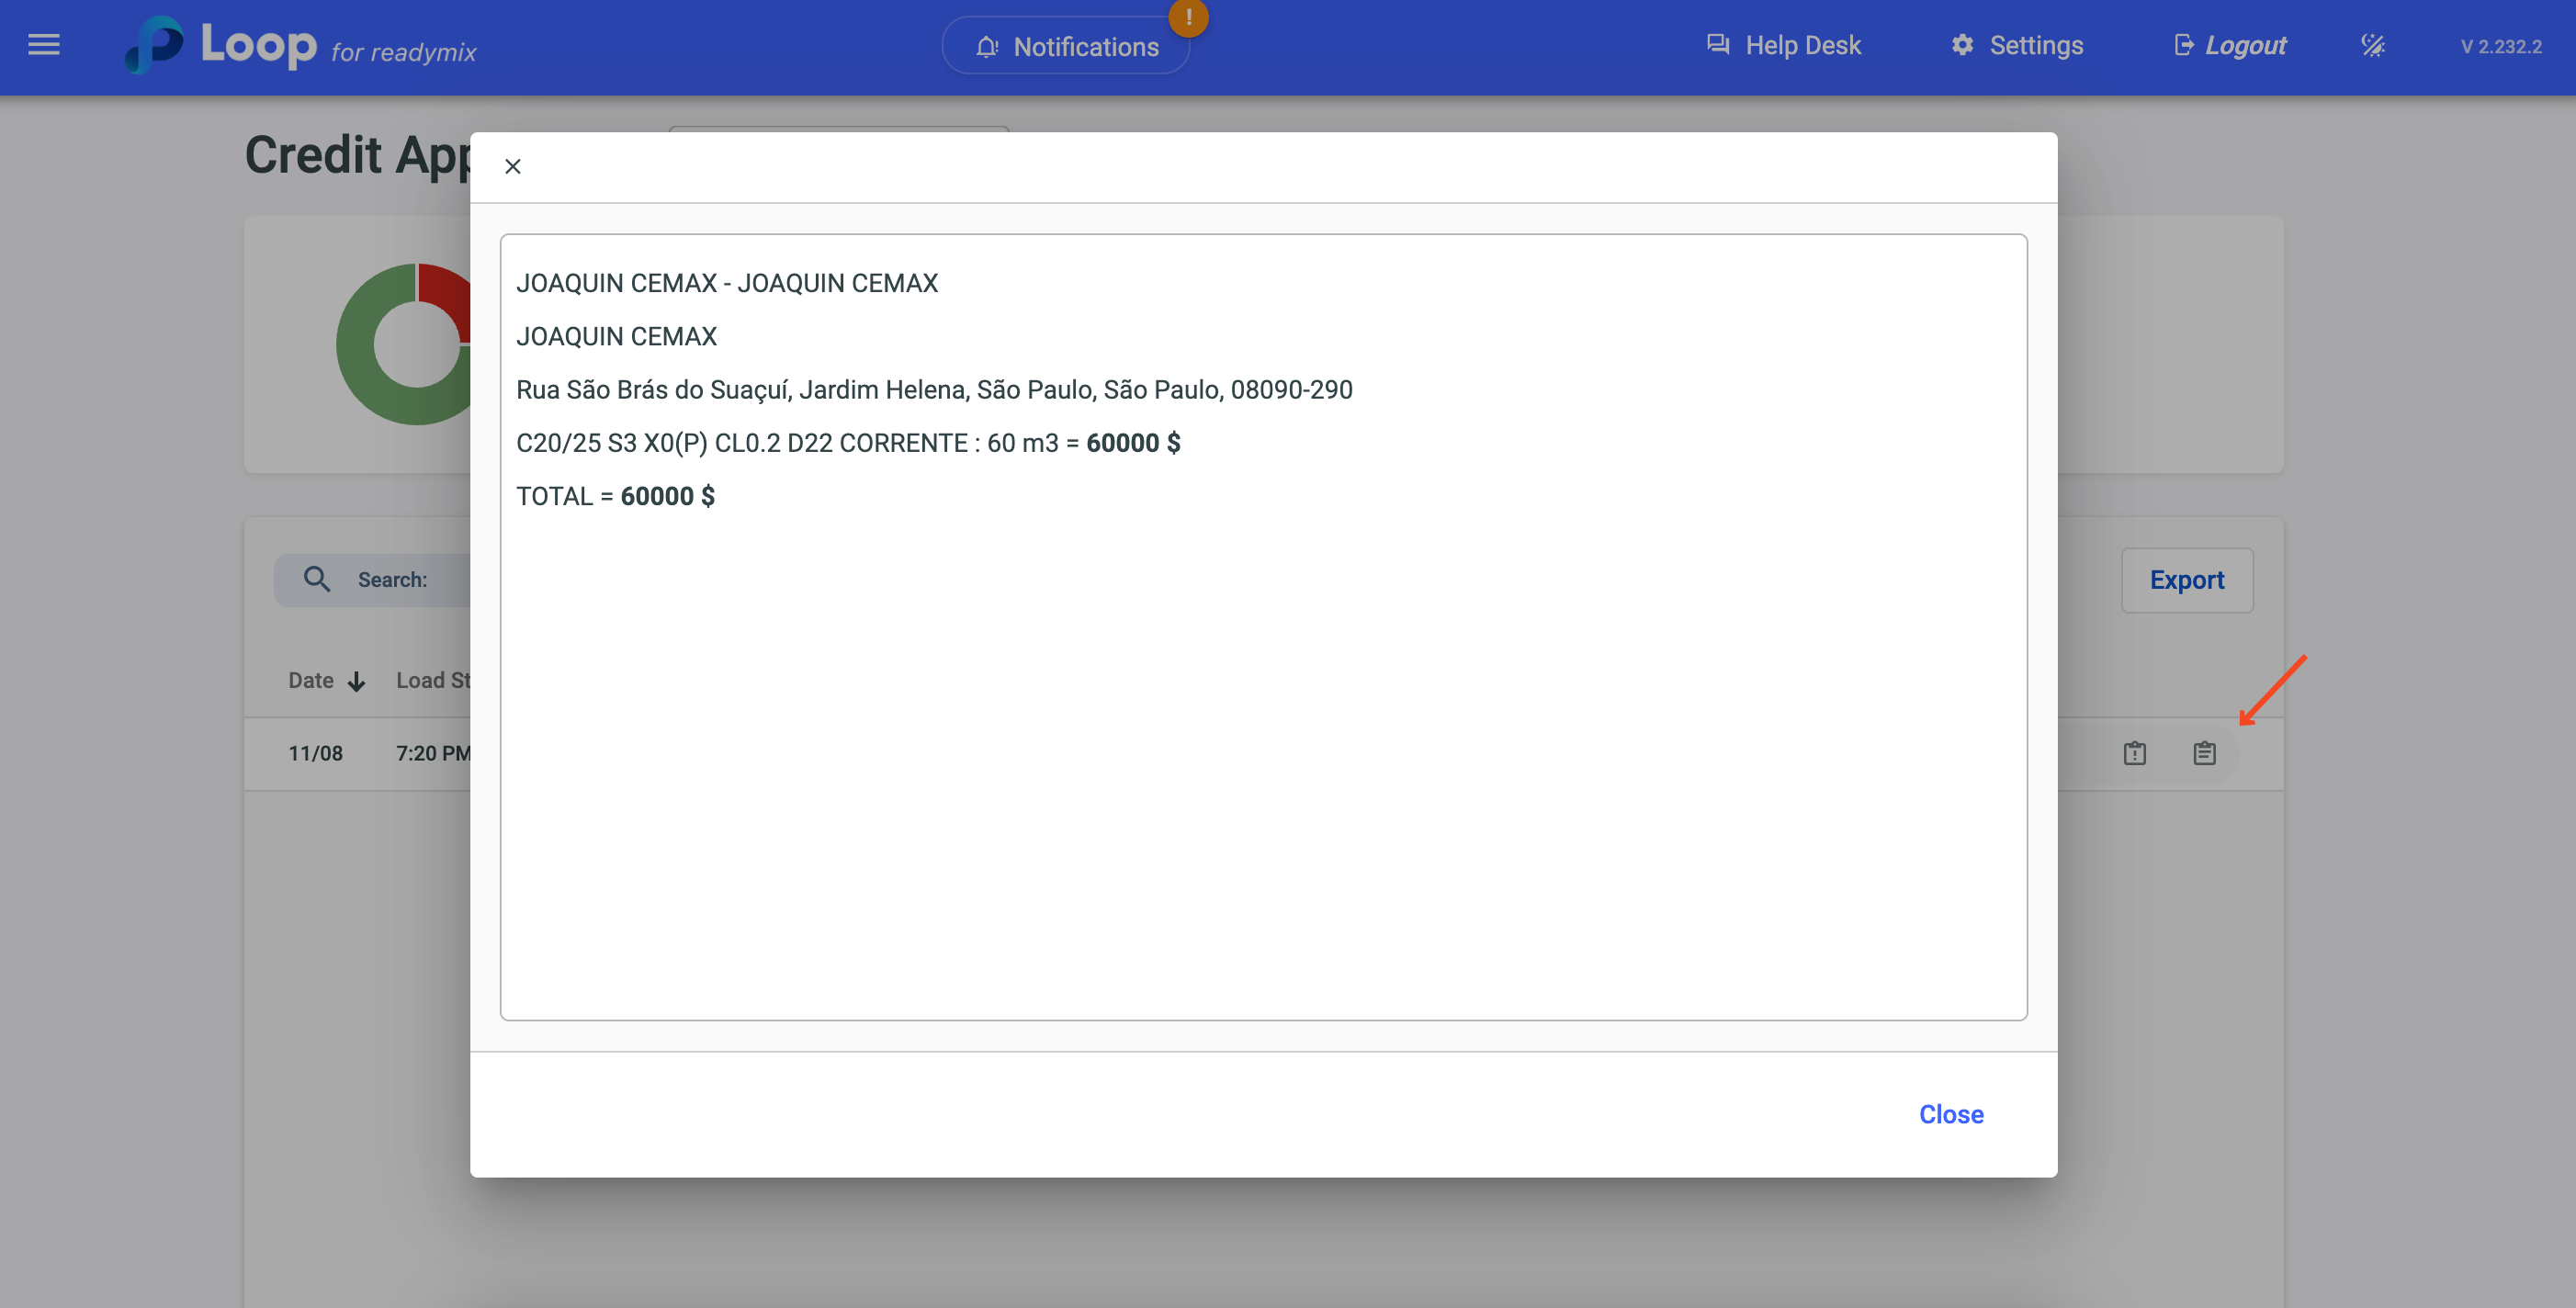
Details:
You can check the schedule details by clicking on the "Details" icon
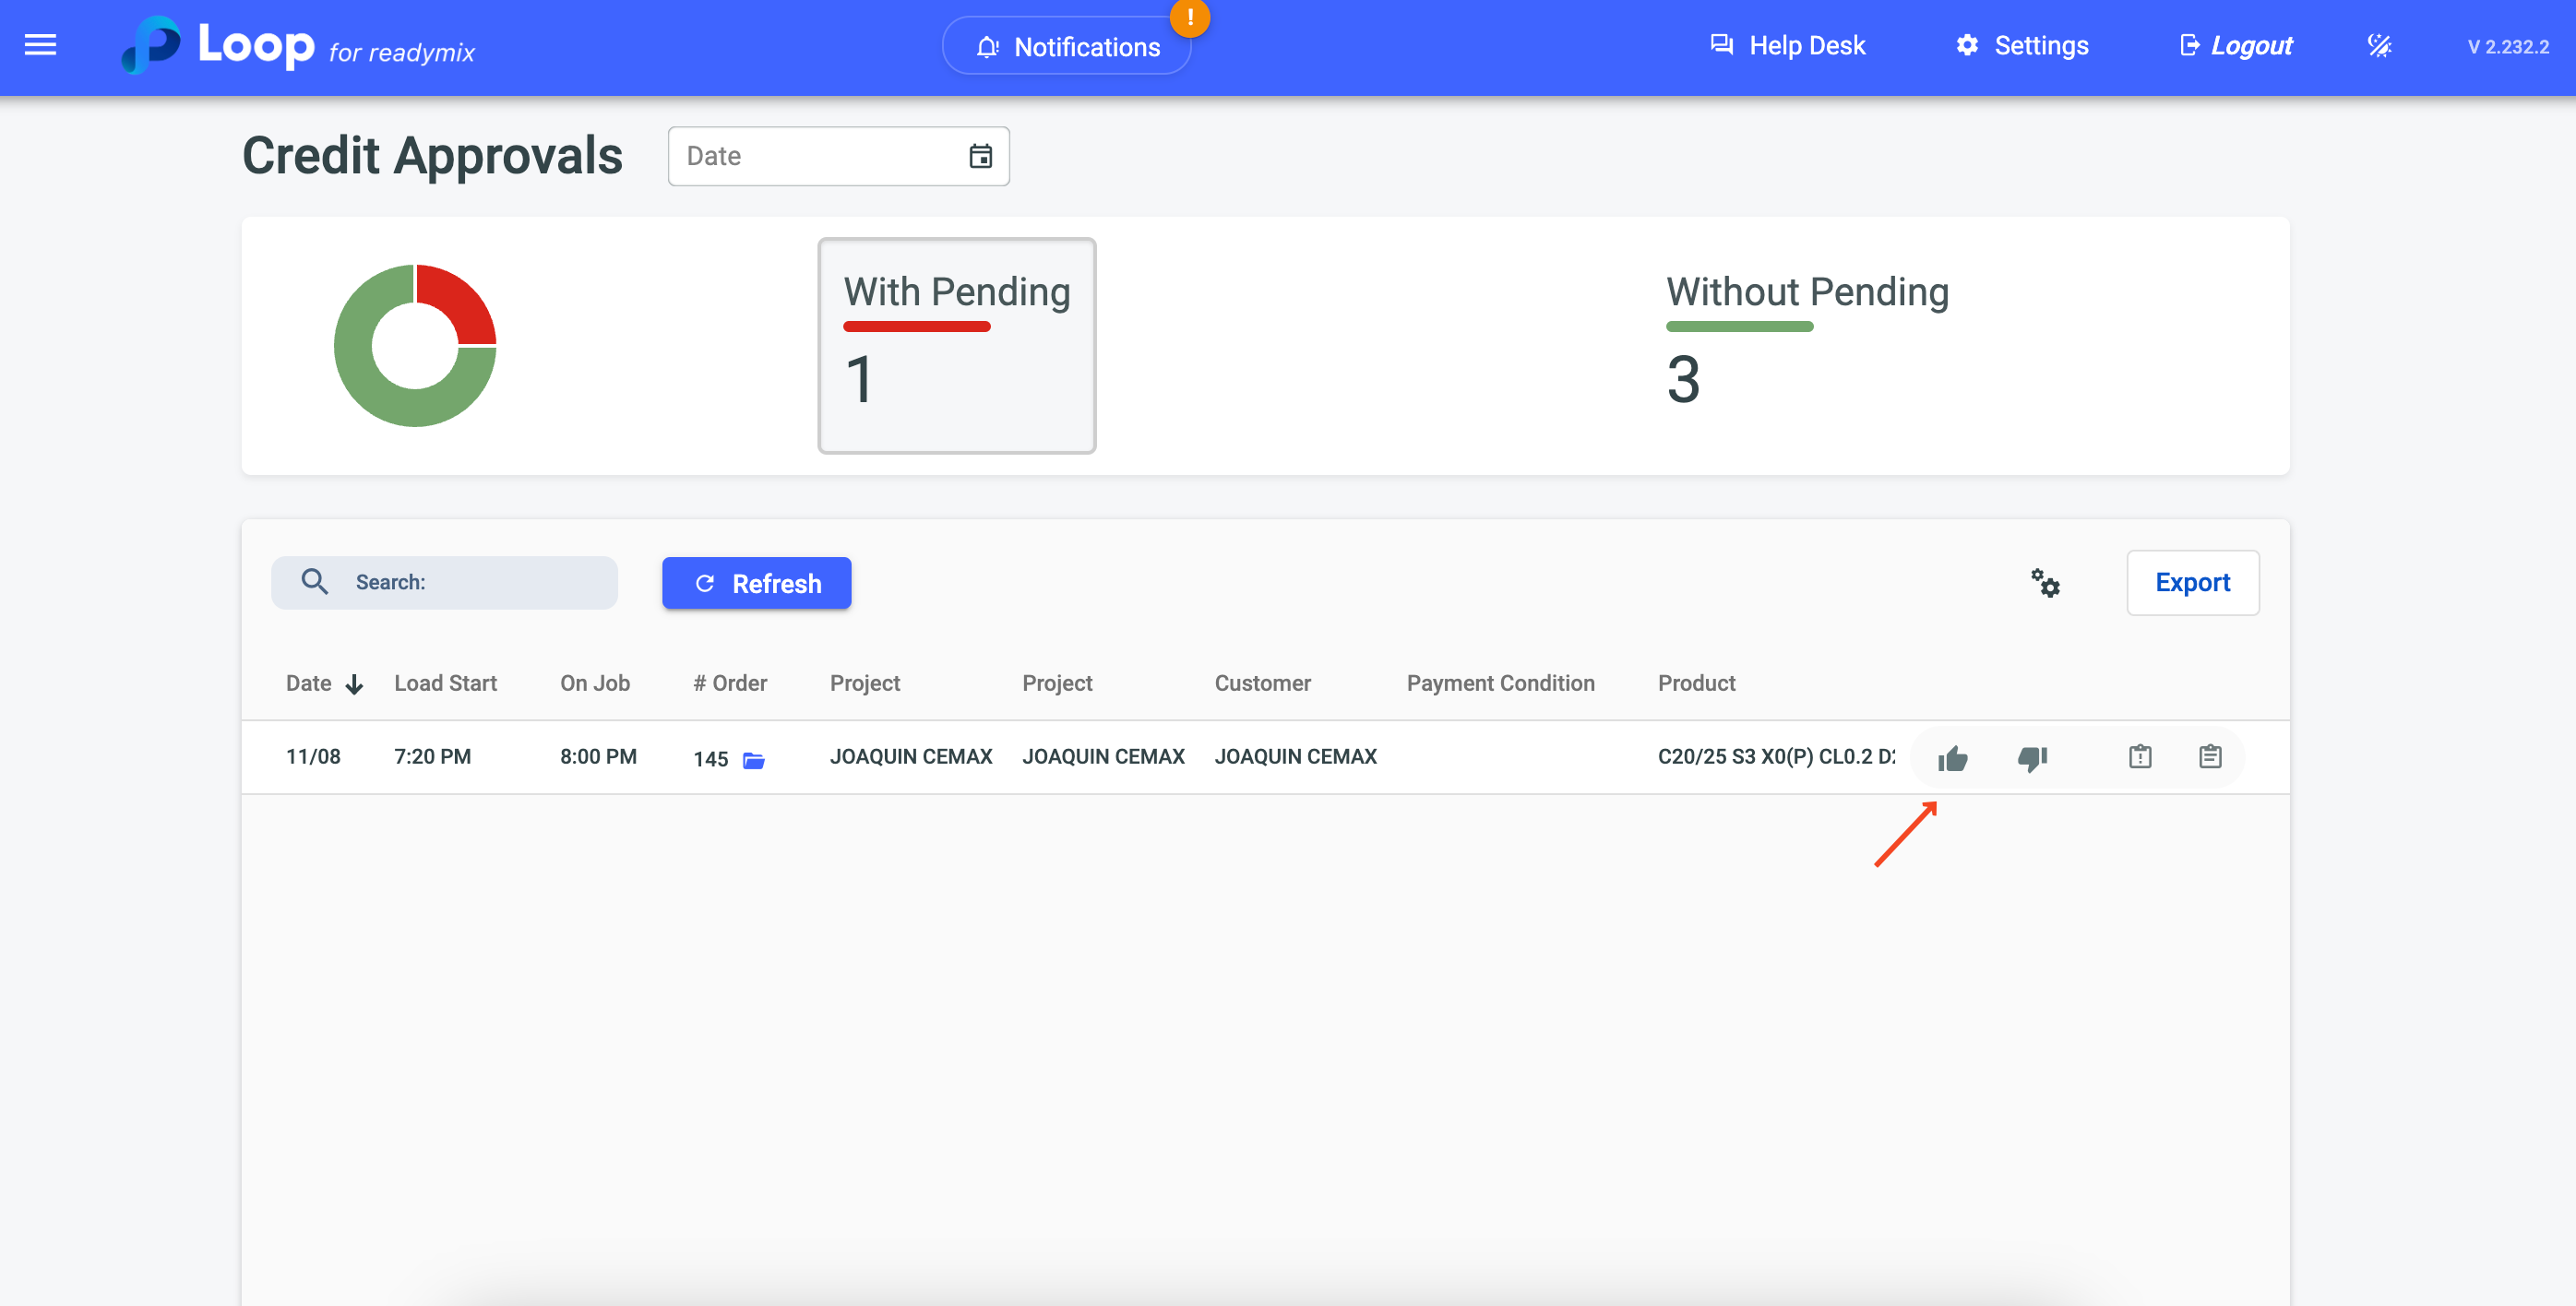
Approved:
To approve a schedule just click on the "Approved" icon
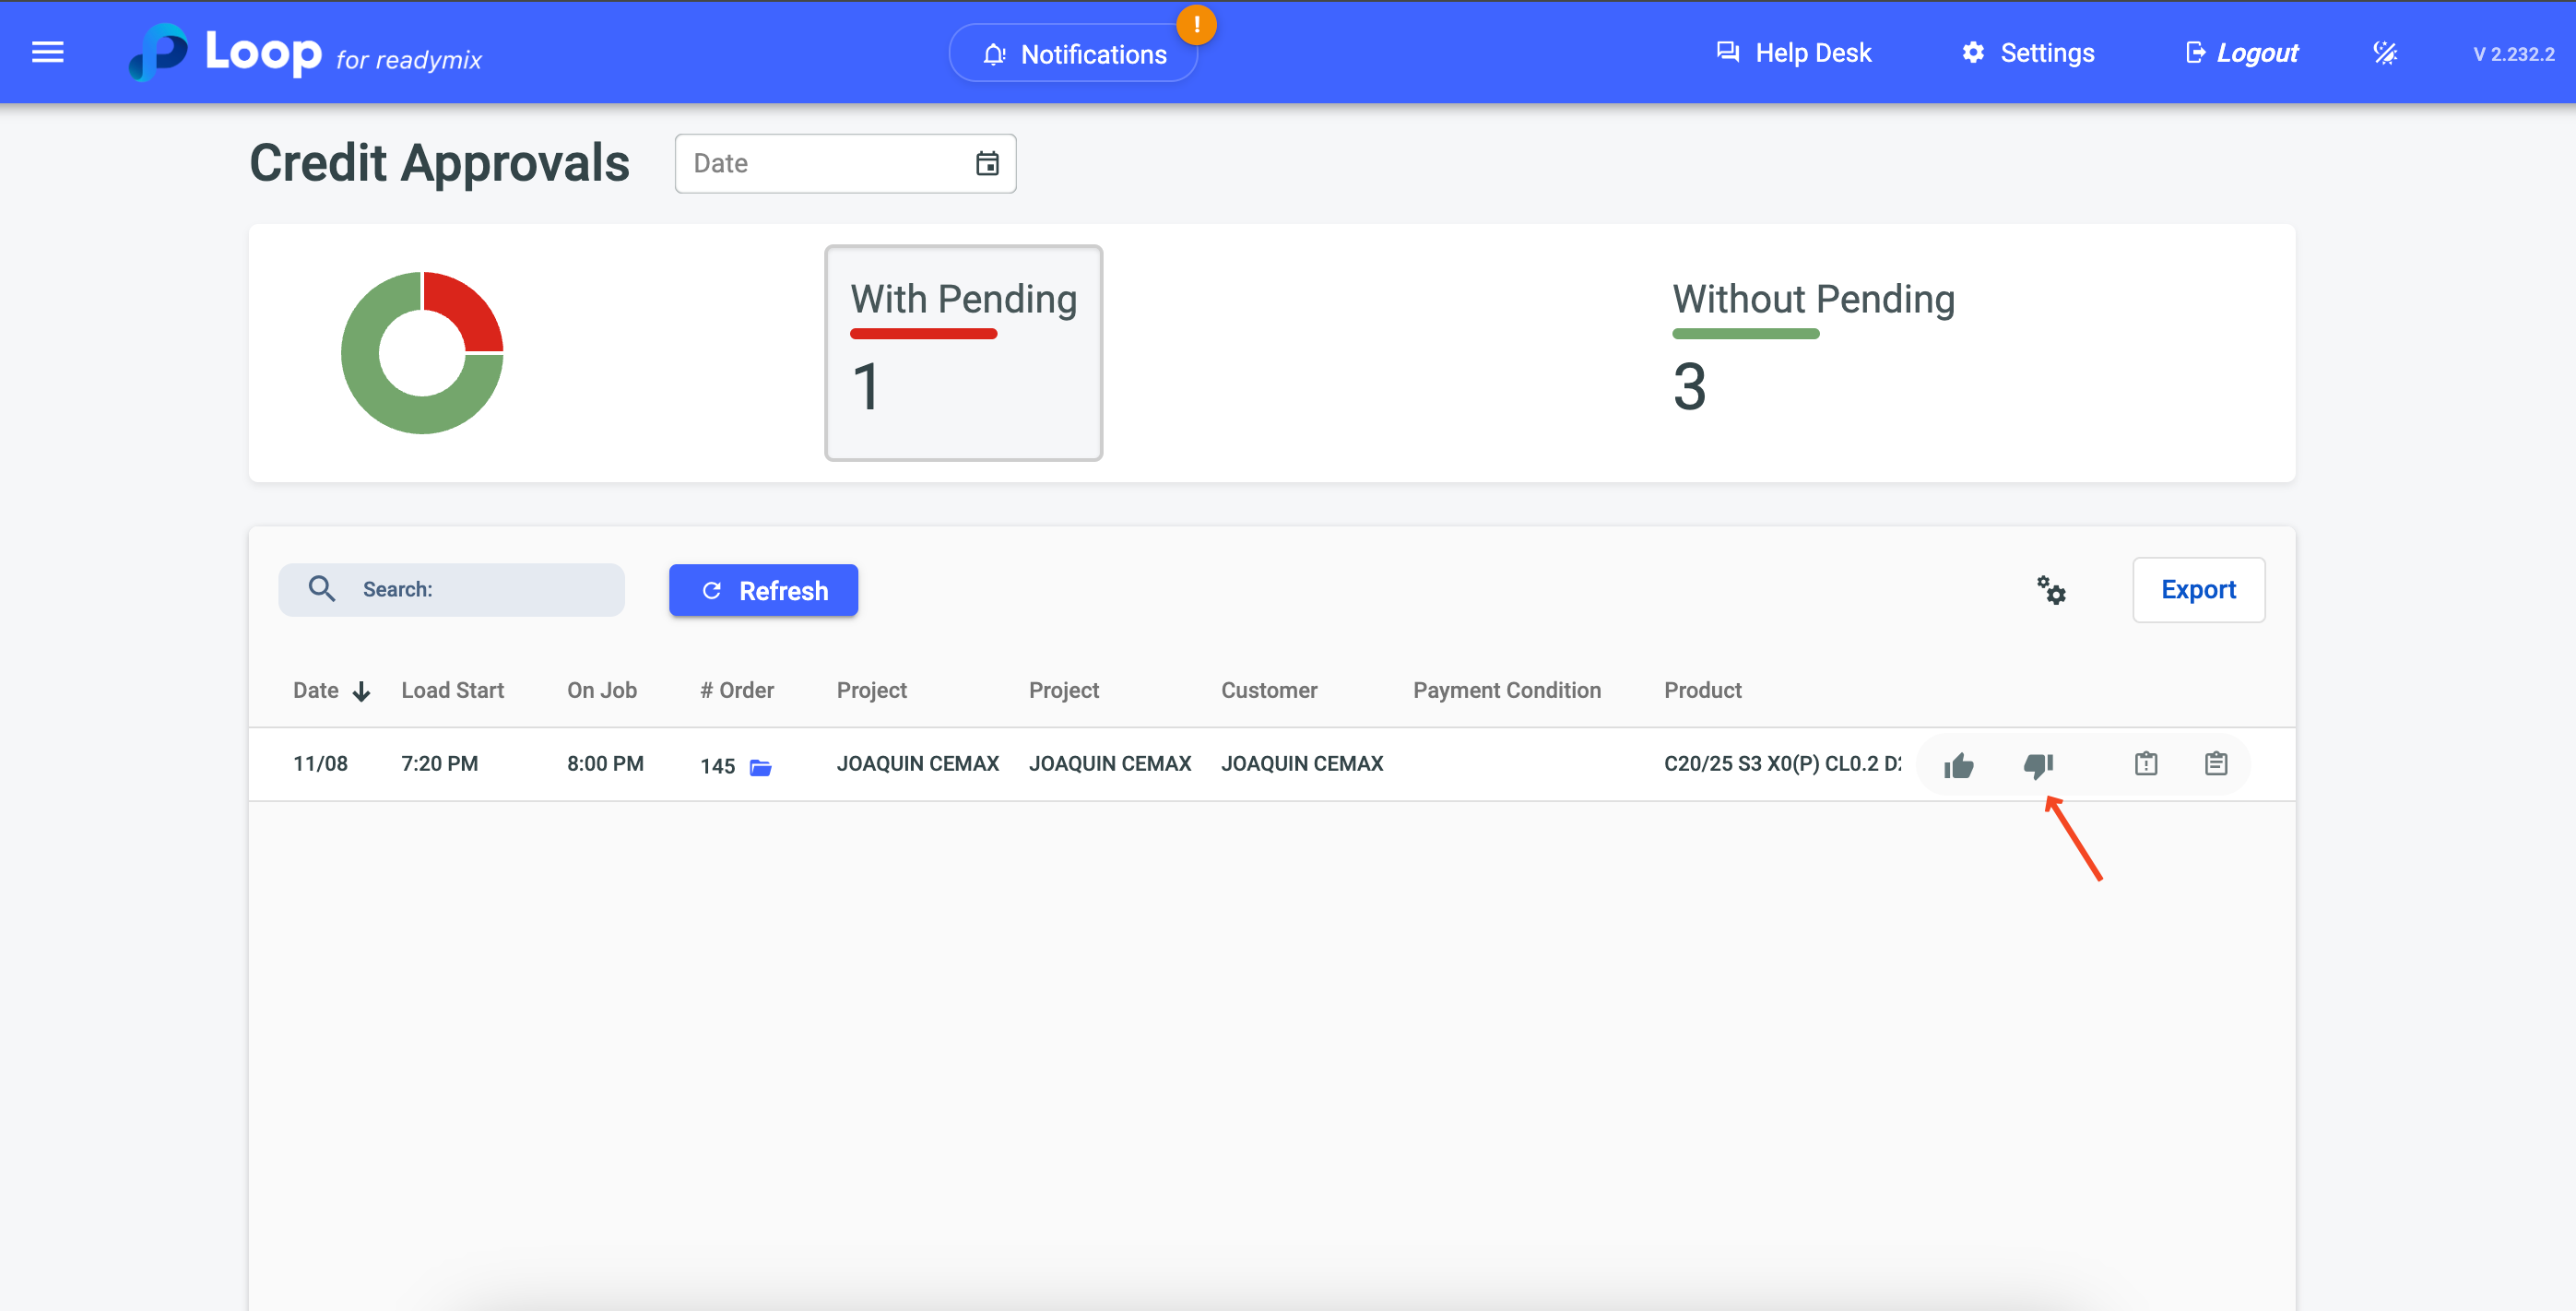
Reproved:
To disapprove a schedule just click on the "Reproved" icon
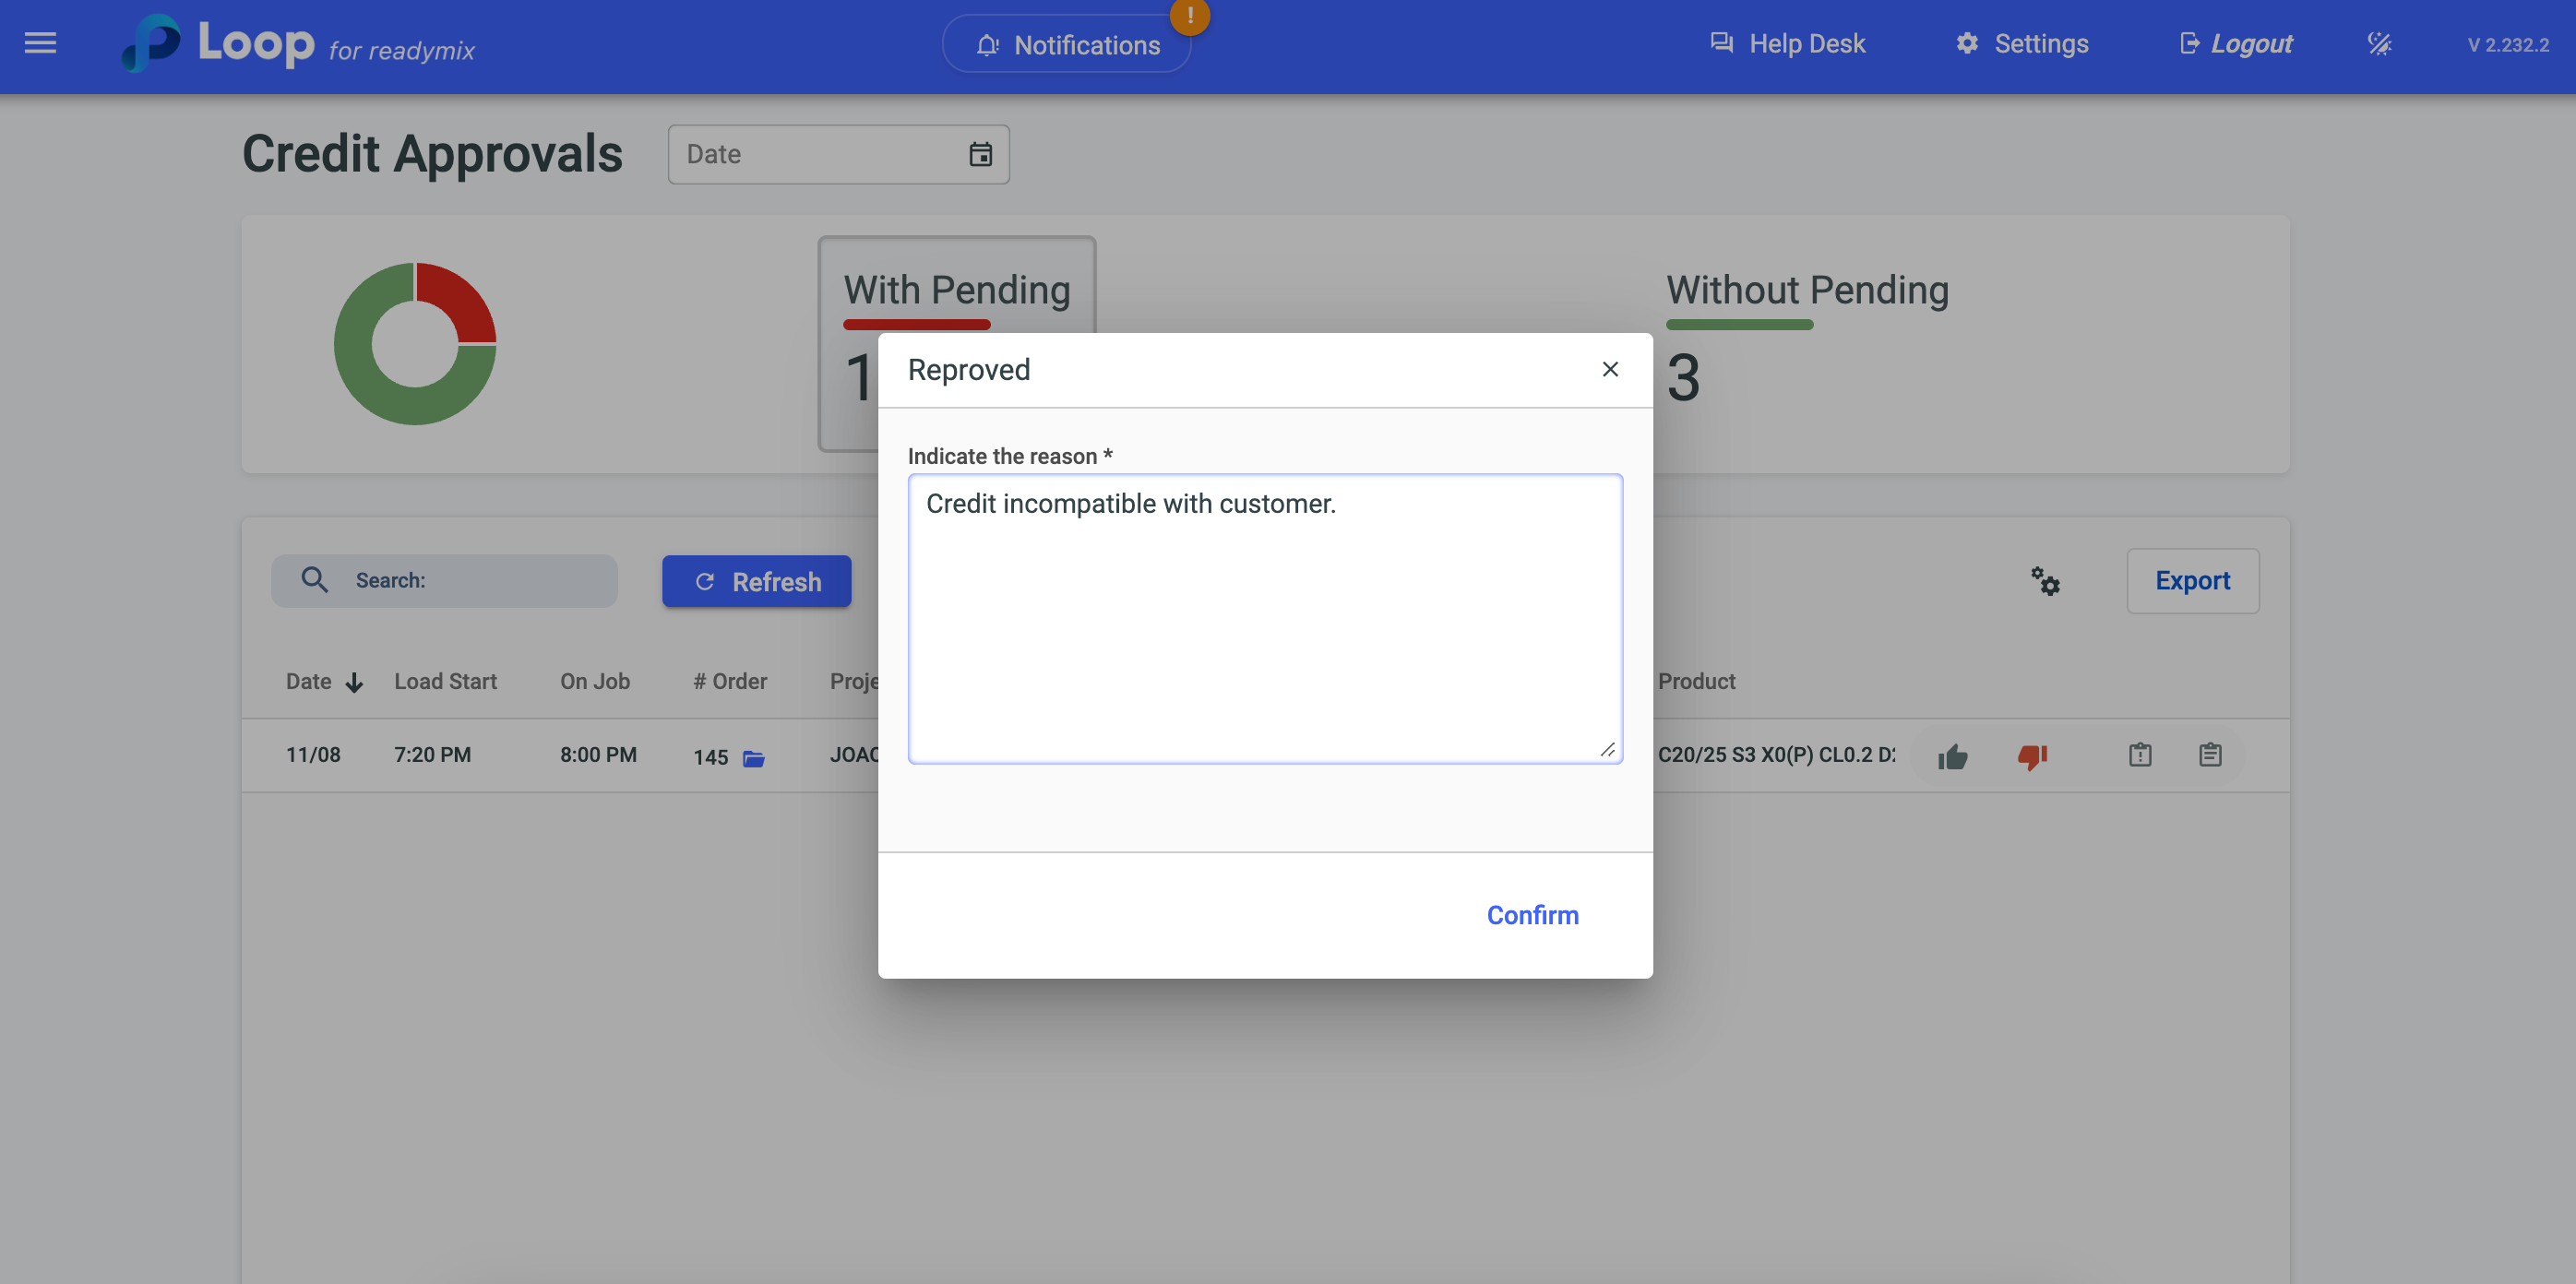
A justification window will open if you fail a schedule:
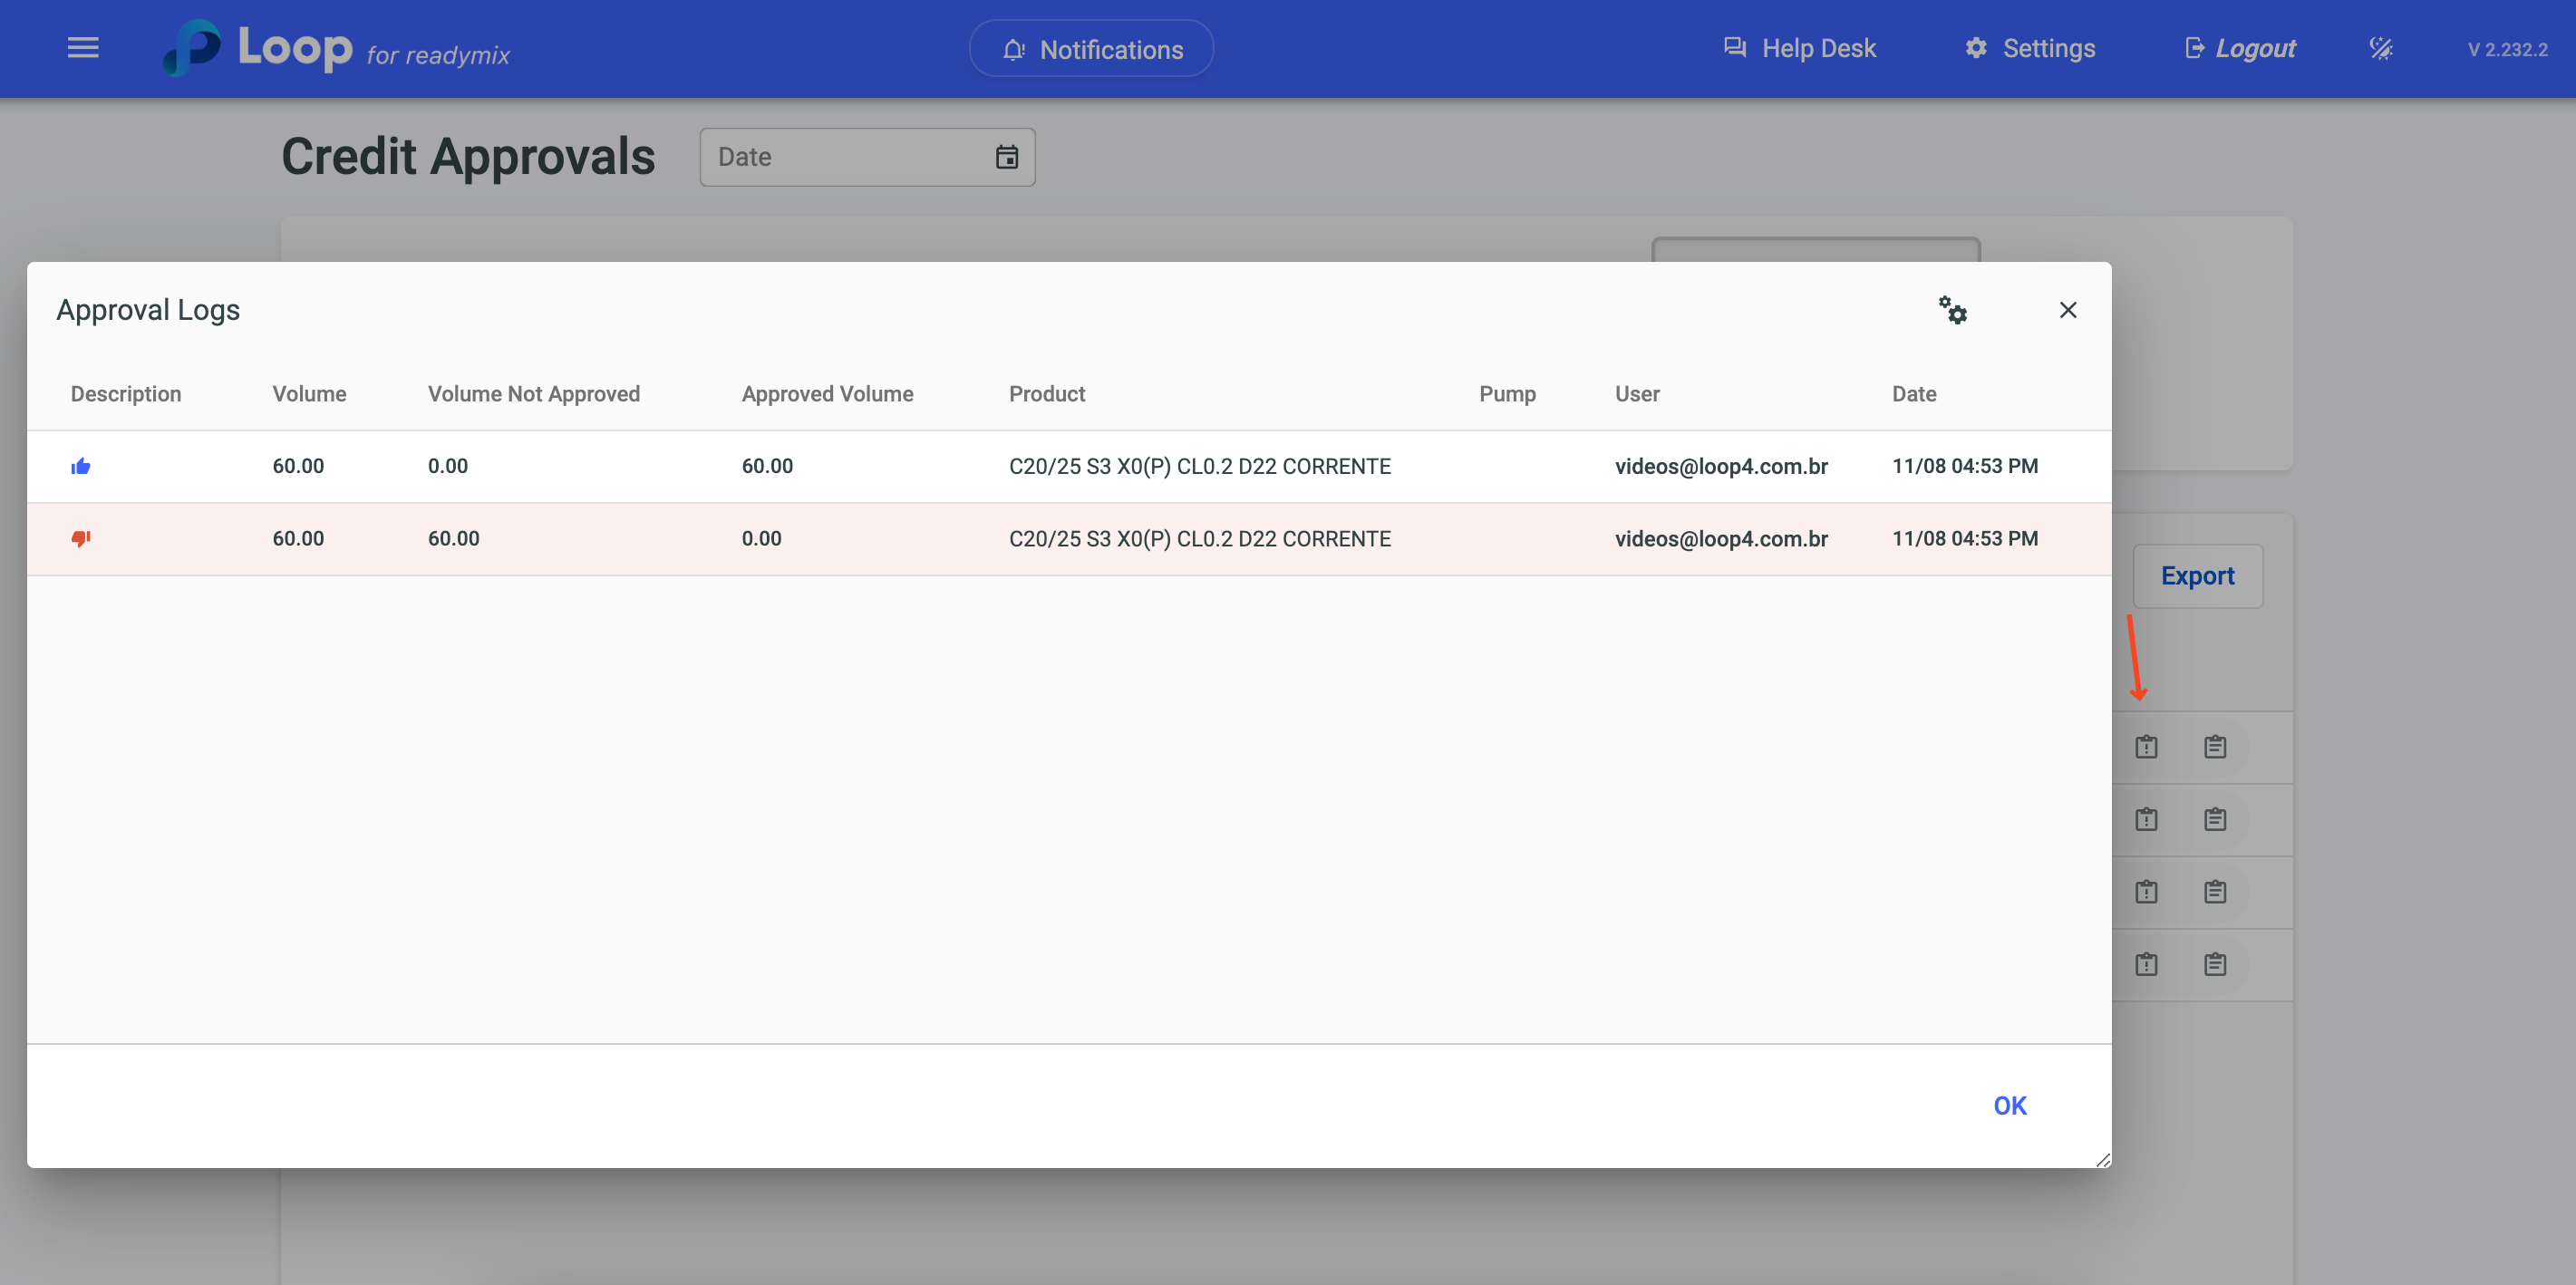
Approval Logs
It is possible to check a record of Credit approvals/failances, for this just click on the Clipboard icon.
