In this article, we will provide a step-by-step guide on how to set up a WhatsApp account in your business account.
Make sure your company has a verified business account on Facebook/Meta. If your company doesn't have a business account yet, you will need to create one.
Continue from here if you already have a business account on Facebook.
Click on the link below and verify your company information.
https://business.facebook.com/settings/info
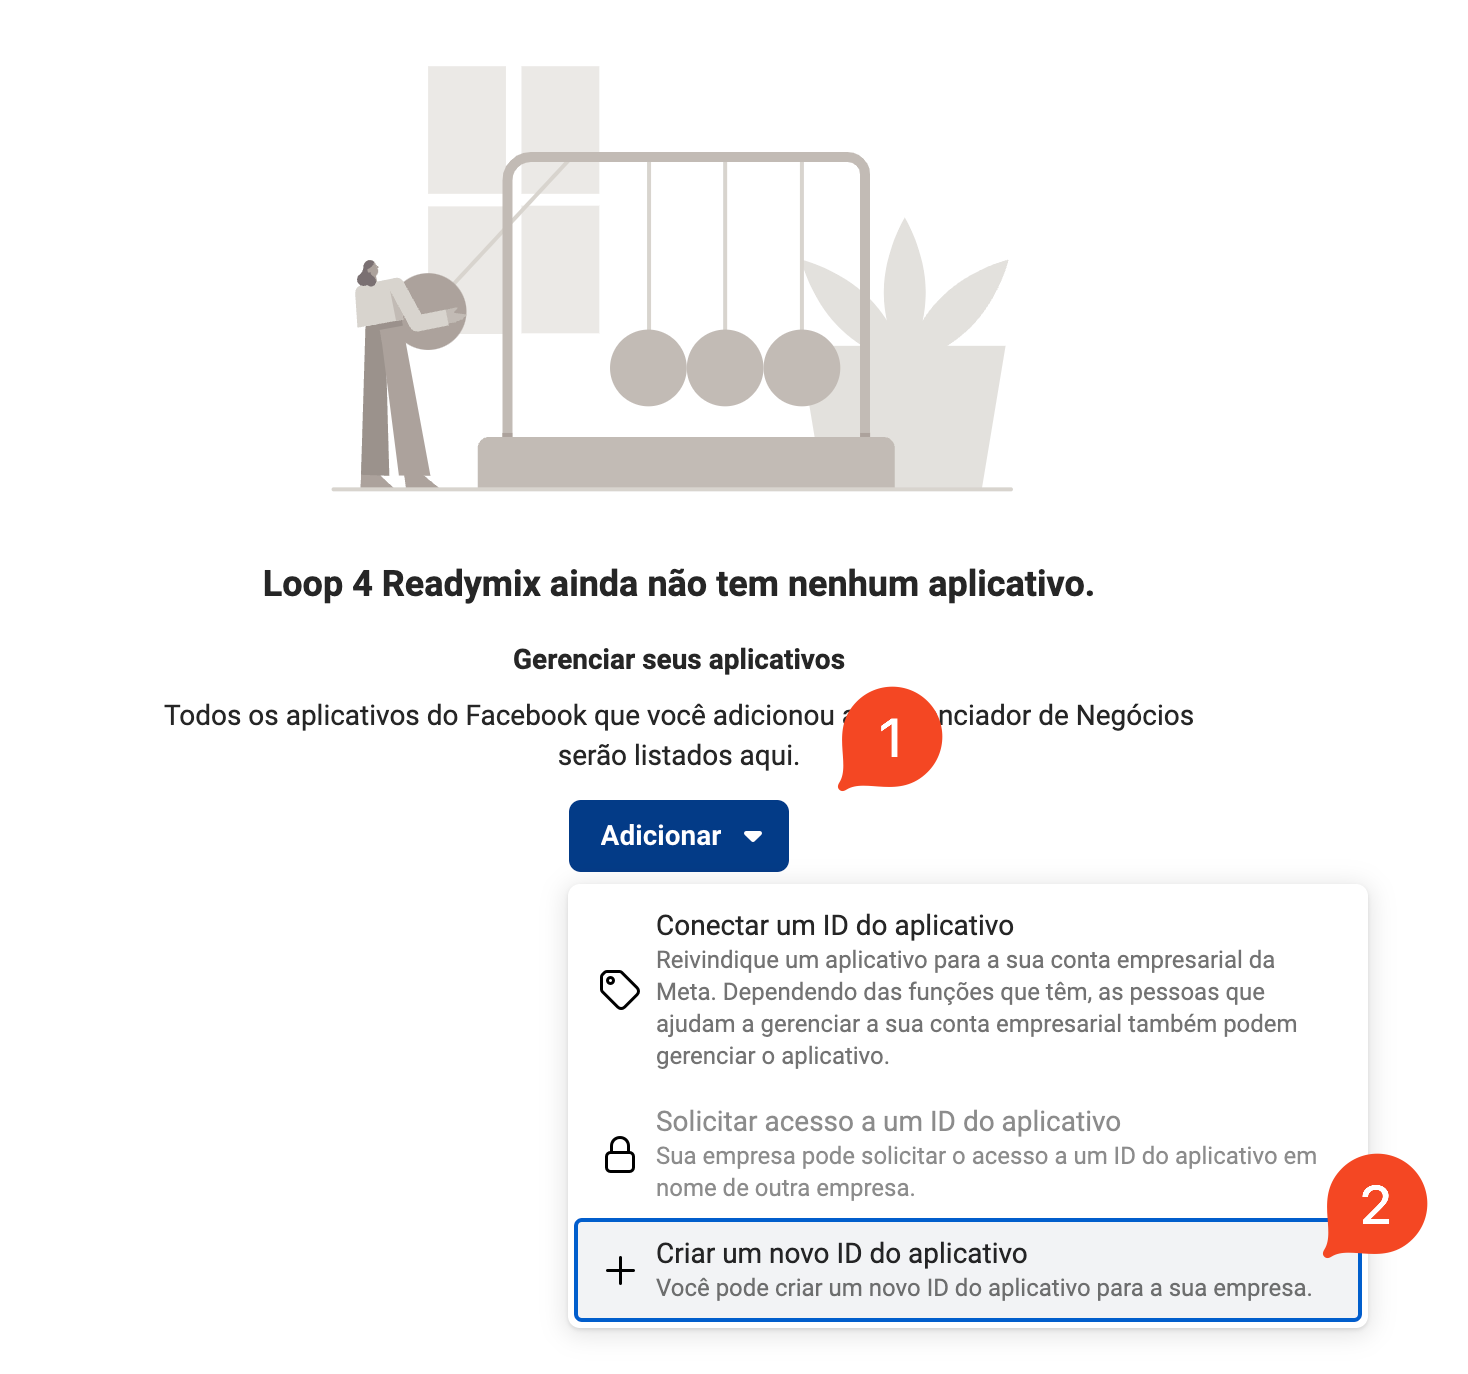
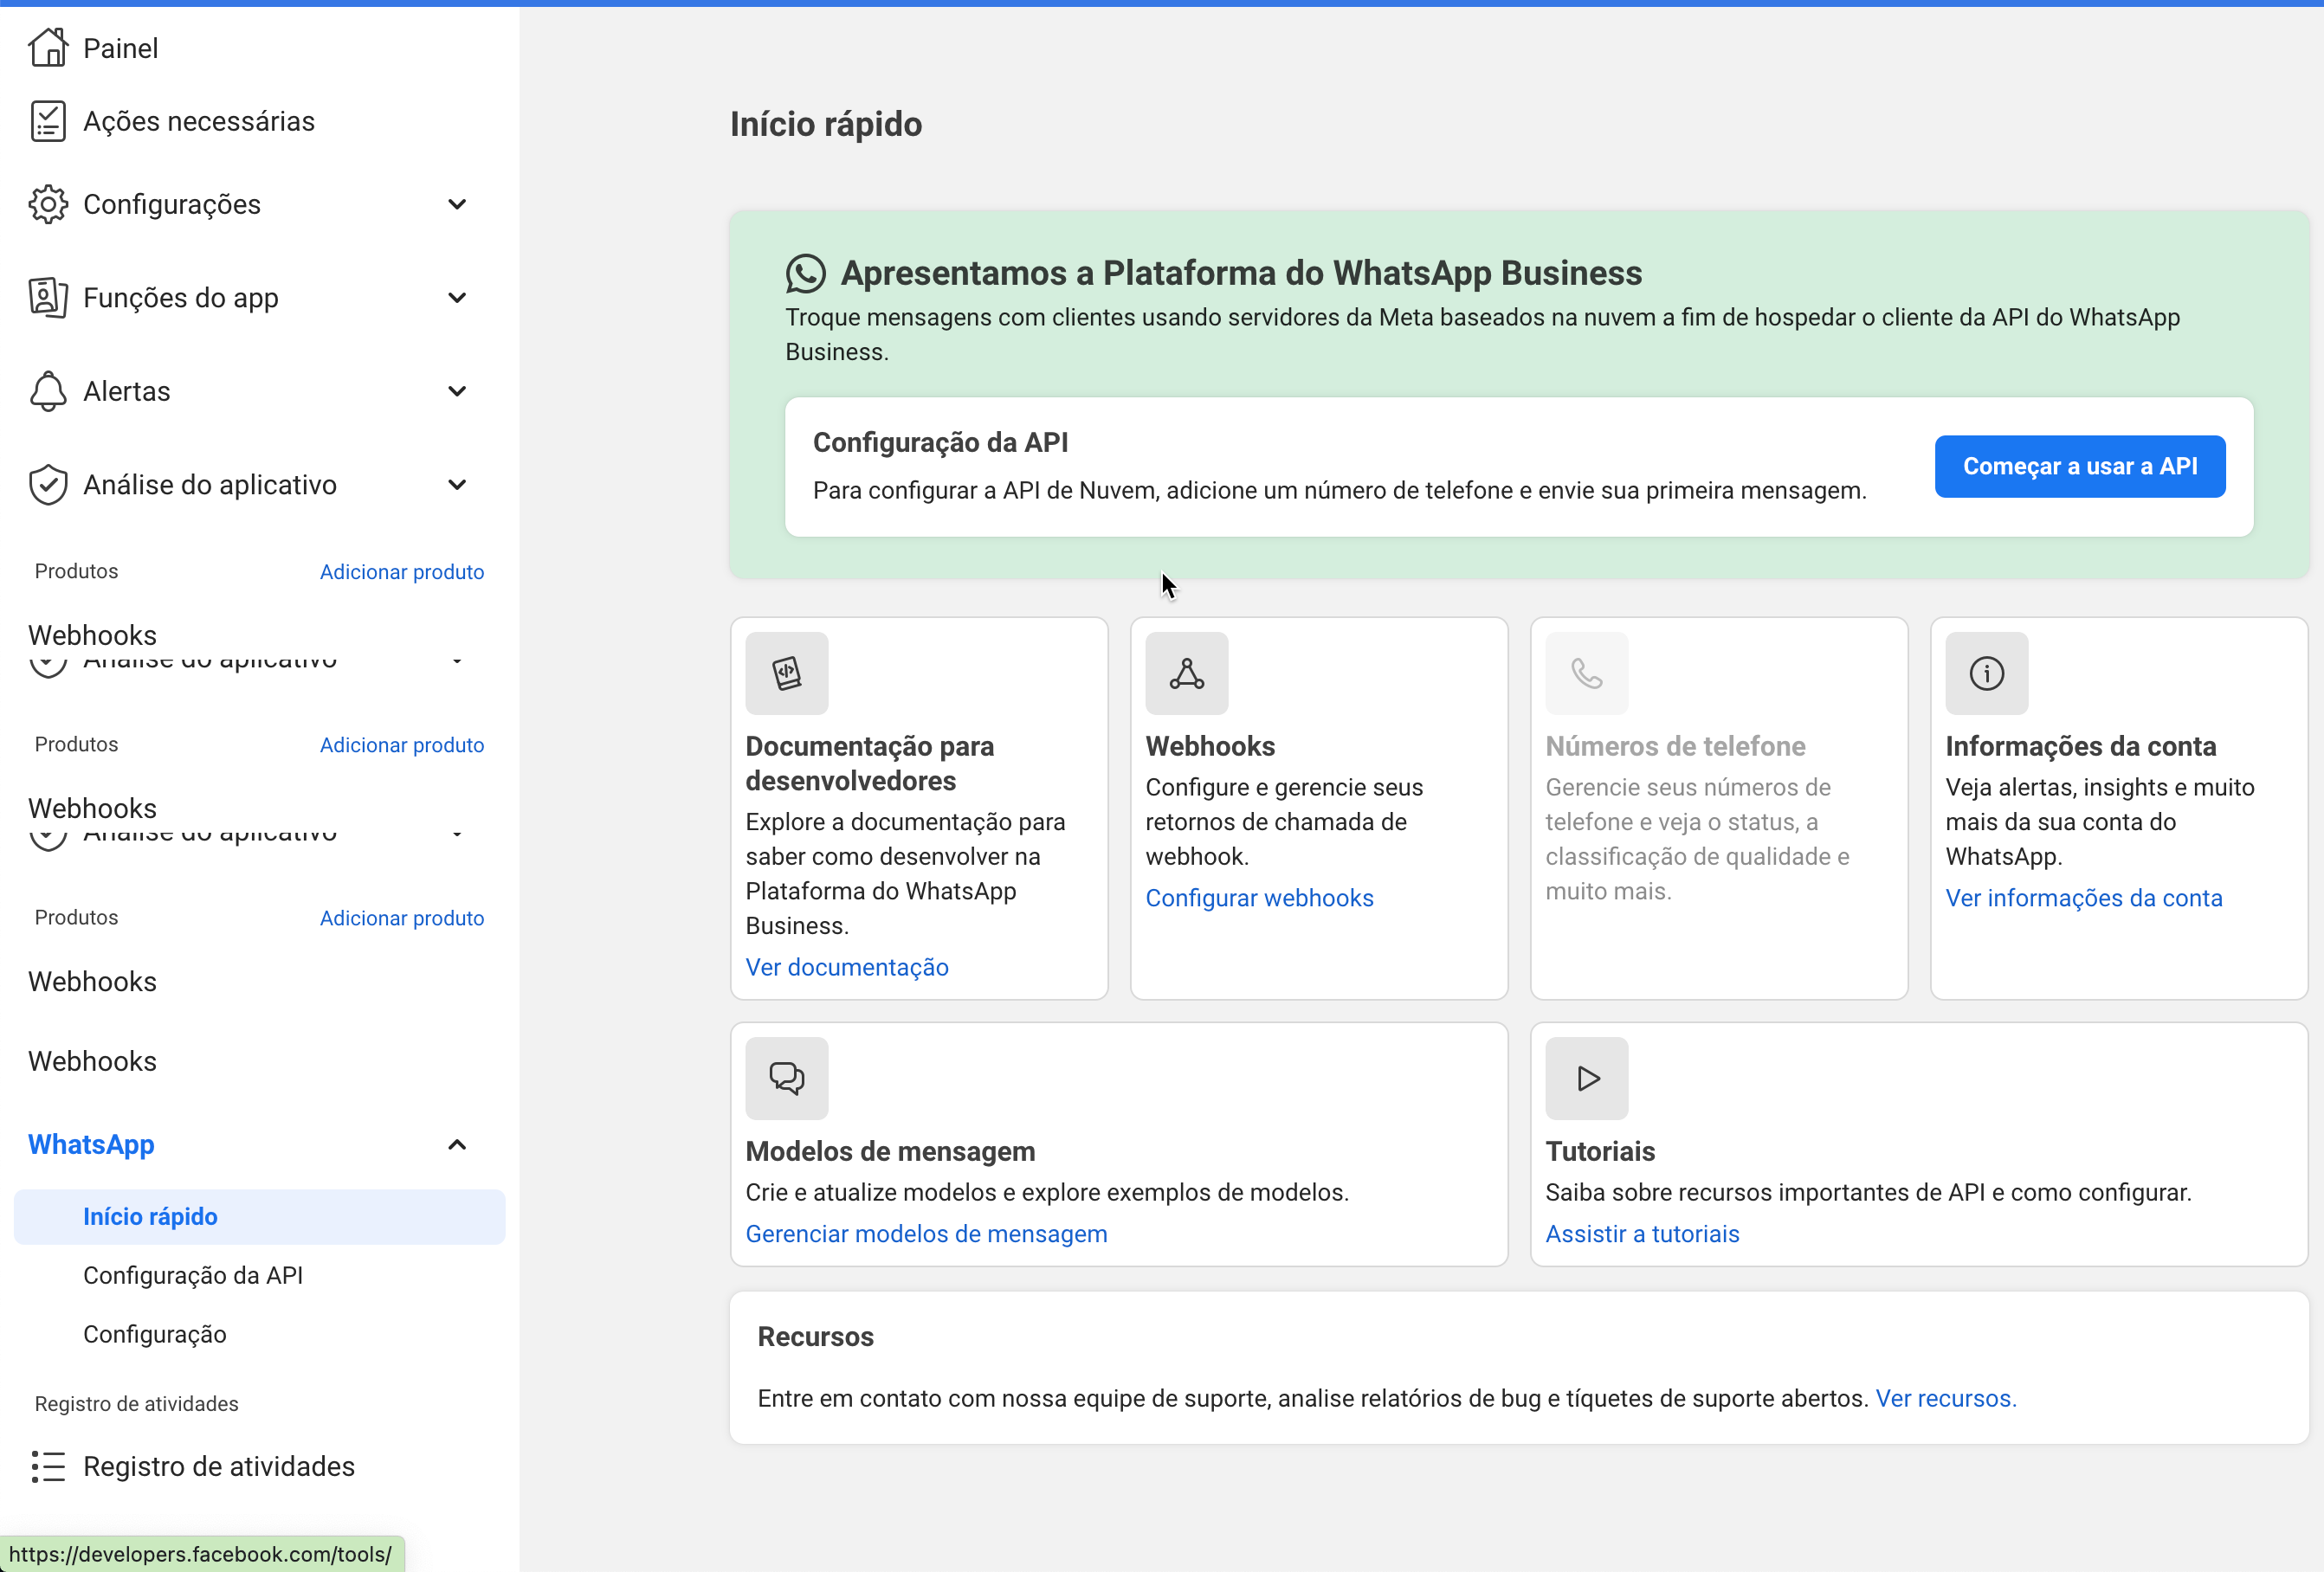
You will be redirected to the developer page.
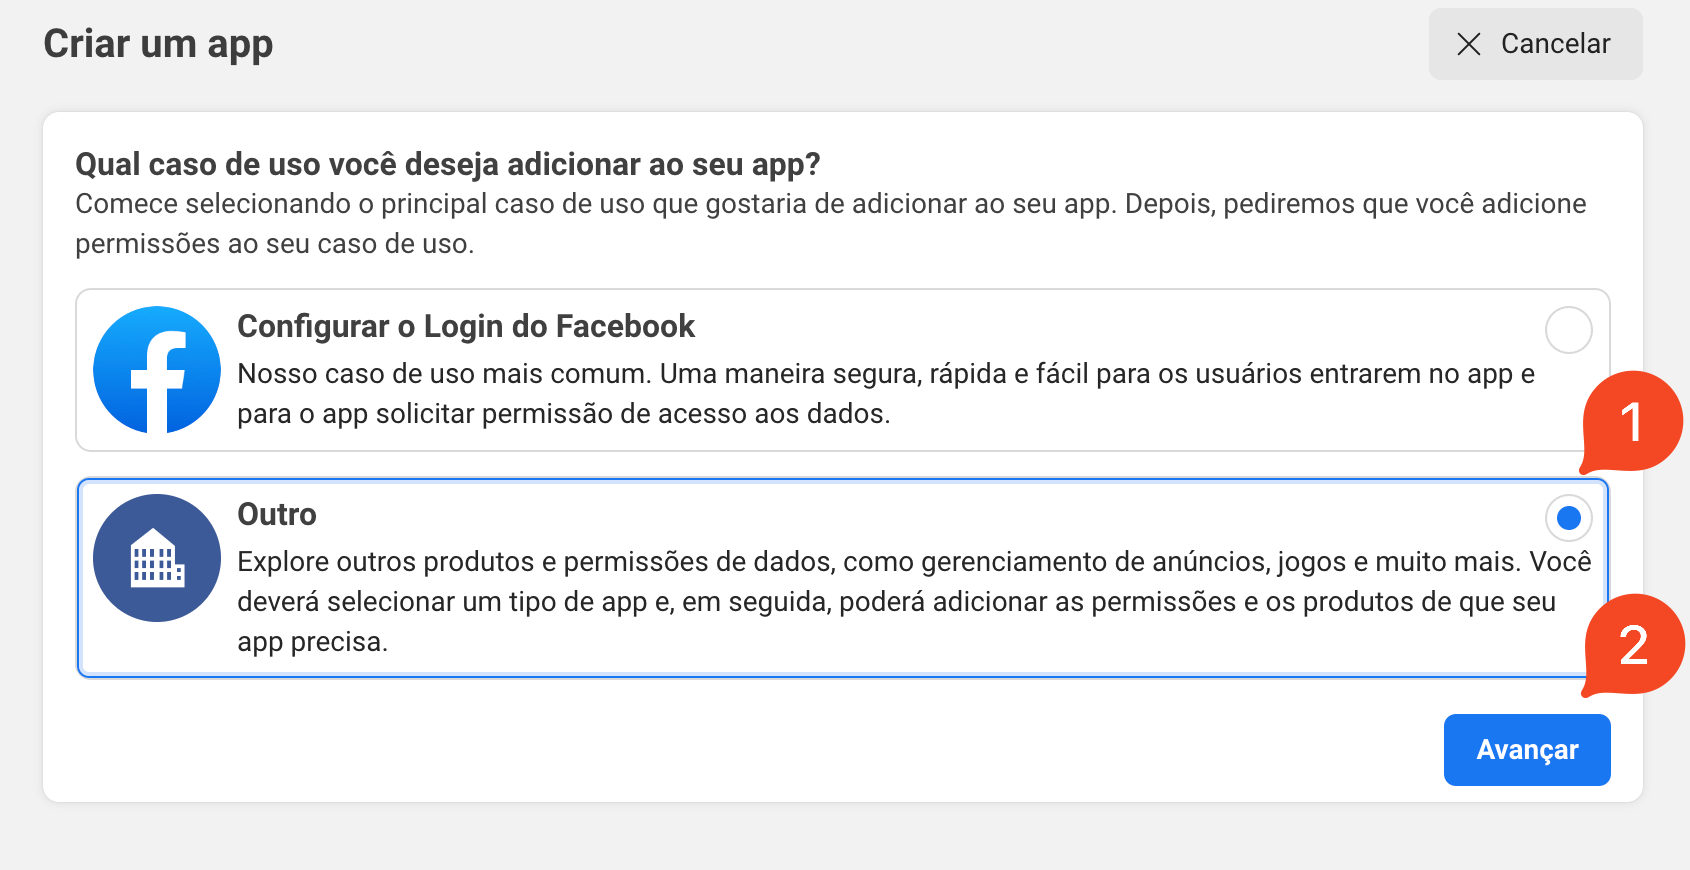
Select the "Other" option and click "Next".
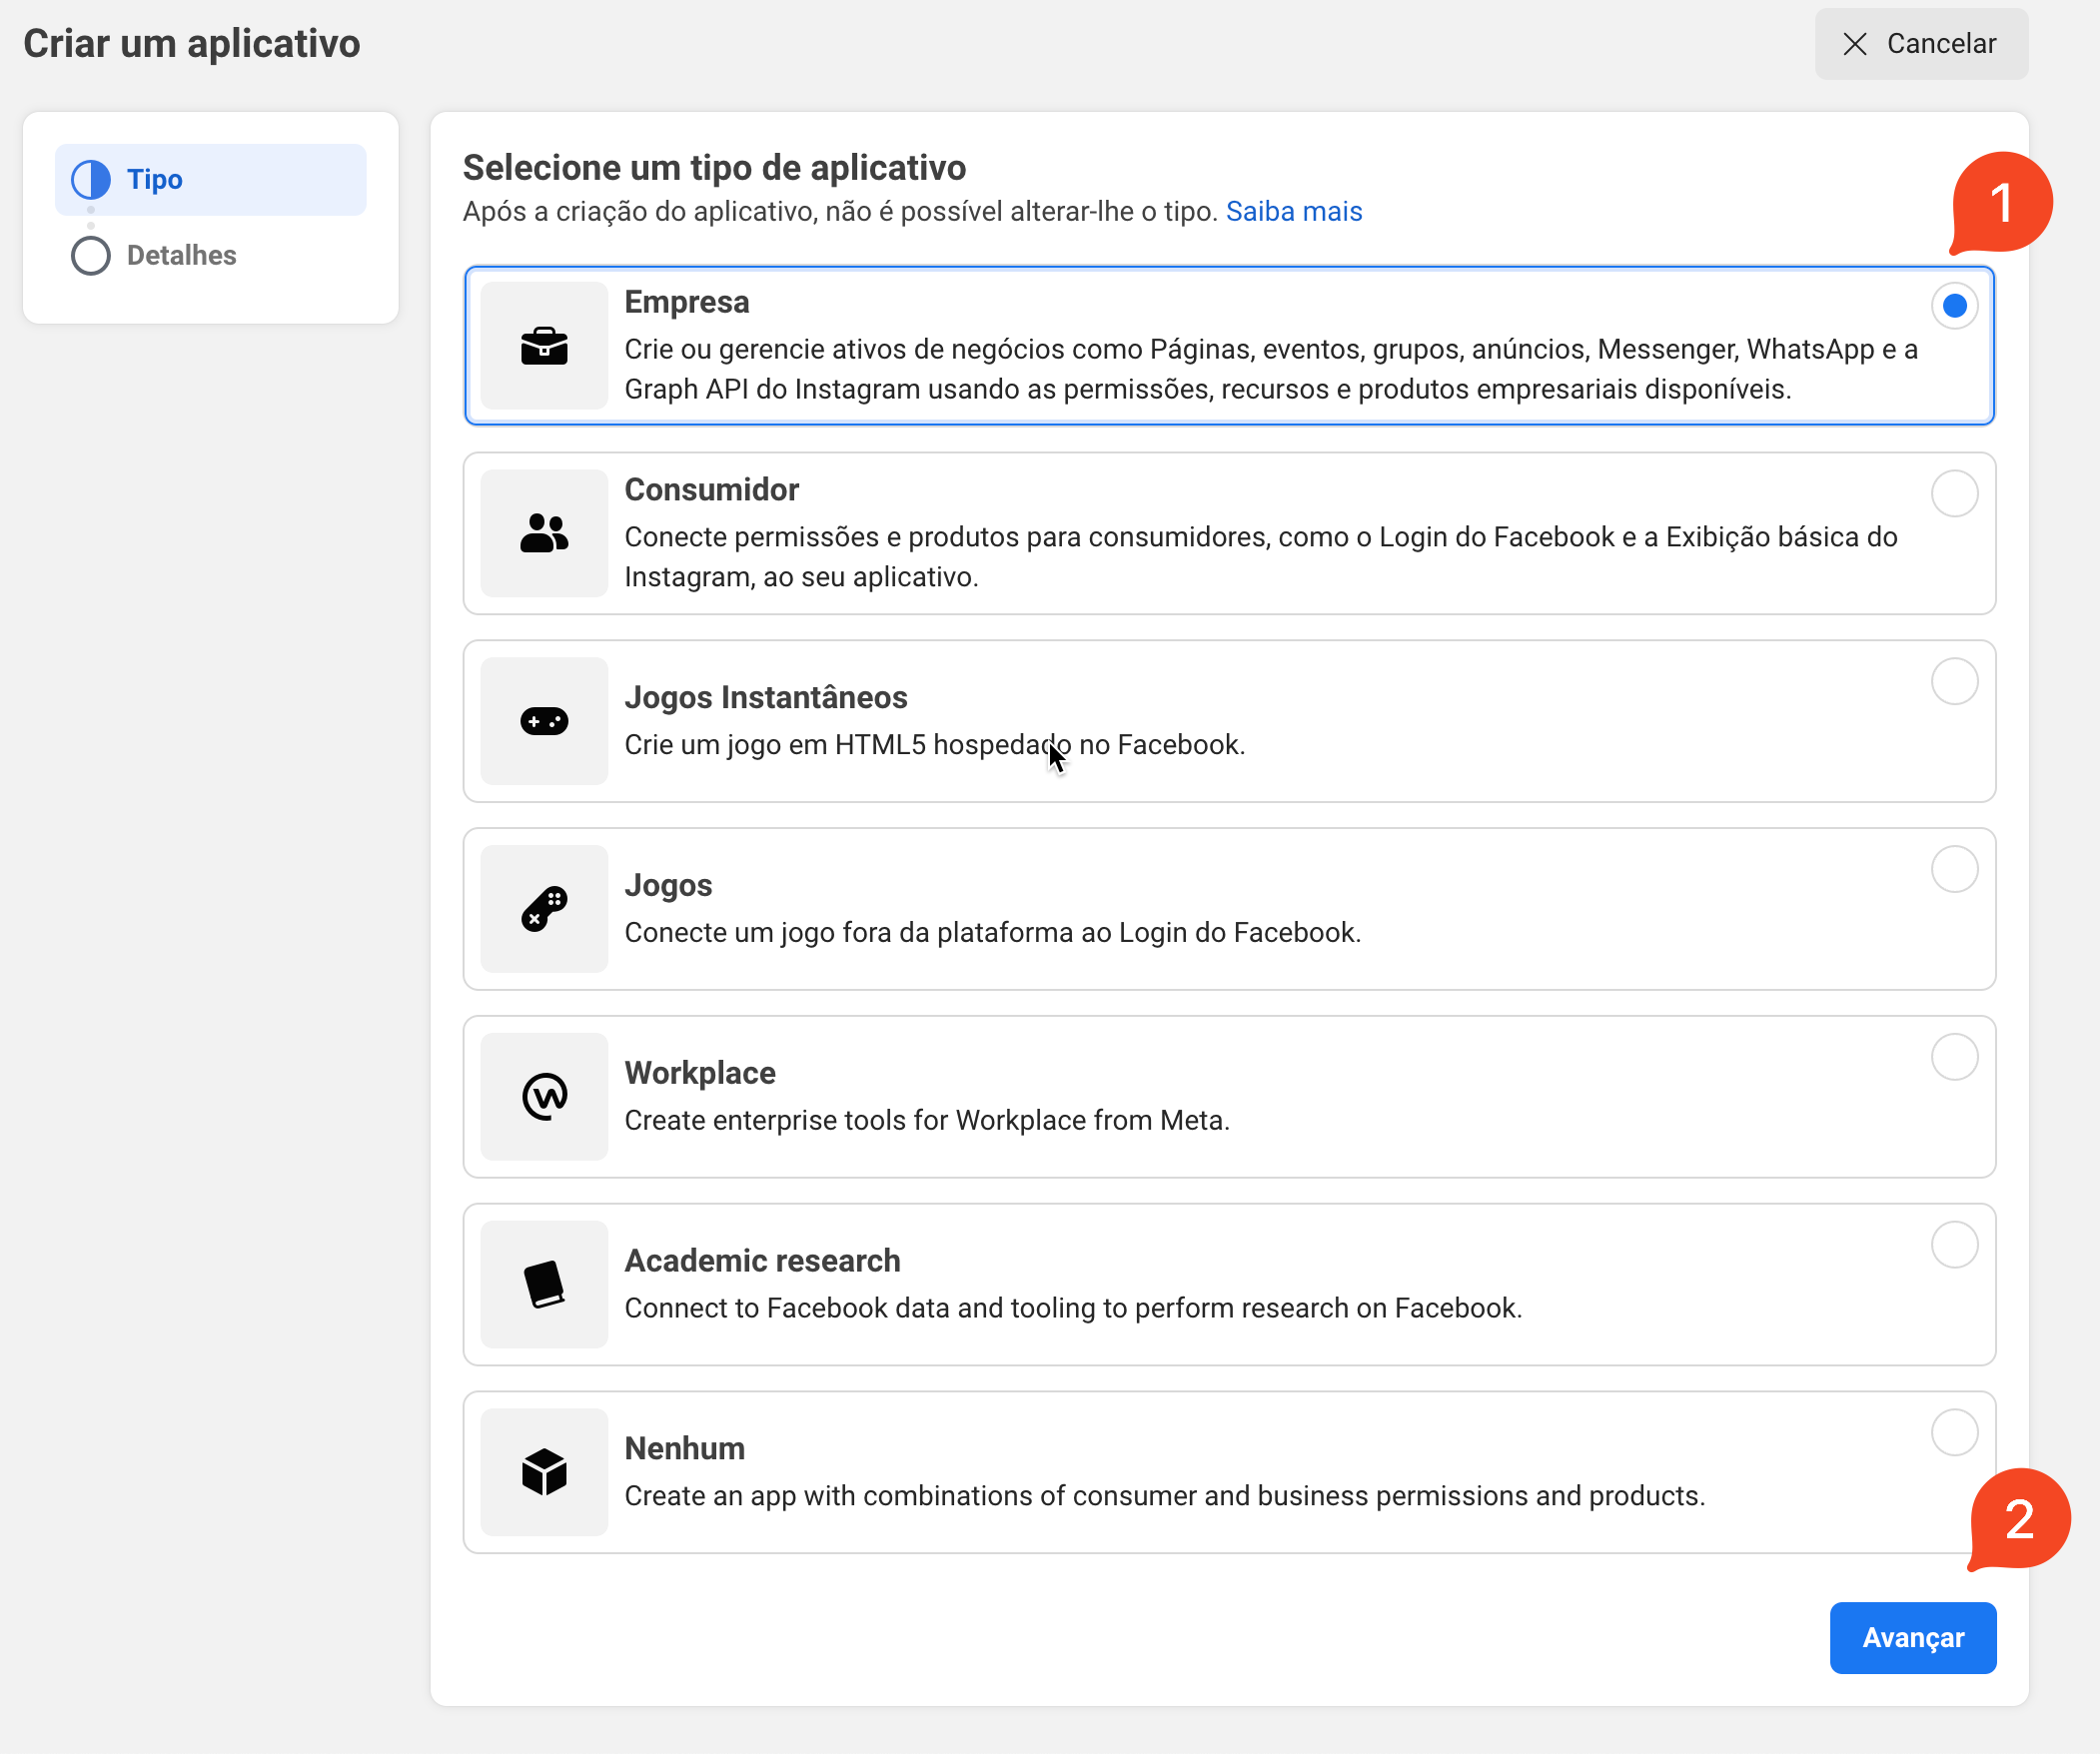
On the next page, select the "Business" option and click "Next".
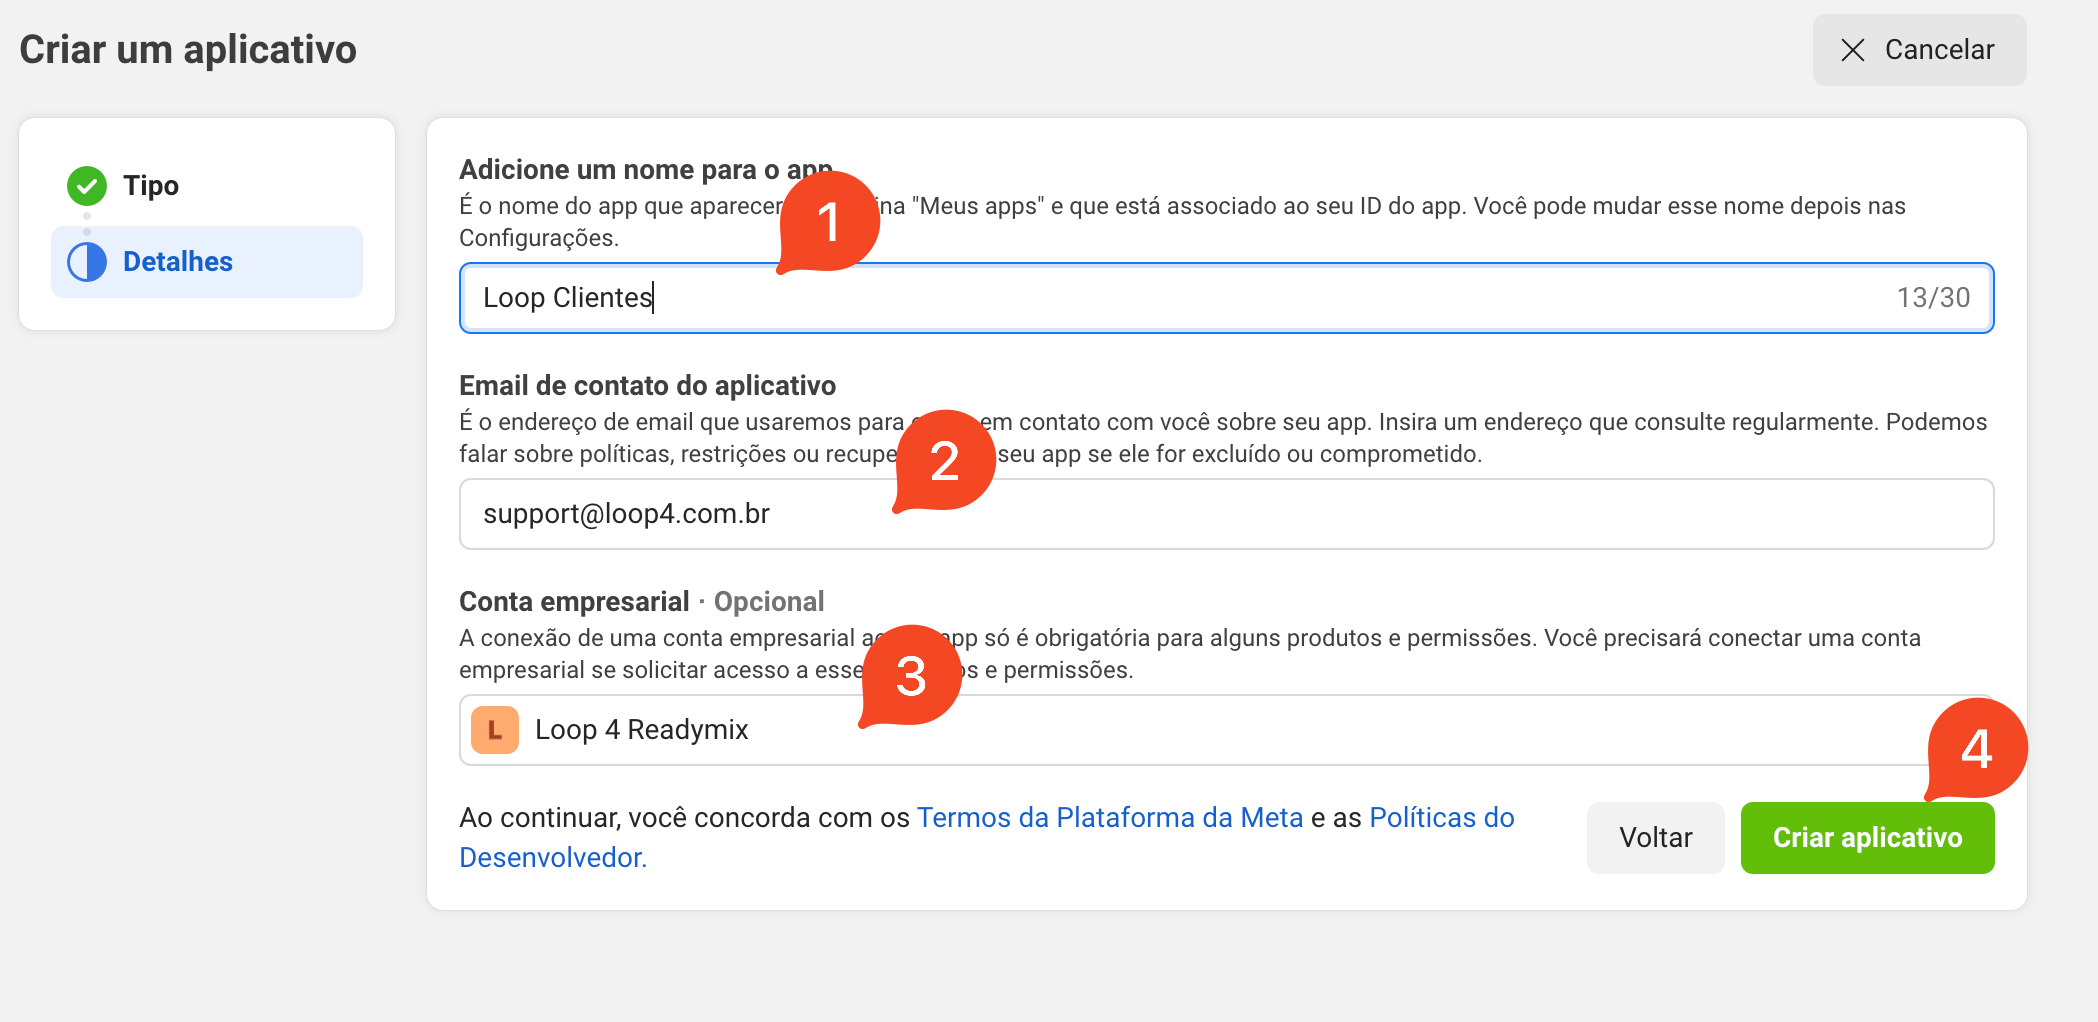
On the next page:
Choose a name for your application (Suggestion: LOOP Clientes).
Contact Email for the Application: support@loop4.com.br.
Select your company's business account.
Click on "Create Application".
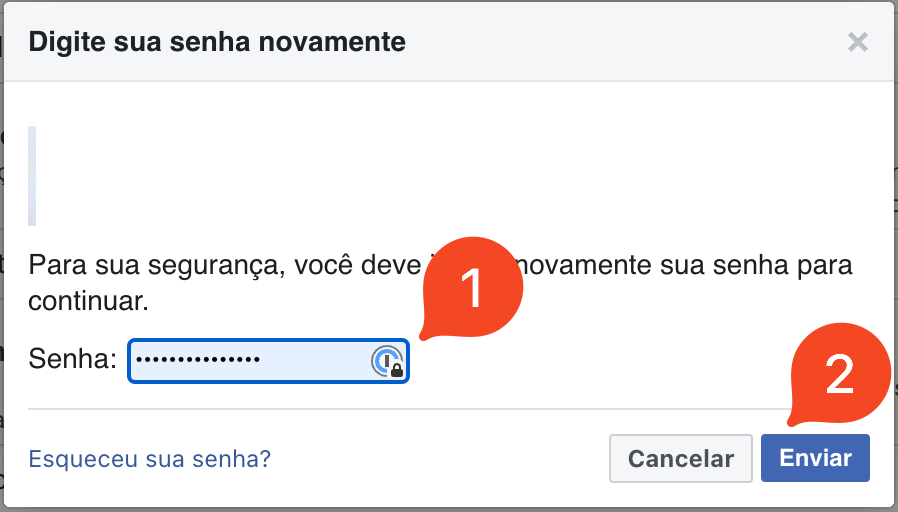
Enter your password.
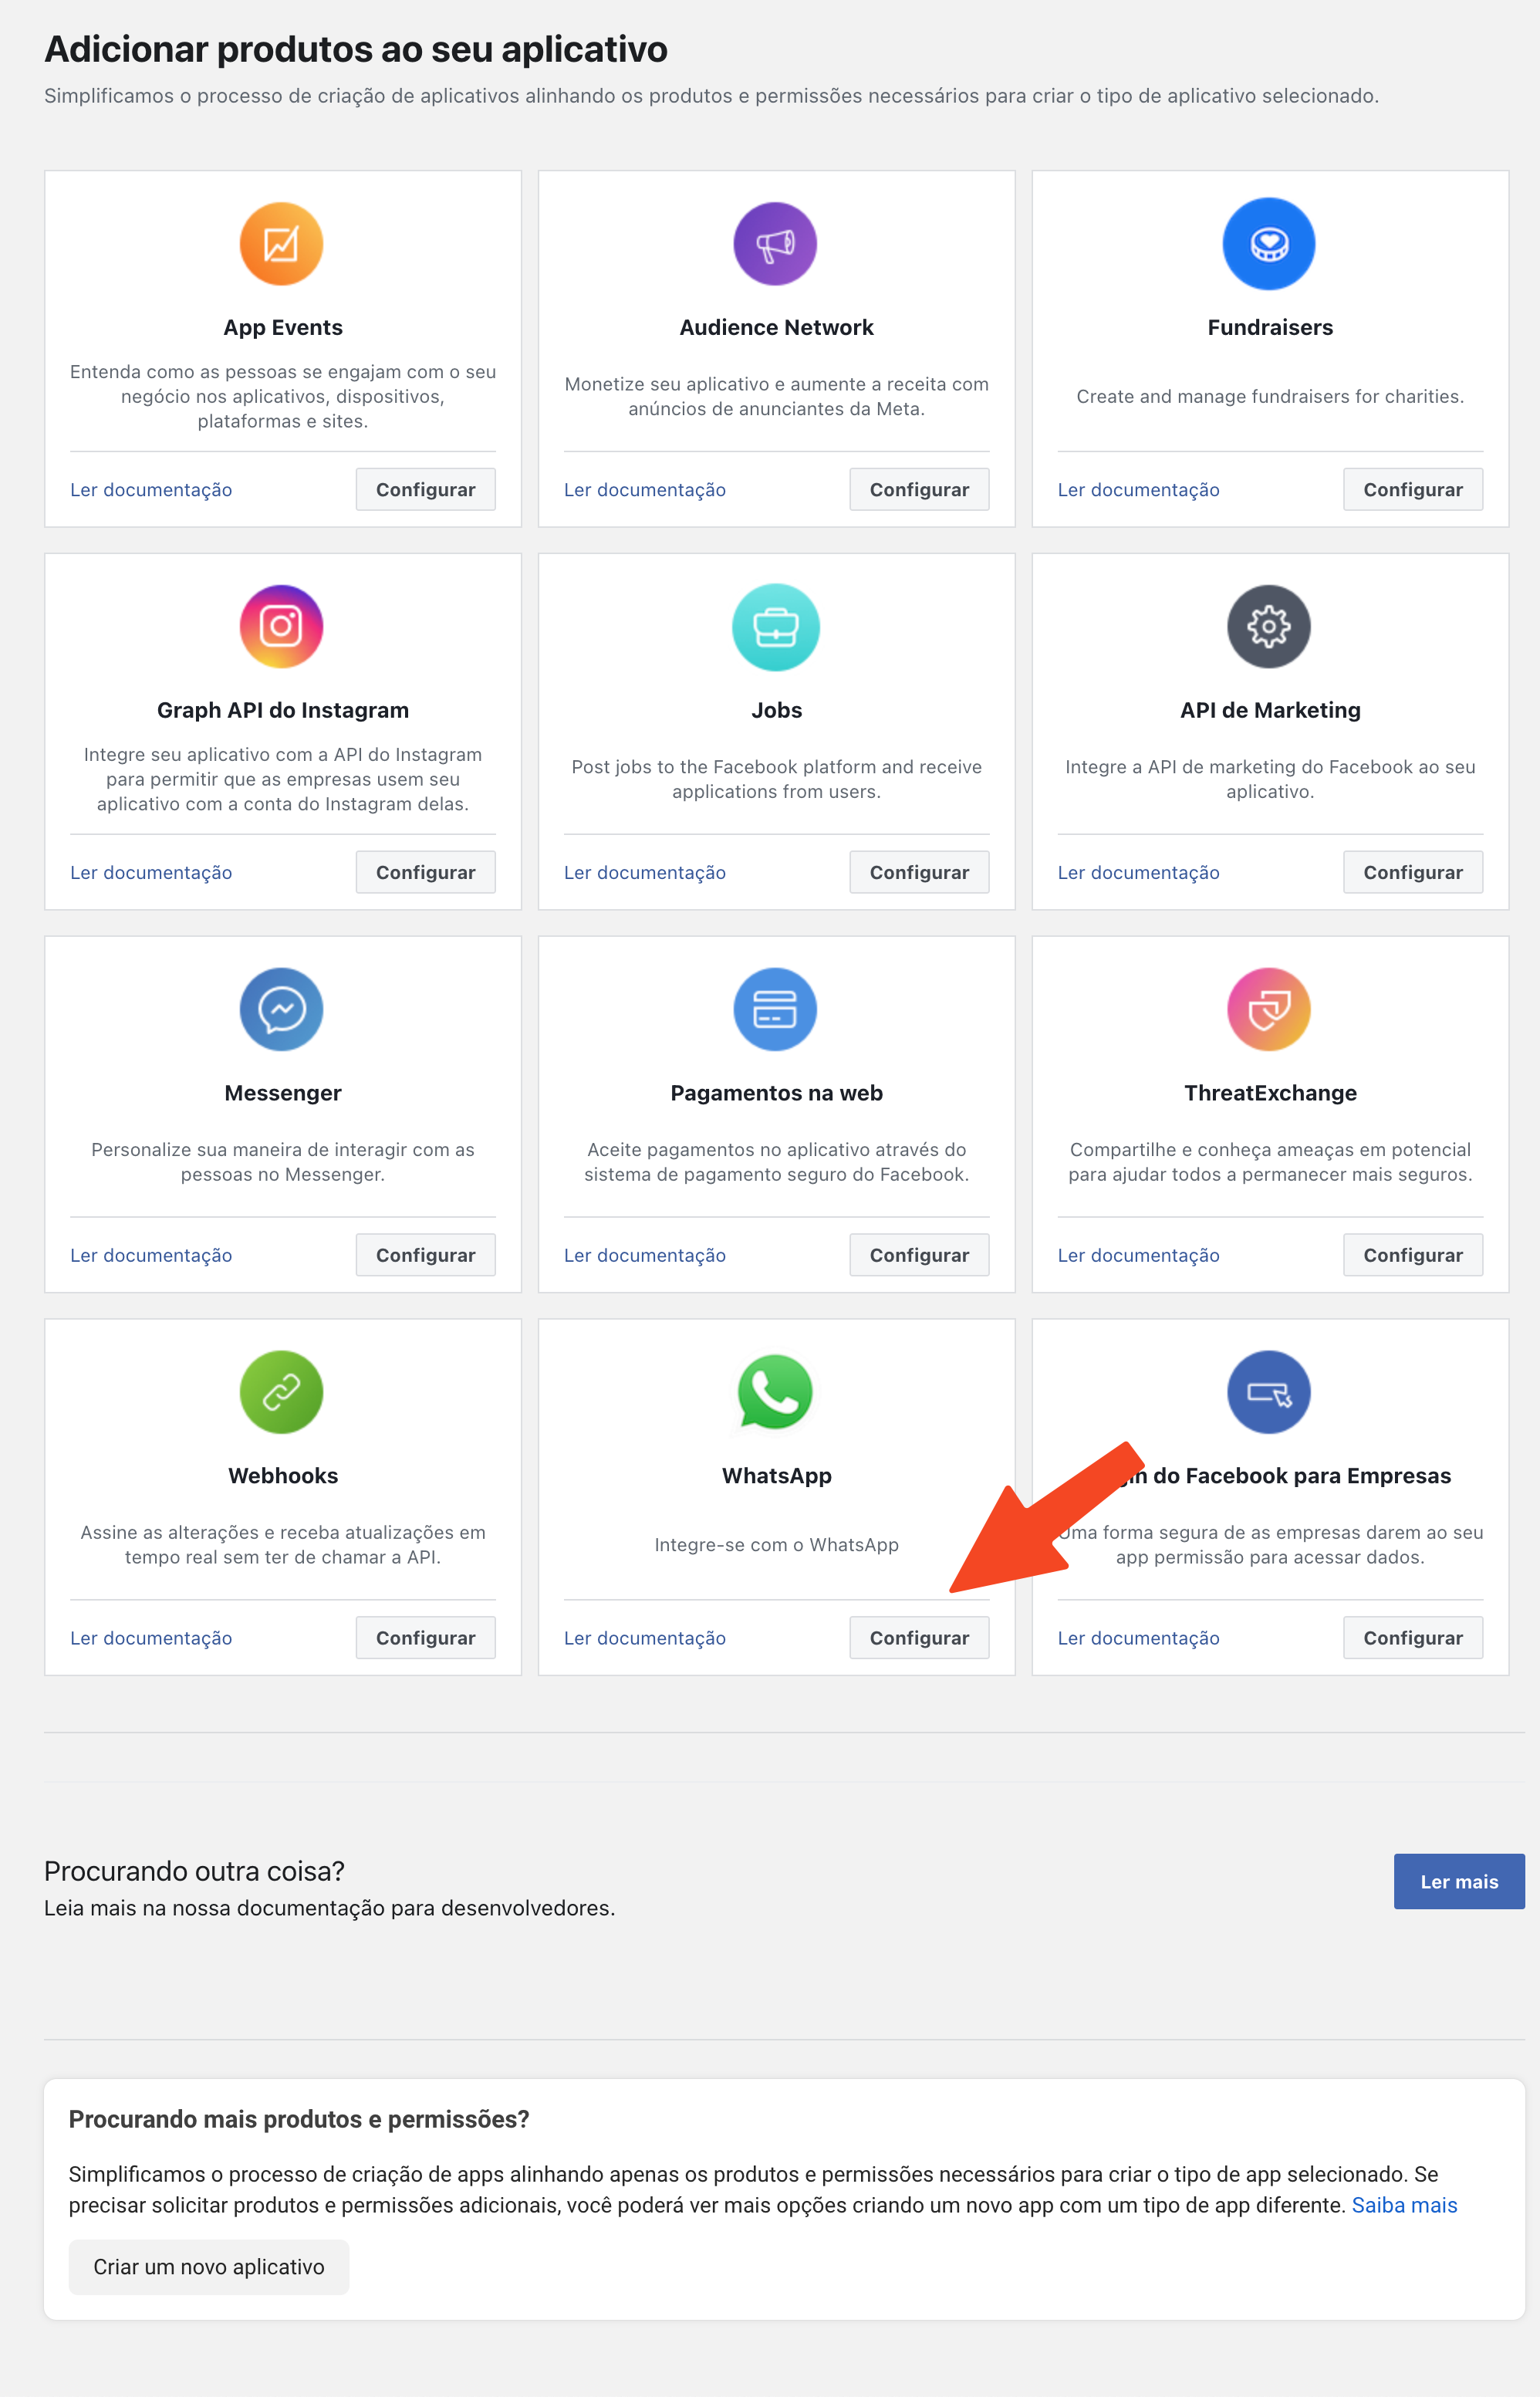
Select WhatsApp from the list and click on "Configure".
Click on "Continue".

You will be redirected to the app configuration screen.