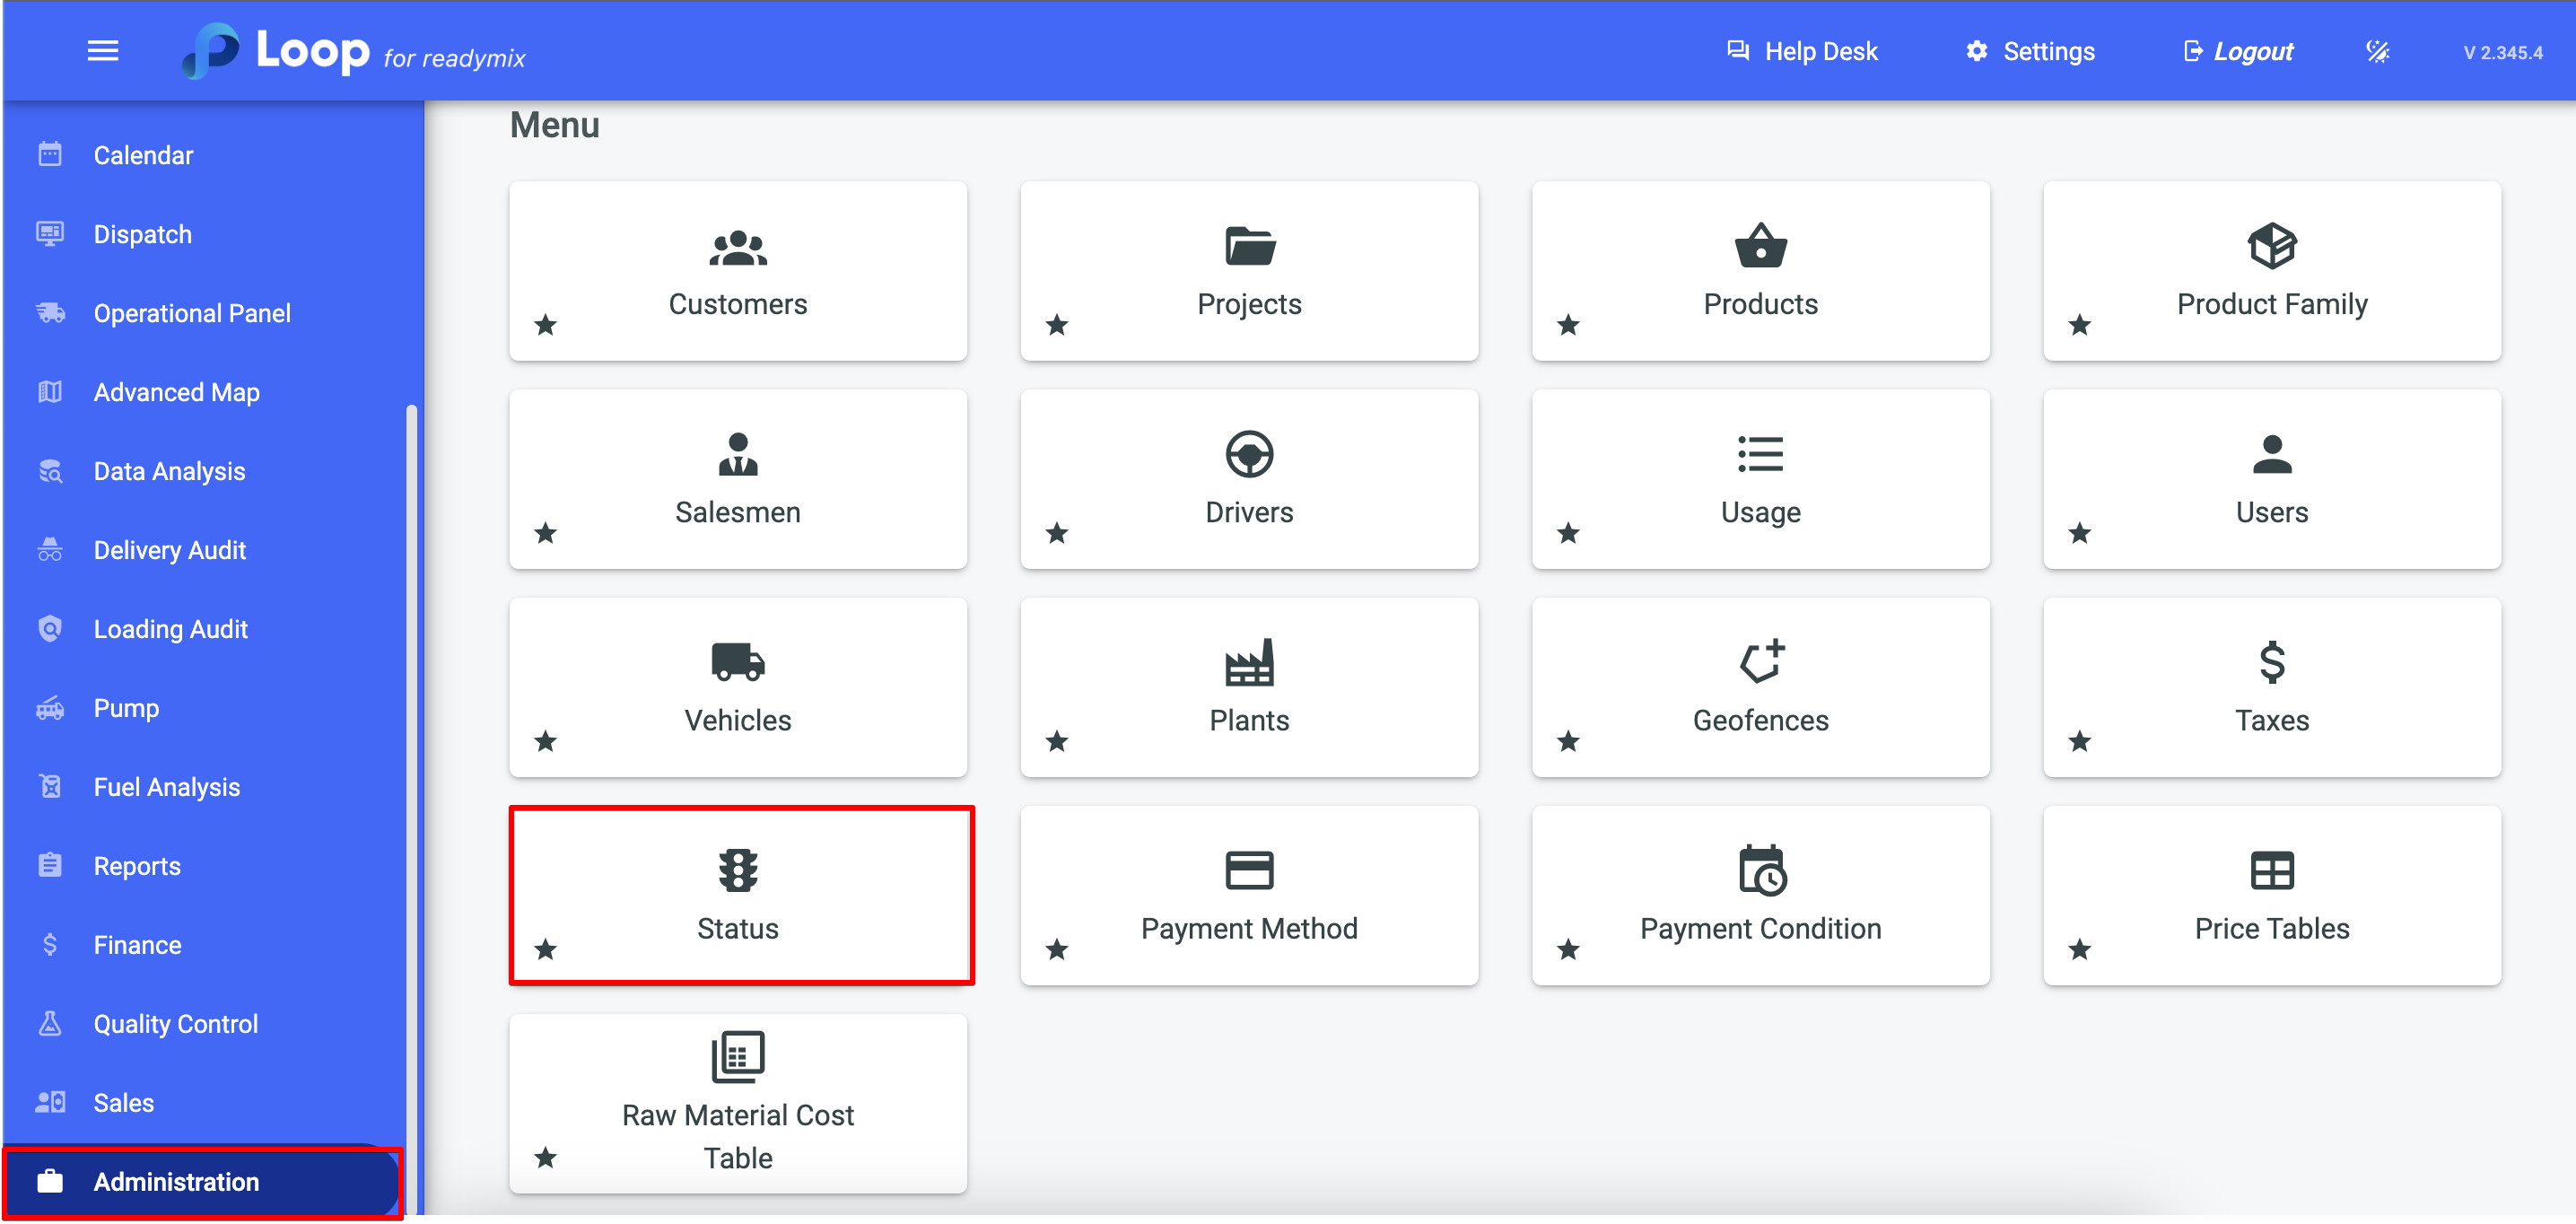
Open the menu on the left side of the screen and select "Administration" > "Status"
Click on "Add Status" and fill in the fields "Internal code" and "Name", choose a color (optional).
You can also set whether this status will be:
Default Status
Forbidden to Schedule
Forbidden to Dispatch
Cancel.
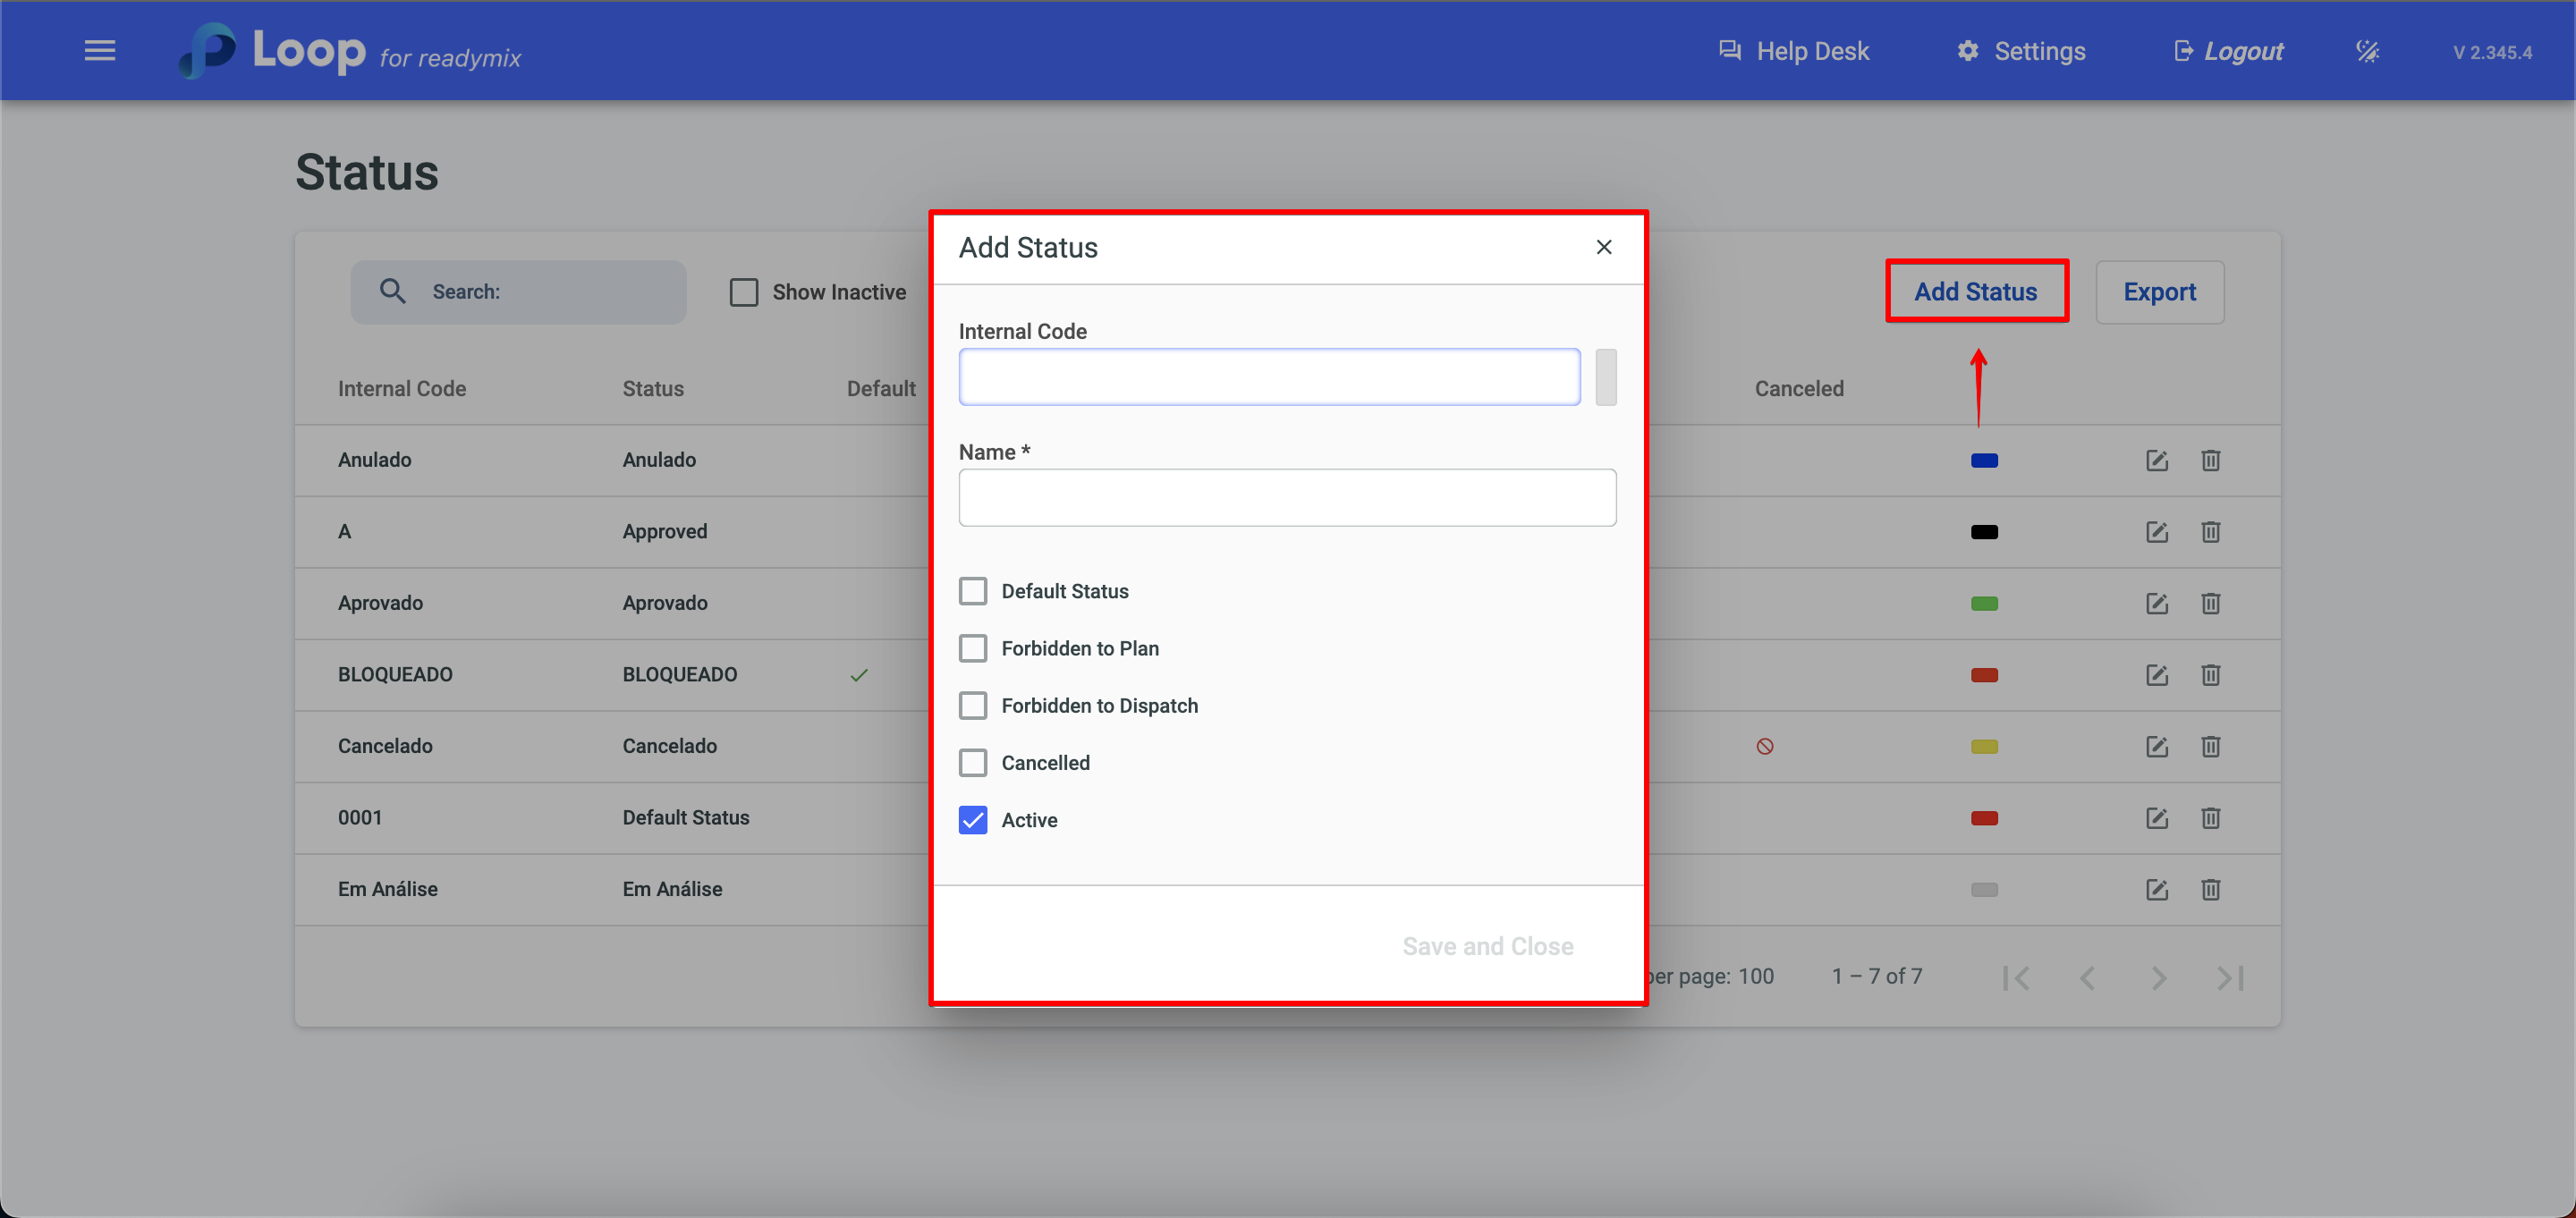
Default Status: This status indicates that a schedule or order will be automatically filled with the default status. This can be useful when most items have predefined settings and do not need to be manually filled.
Forbidden to Plan: This status indicates that scheduling is not allowed in the system. It can be useful when there are restrictions or limitations on scheduling, such as resource unavailability, technical issues, or other constraints.
Forbidden to Dispatch: This status indicates that dispatching a delivery is not possible. It can be used when there is a restriction that prevents dispatching, such as lack of inventory, logistical issues, financial problems, or other reasons that make shipping unfeasible.
Cancelled: Selecting the "canceled" status indicates that an order or schedule will be invalidated and considered not valid. This can happen for various reasons, such as customer cancellation, among others.

Finally, just click Save and Close.

