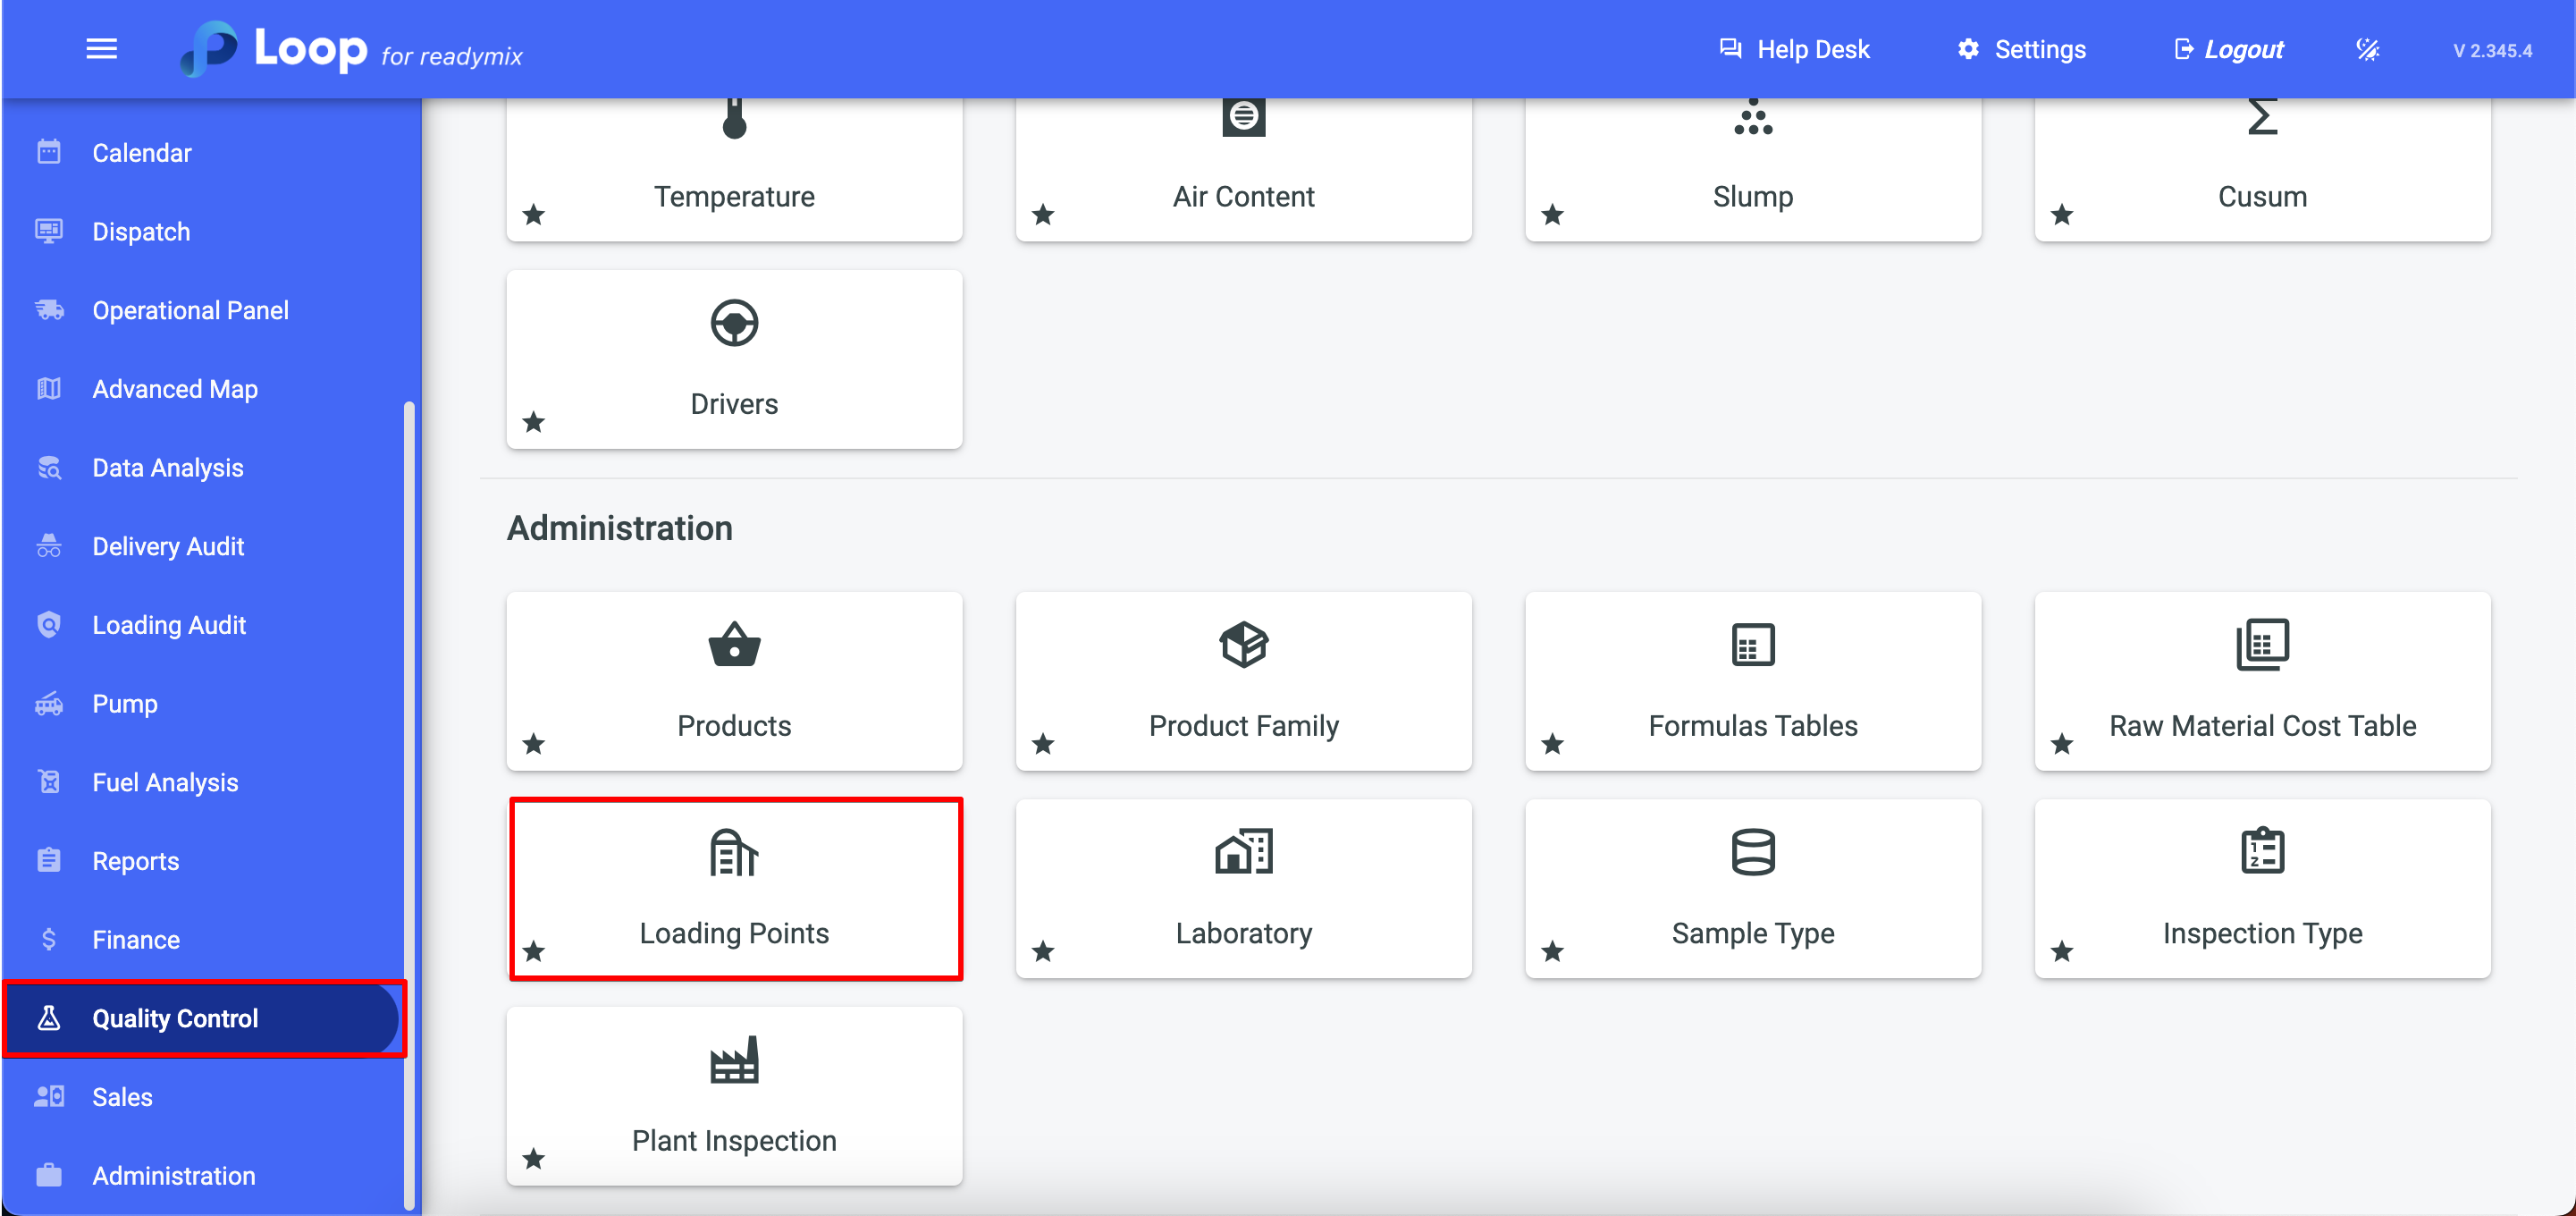
Open the menu on the left side of the screen and select "Quality Control" - "Loading Points".
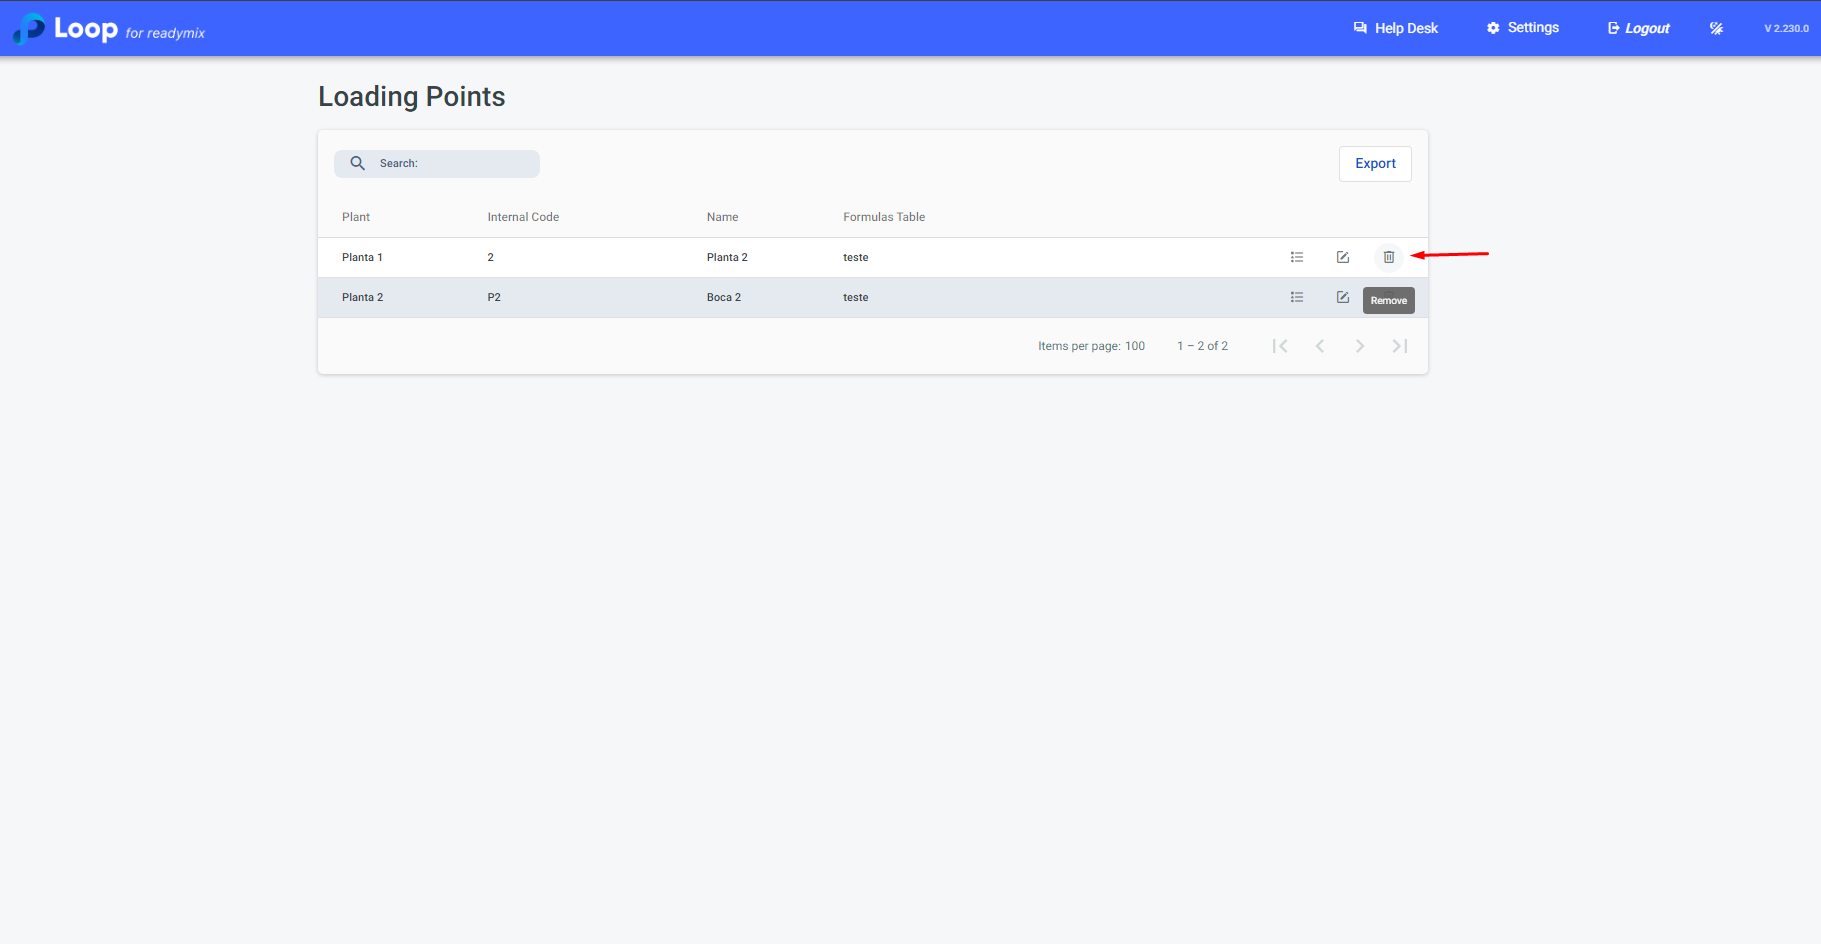
To edit the settings of a loading point, simply click on the "details" icon:
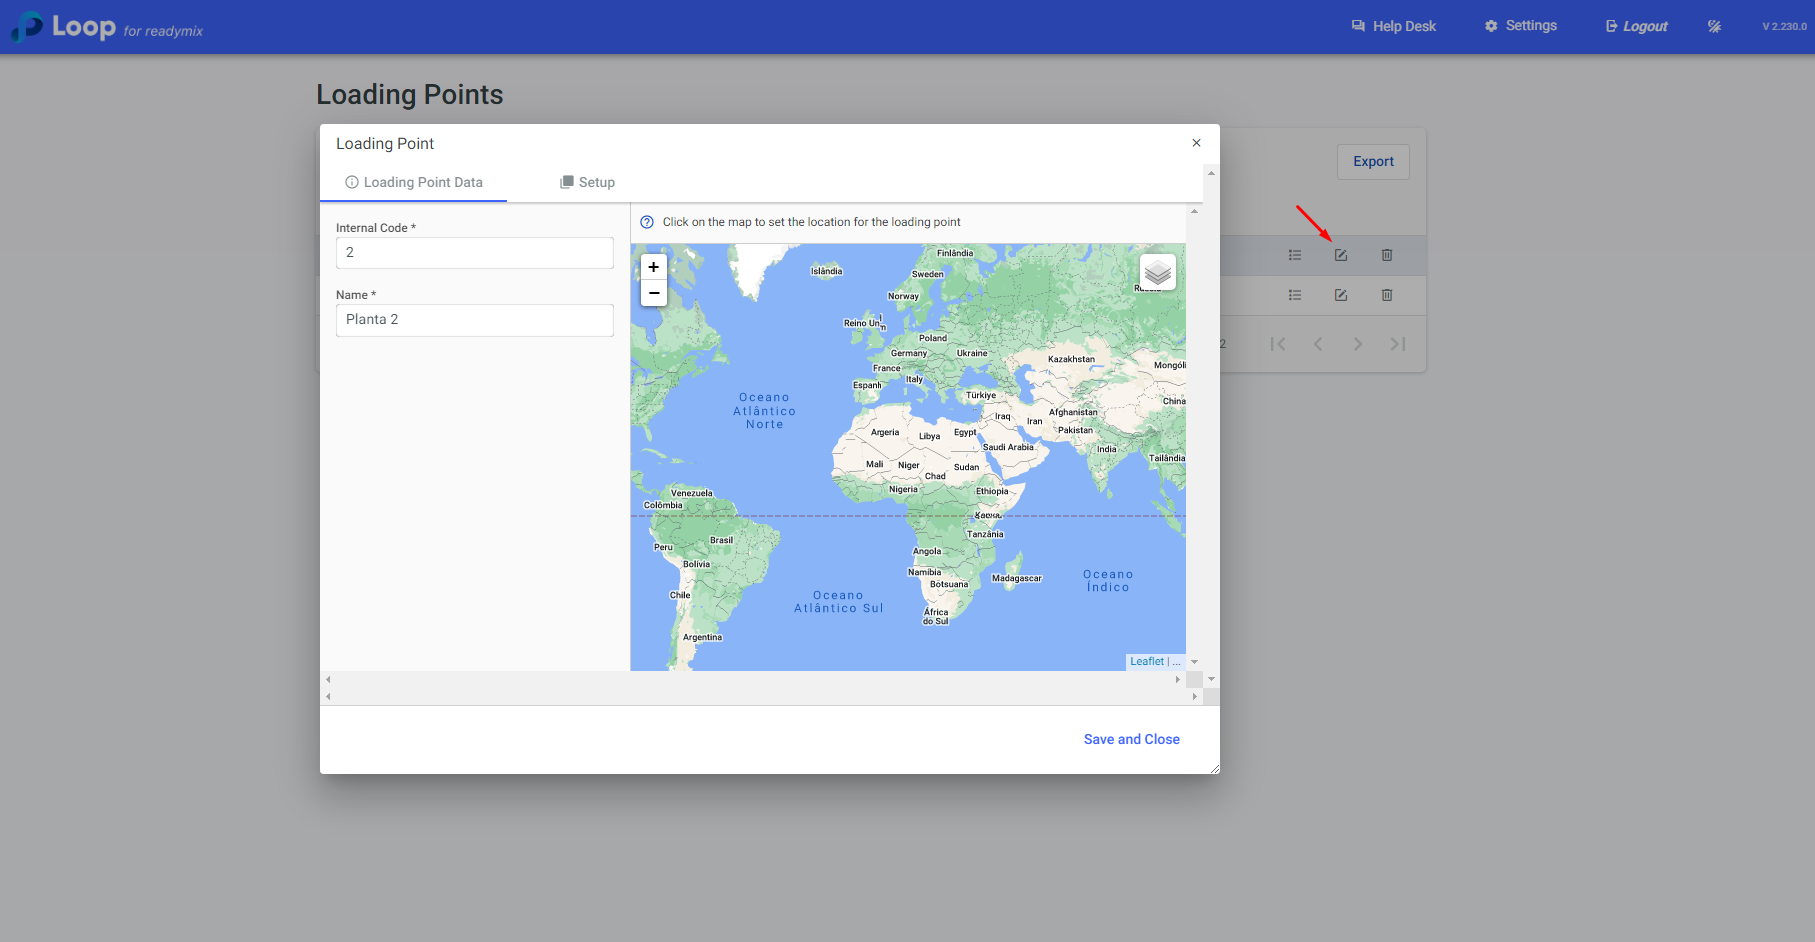
Loading Point Data:
We use this screen to assign to the loading point: an internal code, a name, and its location on the map (if necessary).
Setup:
The "Setup" screen is used to configure your loading point:
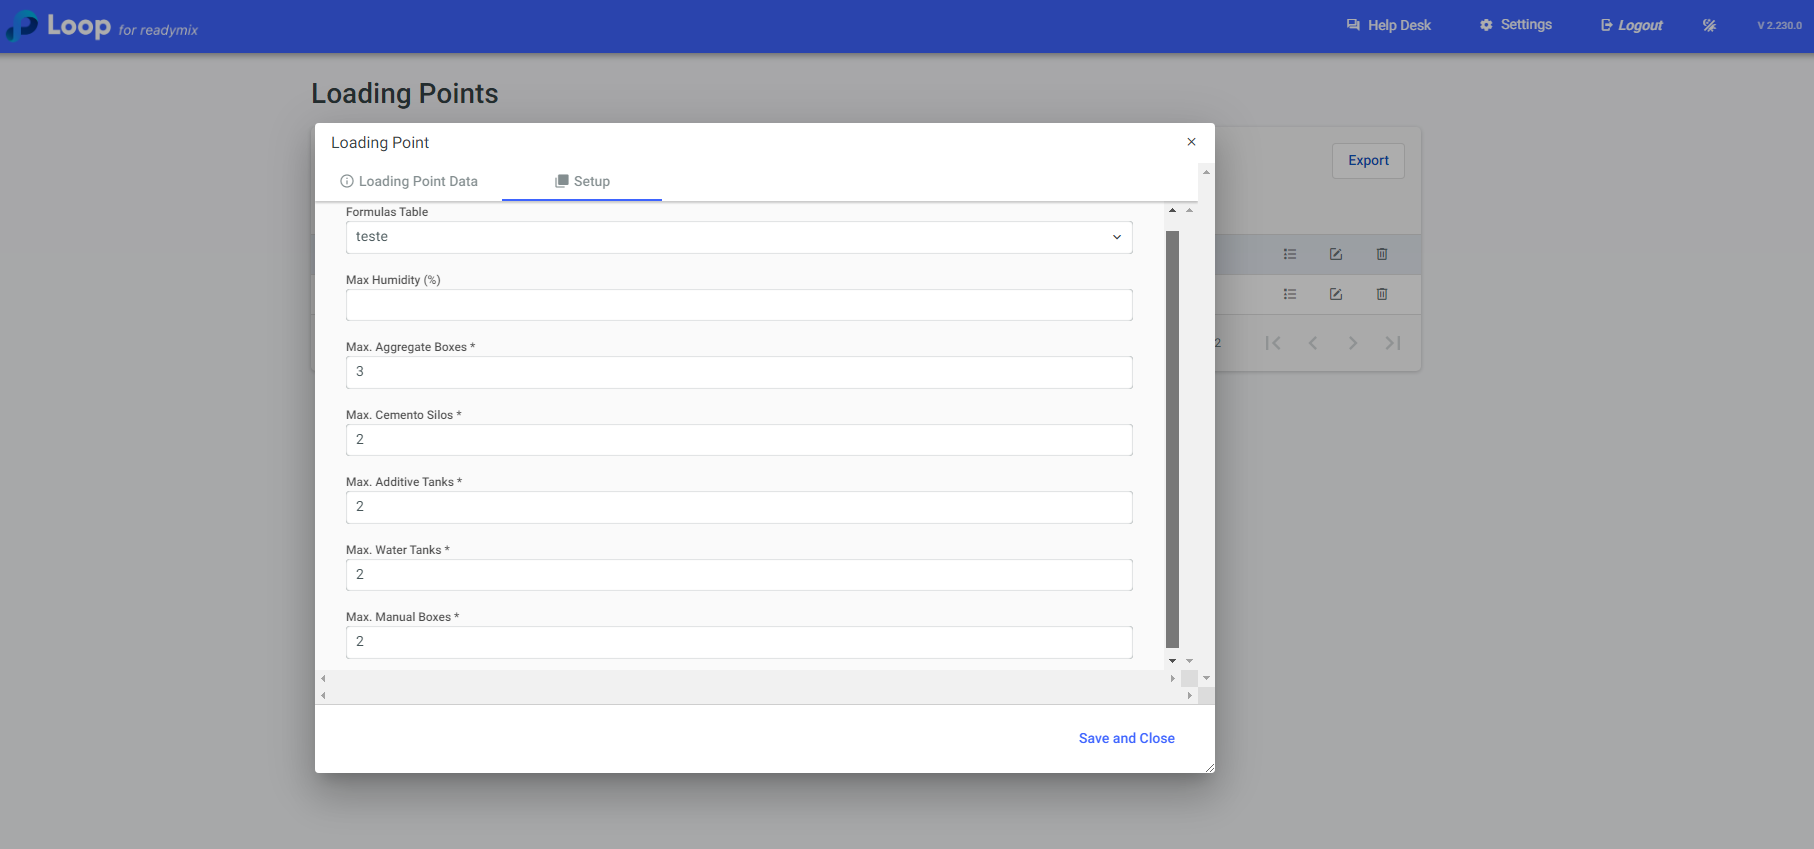
Formulas Table: Determines which Formulas Table will be used at this loading point.
Max. Humidity: Sets the maximum allowed humidity for this loading point.
Max. Aggregate Boxes: Indicates how many raw material boxes of the aggregate type the loading point will have.
Max. Cemento Silos: Specifies how many cement silos the loading point will have.
Max. Additive Tanks: Defines how many additive tanks the loading point will have.
Max. Water Tanks: States how many water tanks the point will have.
Max. Manual Boxes: Specifies how many manual boxes will be available at the point.
After completing the basic settings for the Loading Point, simply click on the "Material Configuration" icon to configure the materials present in each box, silo, or tank previously set up.
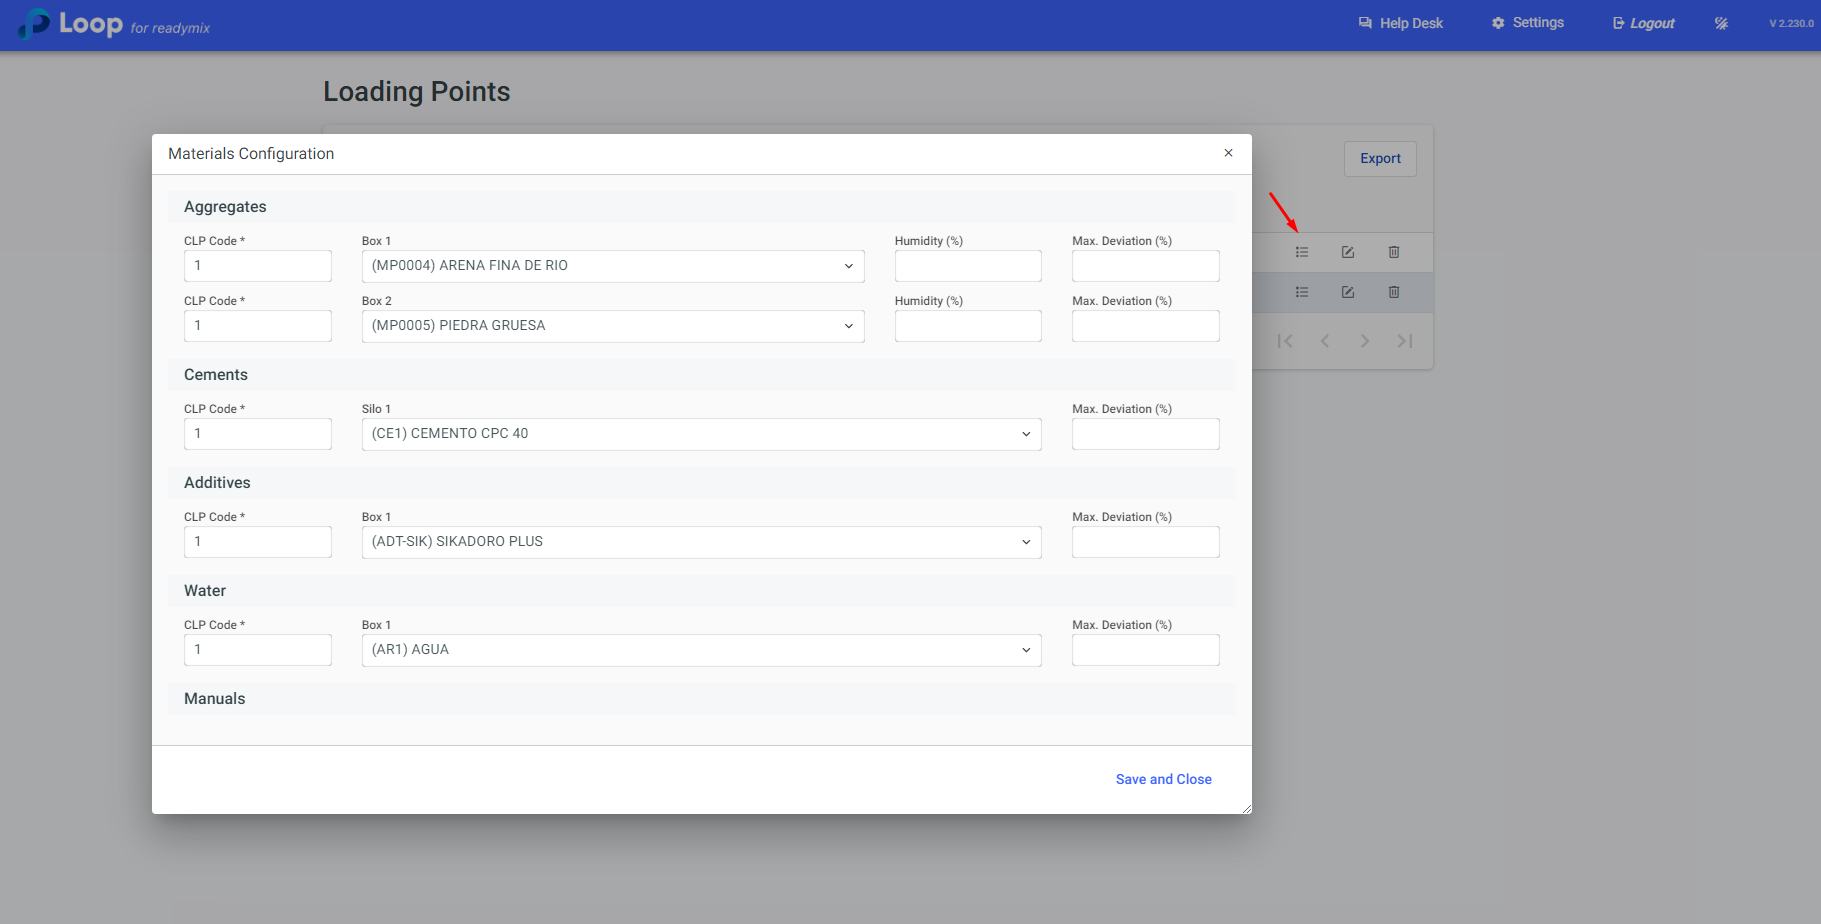
Once you're finished, click on "Save and Close".
If it is necessary to change the formulas table used by a load point, just click on the details icon:
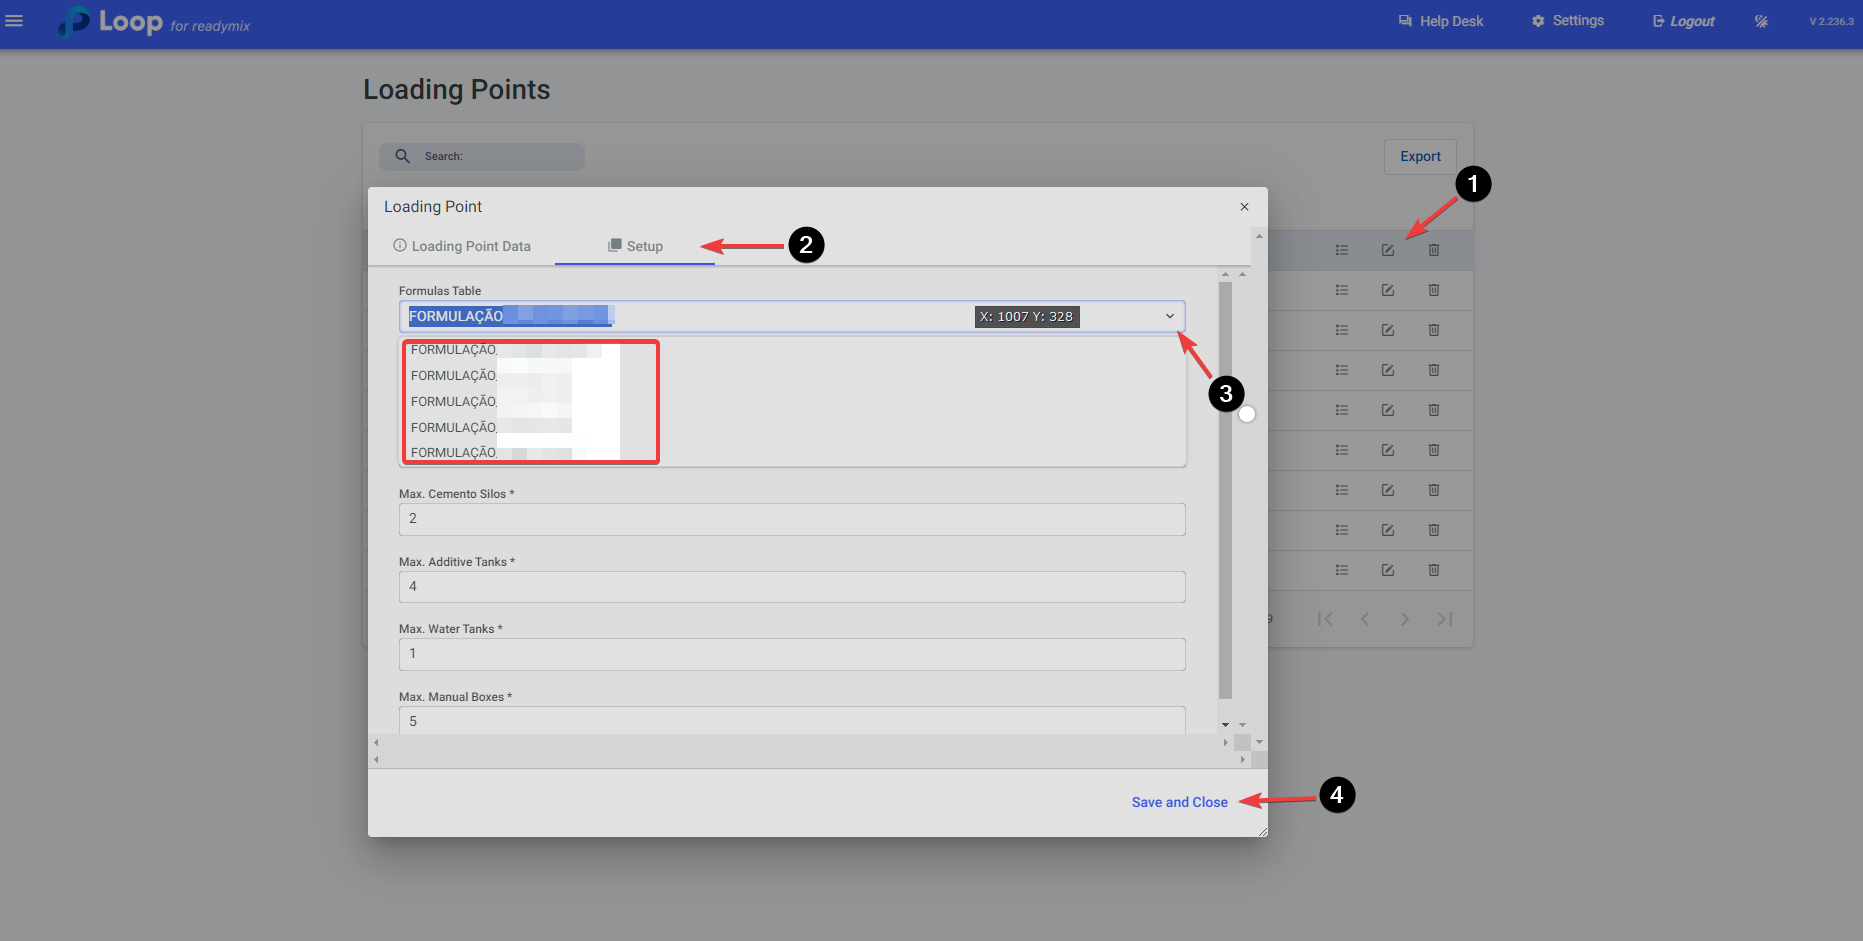
After making the change, simply click Save and Close.
If you want to delete a loading point, simply click on the trash can icon in the upper right corner of the screen.